For domestic cars, it’s generally about 15 years, and for imported cars, about half that time – 7 years – before various signs of exterior degradation appear, no matter how meticulously you maintain them.
The yellowing of the now-common polycarbonate headlights is a typical example. As I’ve mentioned in several articles, restoring their appearance is relatively easy by polishing the surface material.
However, when the paint (coating) applied to parts deteriorates, it’s not so simple.
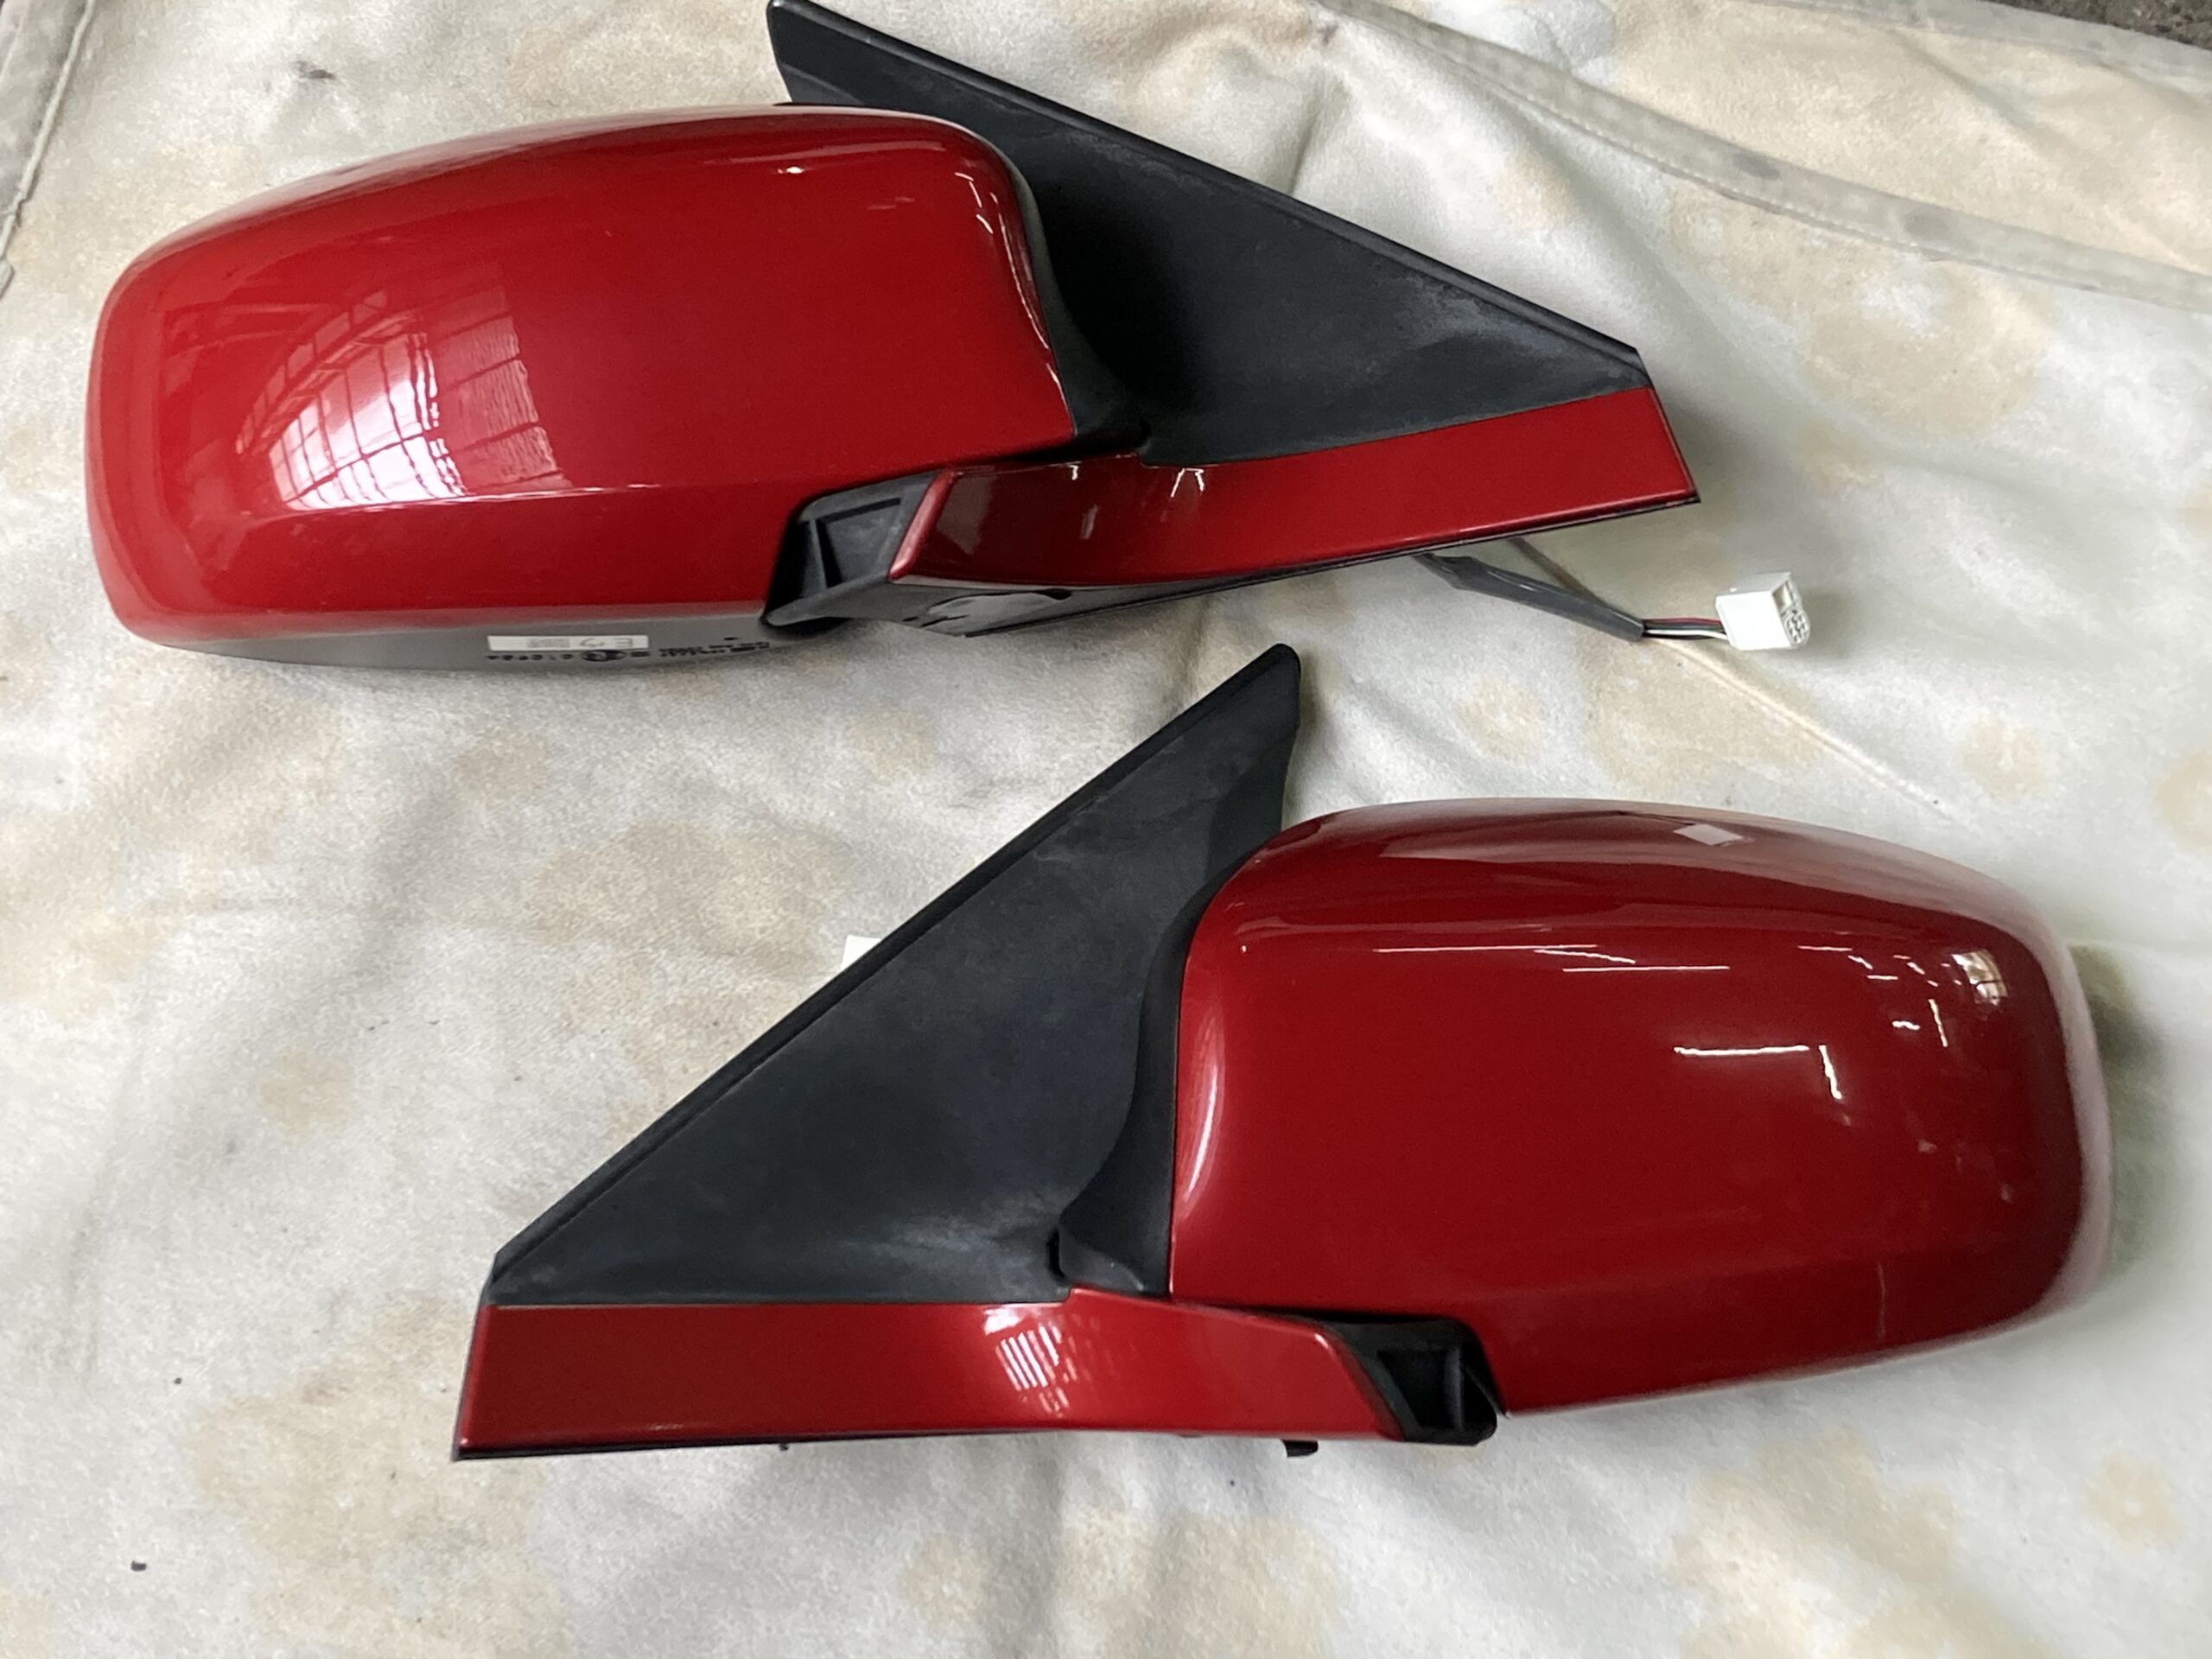
For instance, this mirror cover is something I’m gradually restoring during breaks between other tasks.
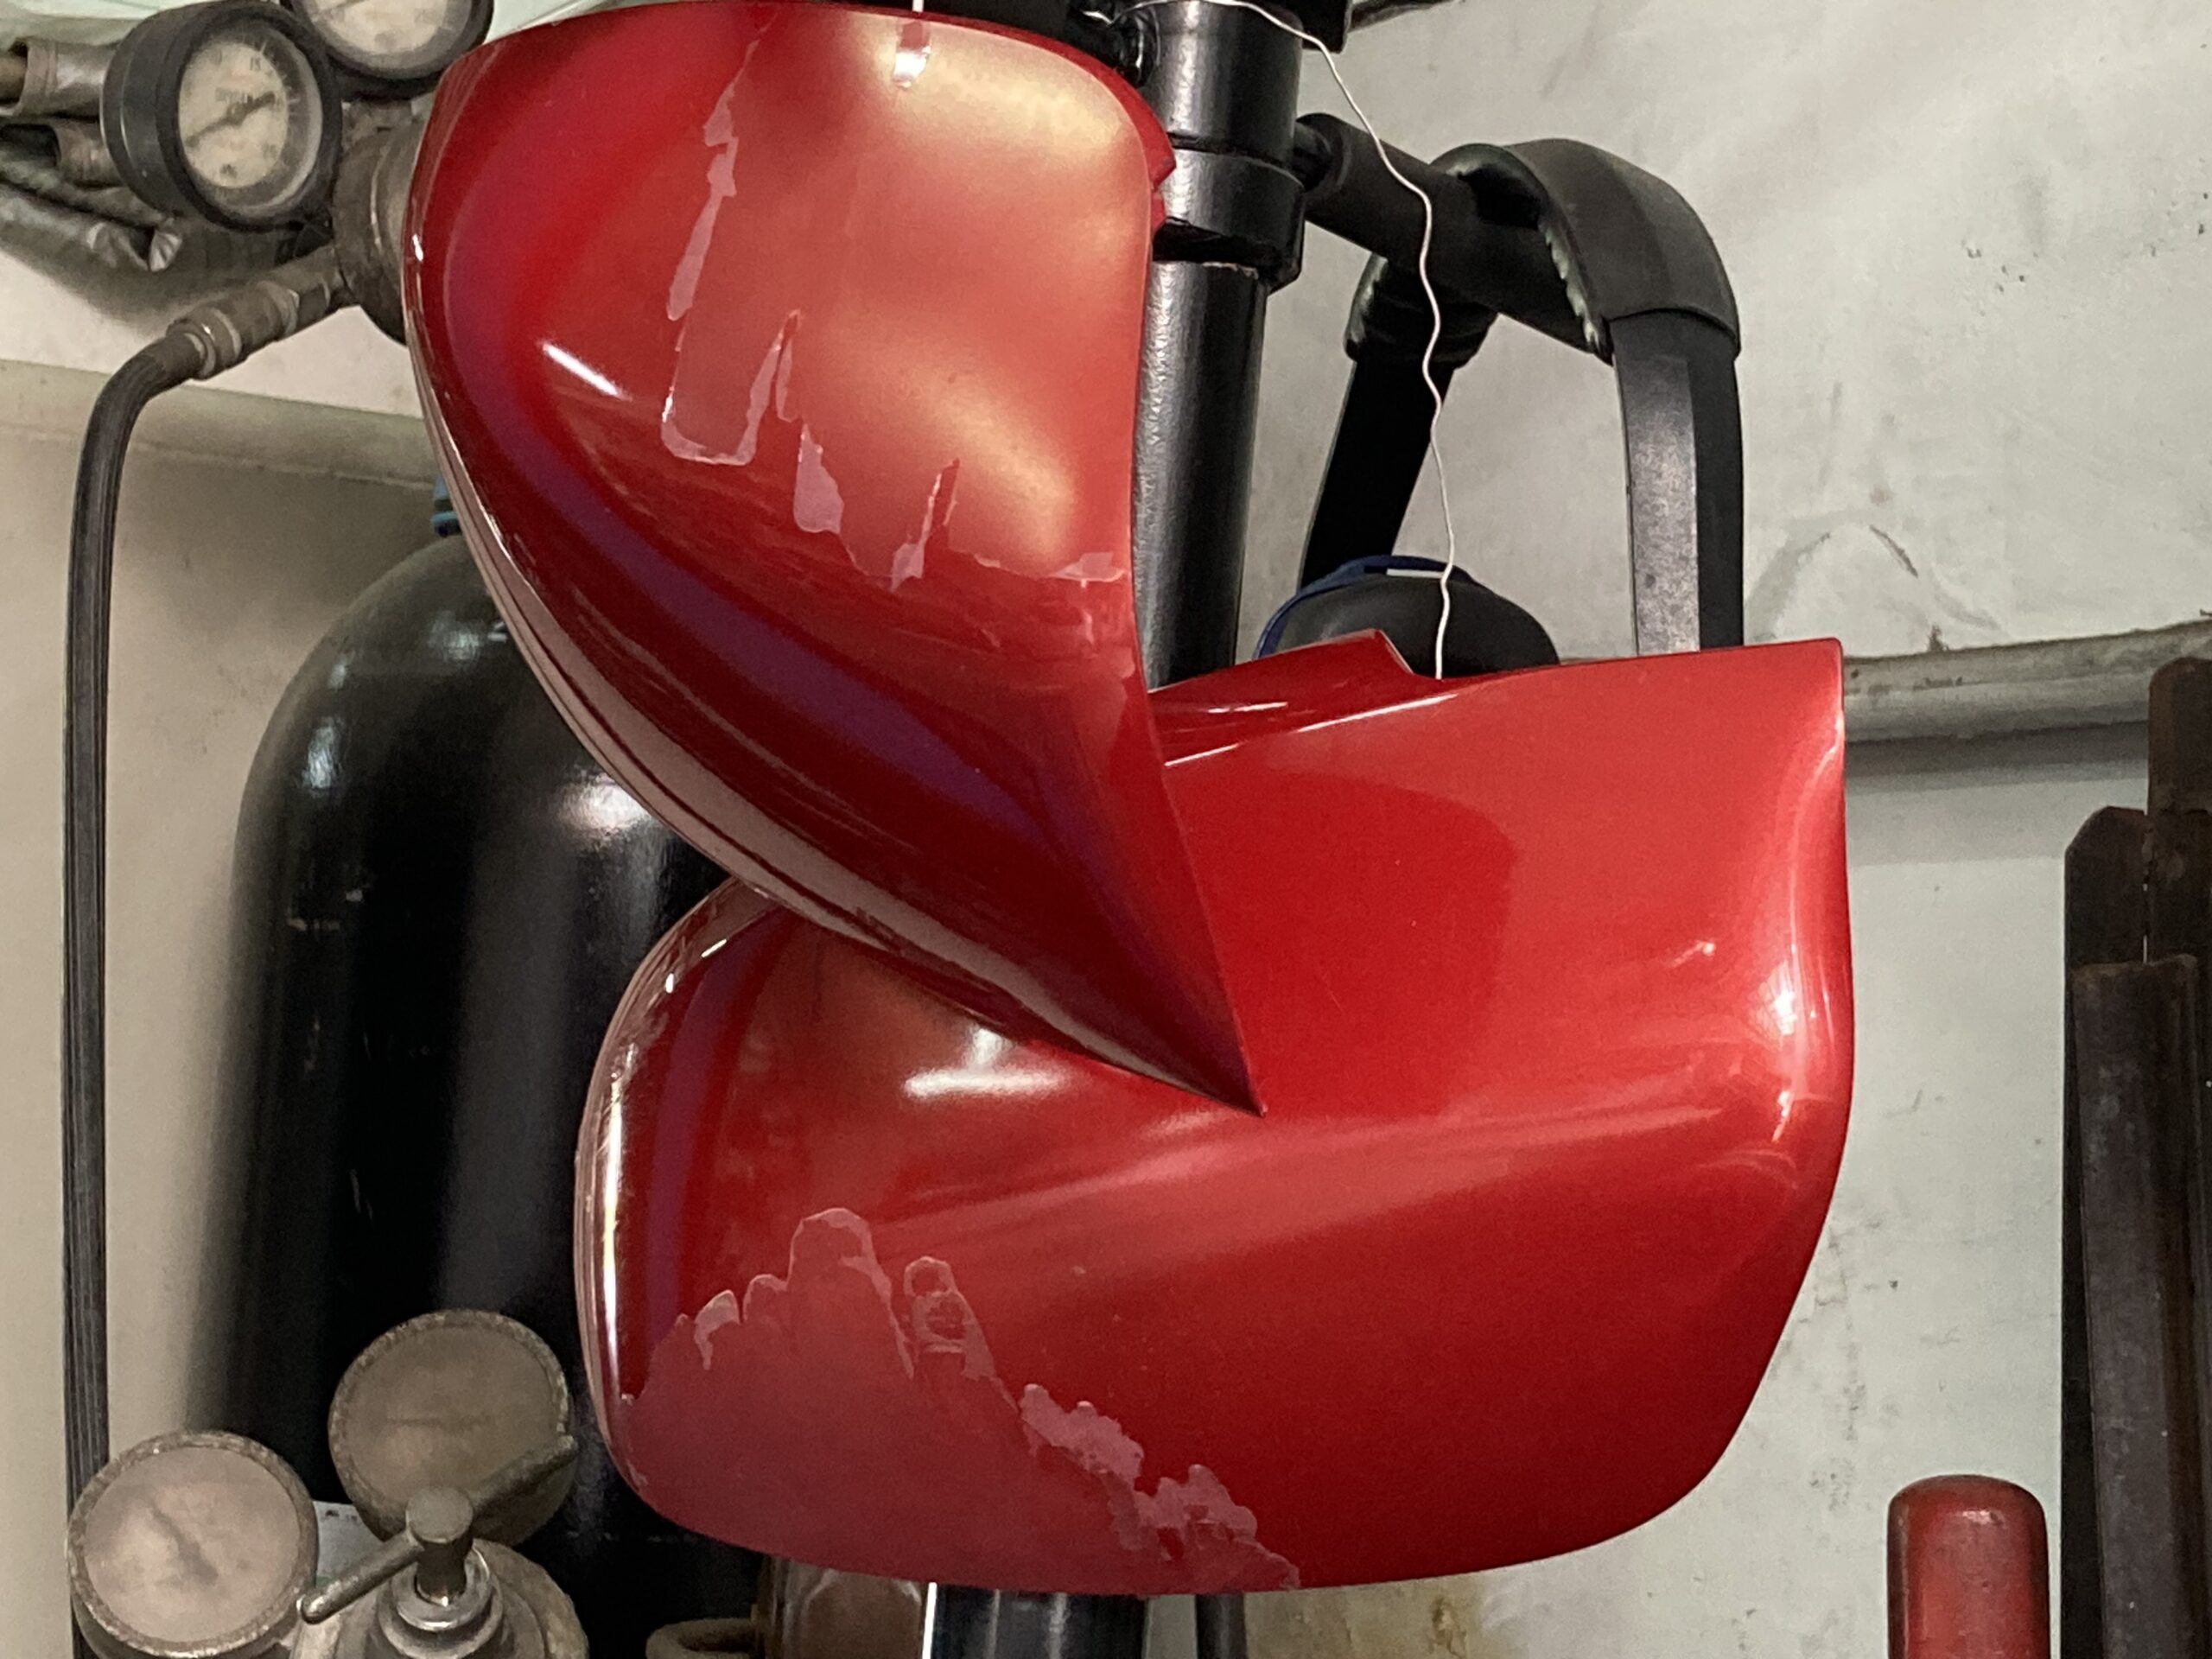
The clear coat, the top layer of the two-layer paint, is lifting and peeling off.
Car models that offer supply of pre-painted individual mirror covers are very fortunate, as the problem can be solved by simply replacing the part. Unfortunately, this particular mirror cover isn’t available as an individual part, and even the supply of the entire side mirror assembly has been discontinued.
So, repainting is the only option.
Repair painting is often imagined to be very simple. Just spray the same color once, and it’ll be back to its original beautiful, glossy state?
No, no. Anyone who has tried painting themselves will understand its difficulty and depth.
Also, aging degradation isn’t uniform. The painting applied to mass-produced new mirror covers and the painting I do are completely different in terms of paint, environment, efficiency, and process.
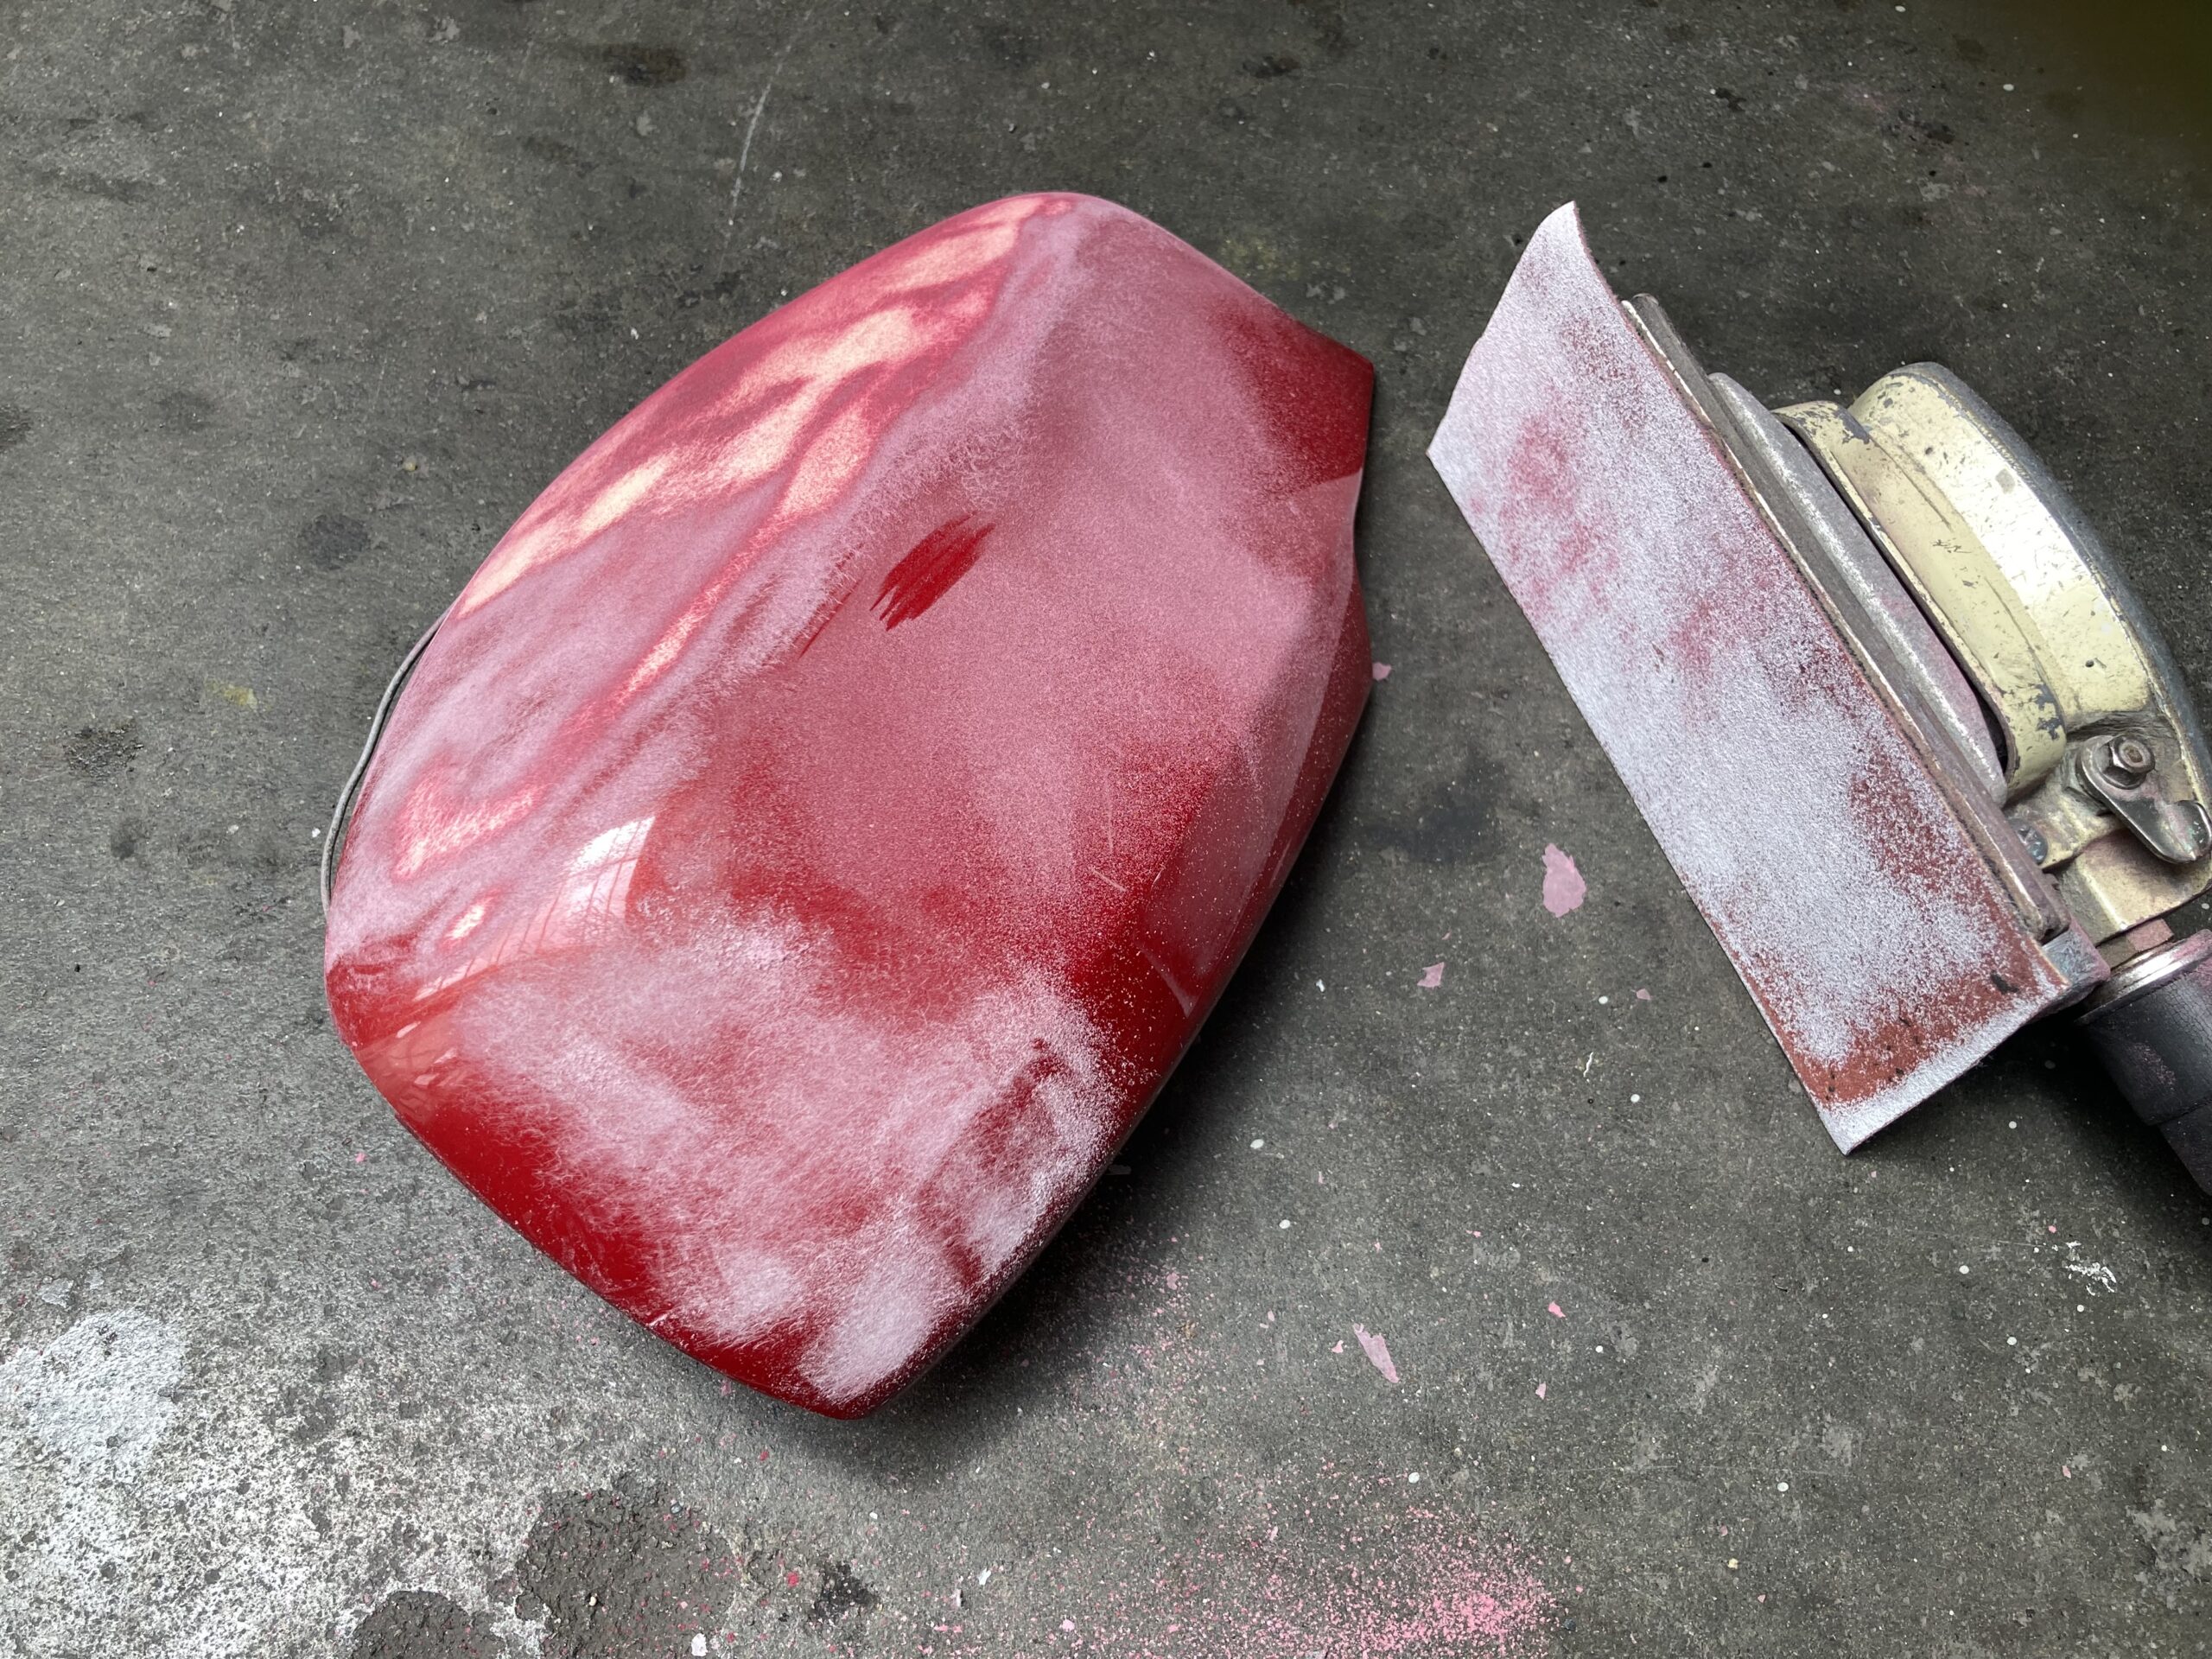
When people think of painting, they often imagine the main work to be skillfully wielding a spray gun. But in repair painting, more than 90% of the time is spent preparing the base. Starting with removing the deteriorated paint, I meticulously prepare the base. Even the slightest compromise can’t be covered up and will affect the result until the very end.

It’s like a microcosm of life.
Numerous failures, experiences, and continuous hard work. Perhaps it’s enjoyable precisely because it’s so hard to achieve the imagined result.

Simultaneously, I mix colors using primary colors salvaged from a closed paint shop. The mixing data is just a reference. I balance the sun-faded red with the aged color of the body.
The low-pressure gun (LPHV (Low Pressure High Volume) gun) from DeVilbiss, handed down from a senior colleague old enough to be my parent, is truly excellent, producing a finish on a different level from spray cans.
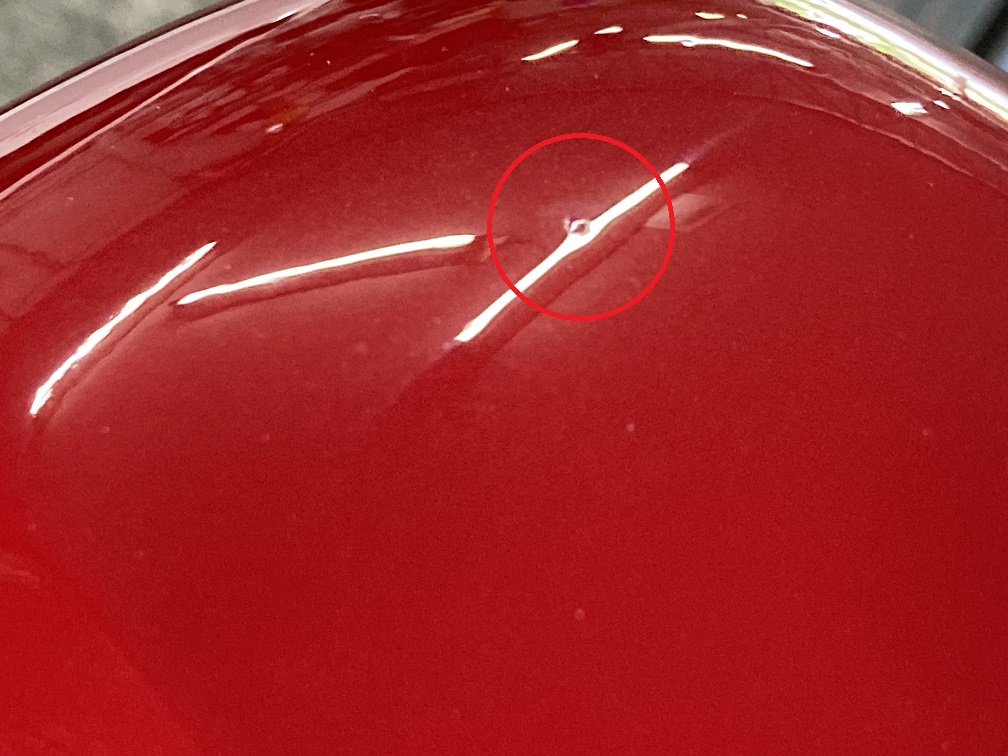
My painting environment isn’t dust-free like a push-pull paint booth. Even with utmost care, dust adhesion and paint repulsion can’t be completely avoided. To minimize these issues, I use two-component urethane paint that dries and hardens extremely quickly and is good for cutting and polishing.
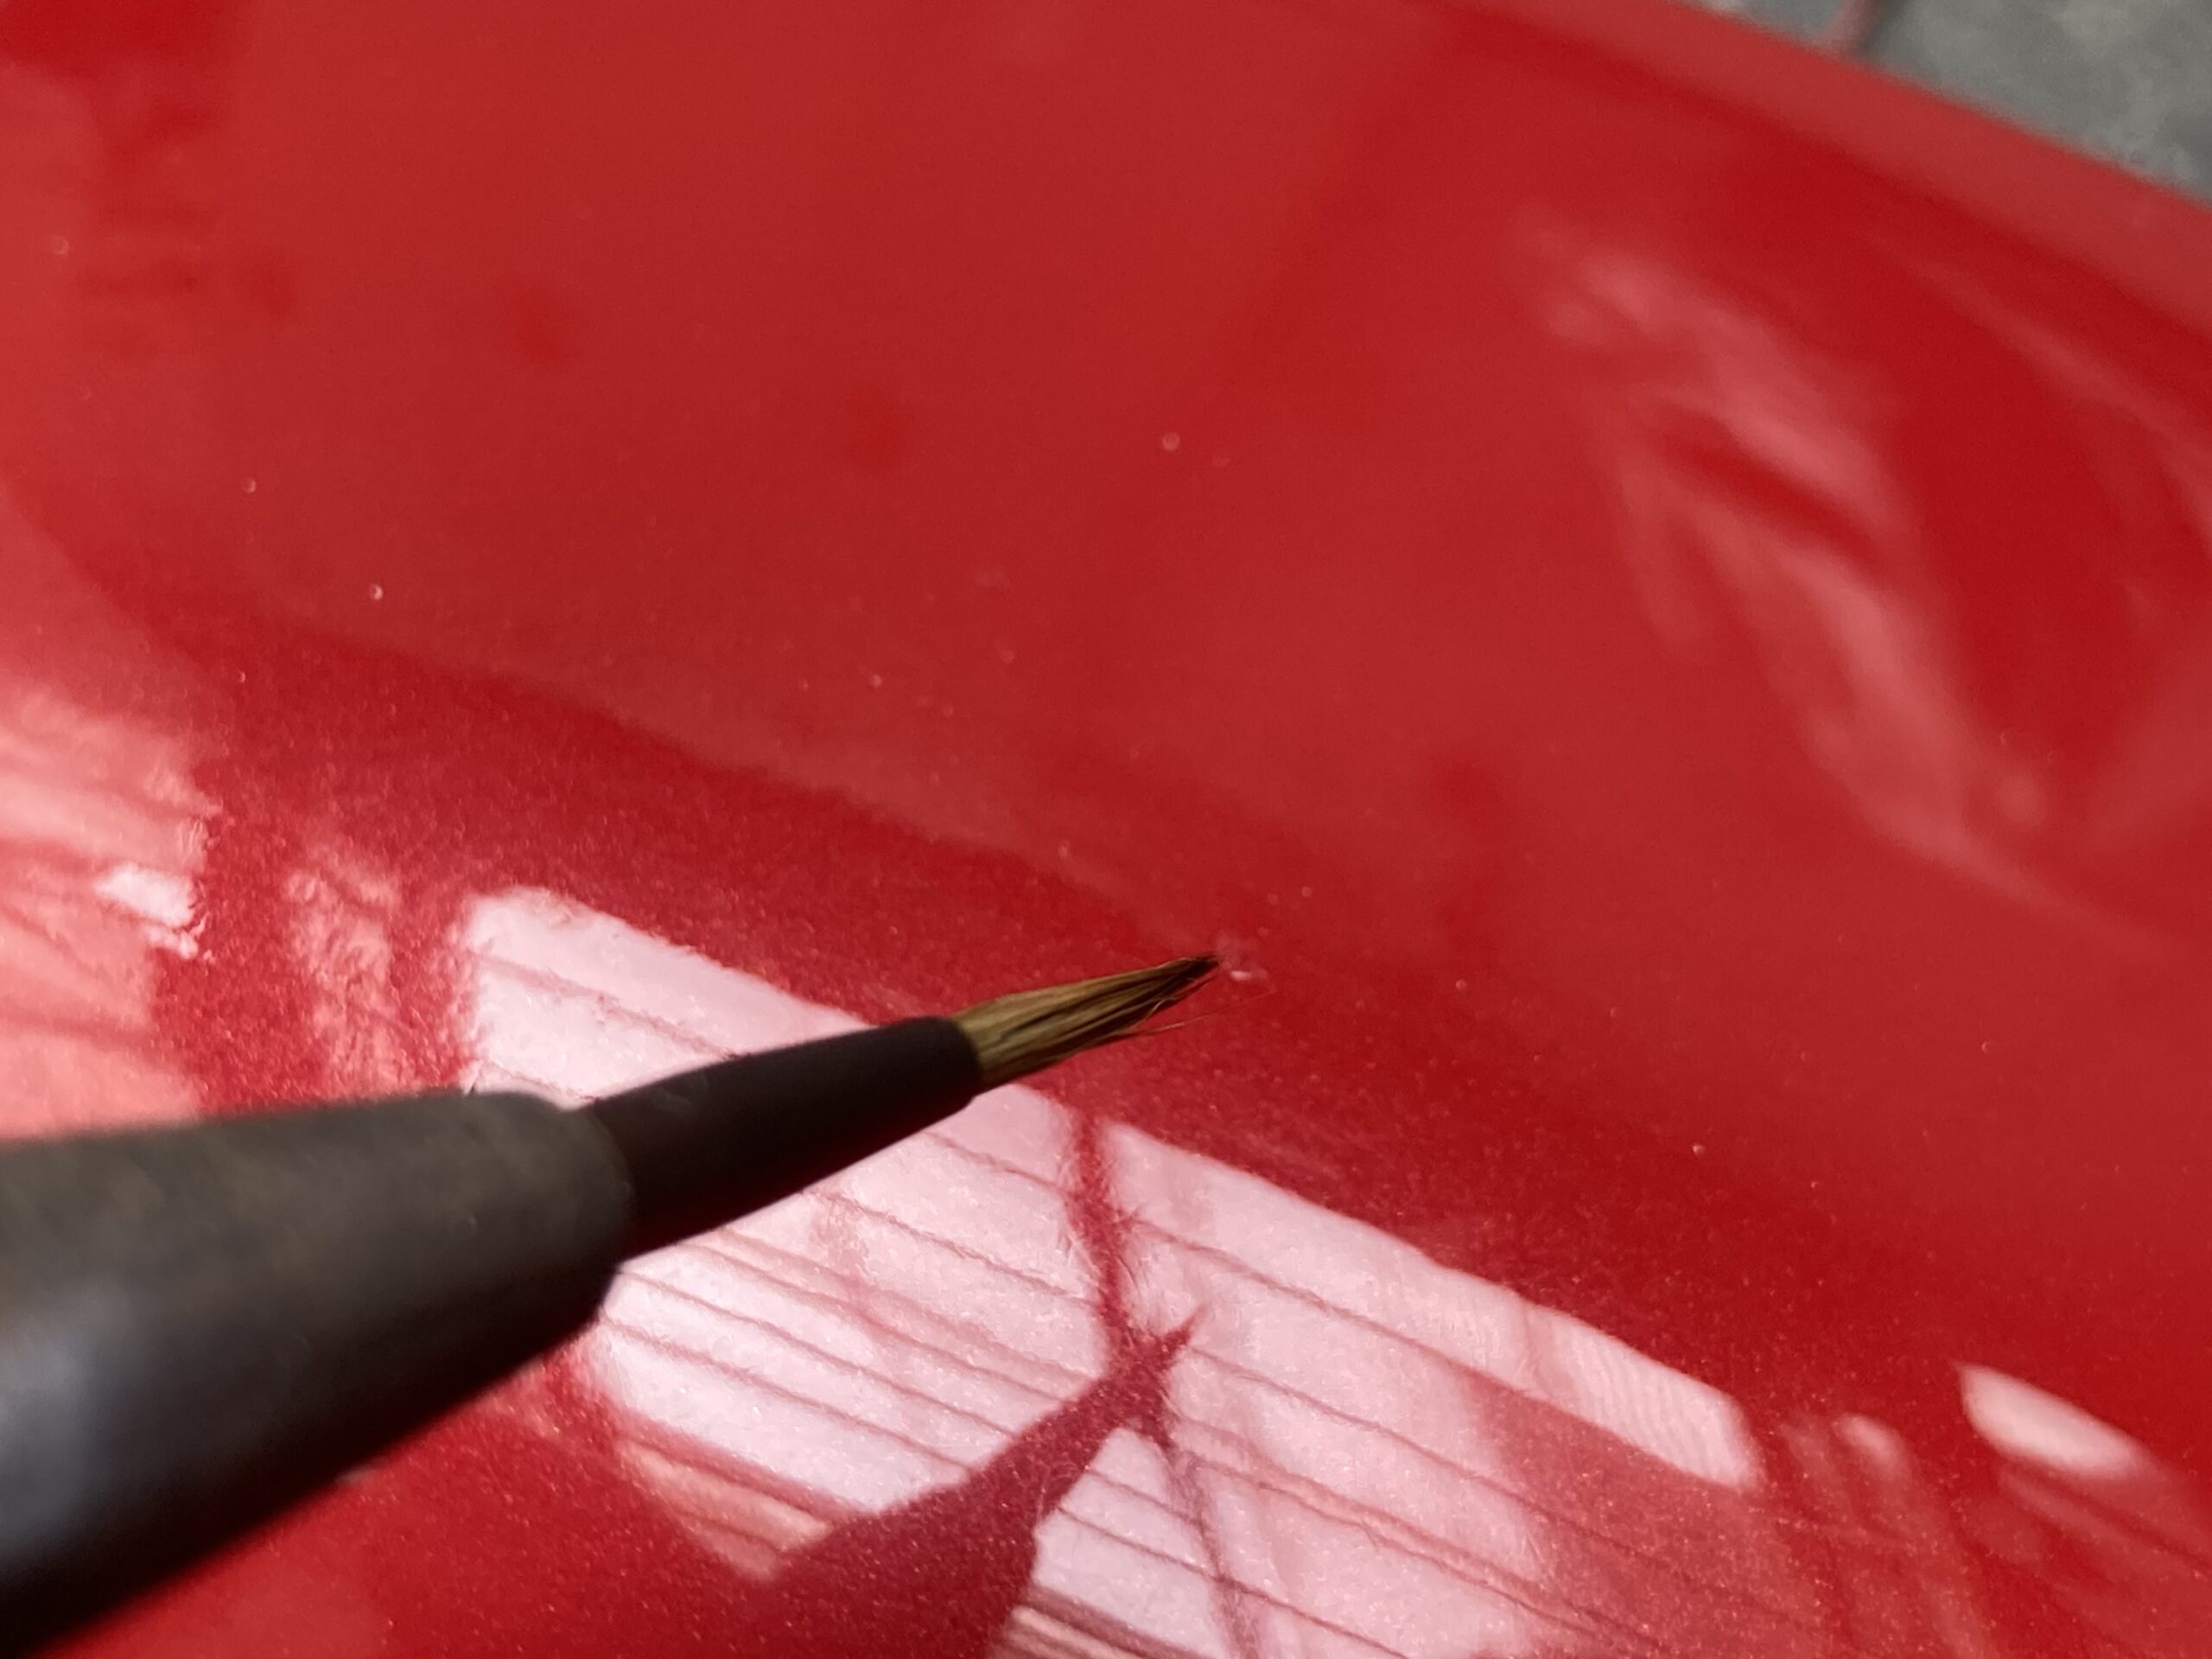
Can you see the small dust particles that have adhered? The “orange peel” effect is also noticeable due to the quick drying and hardening.
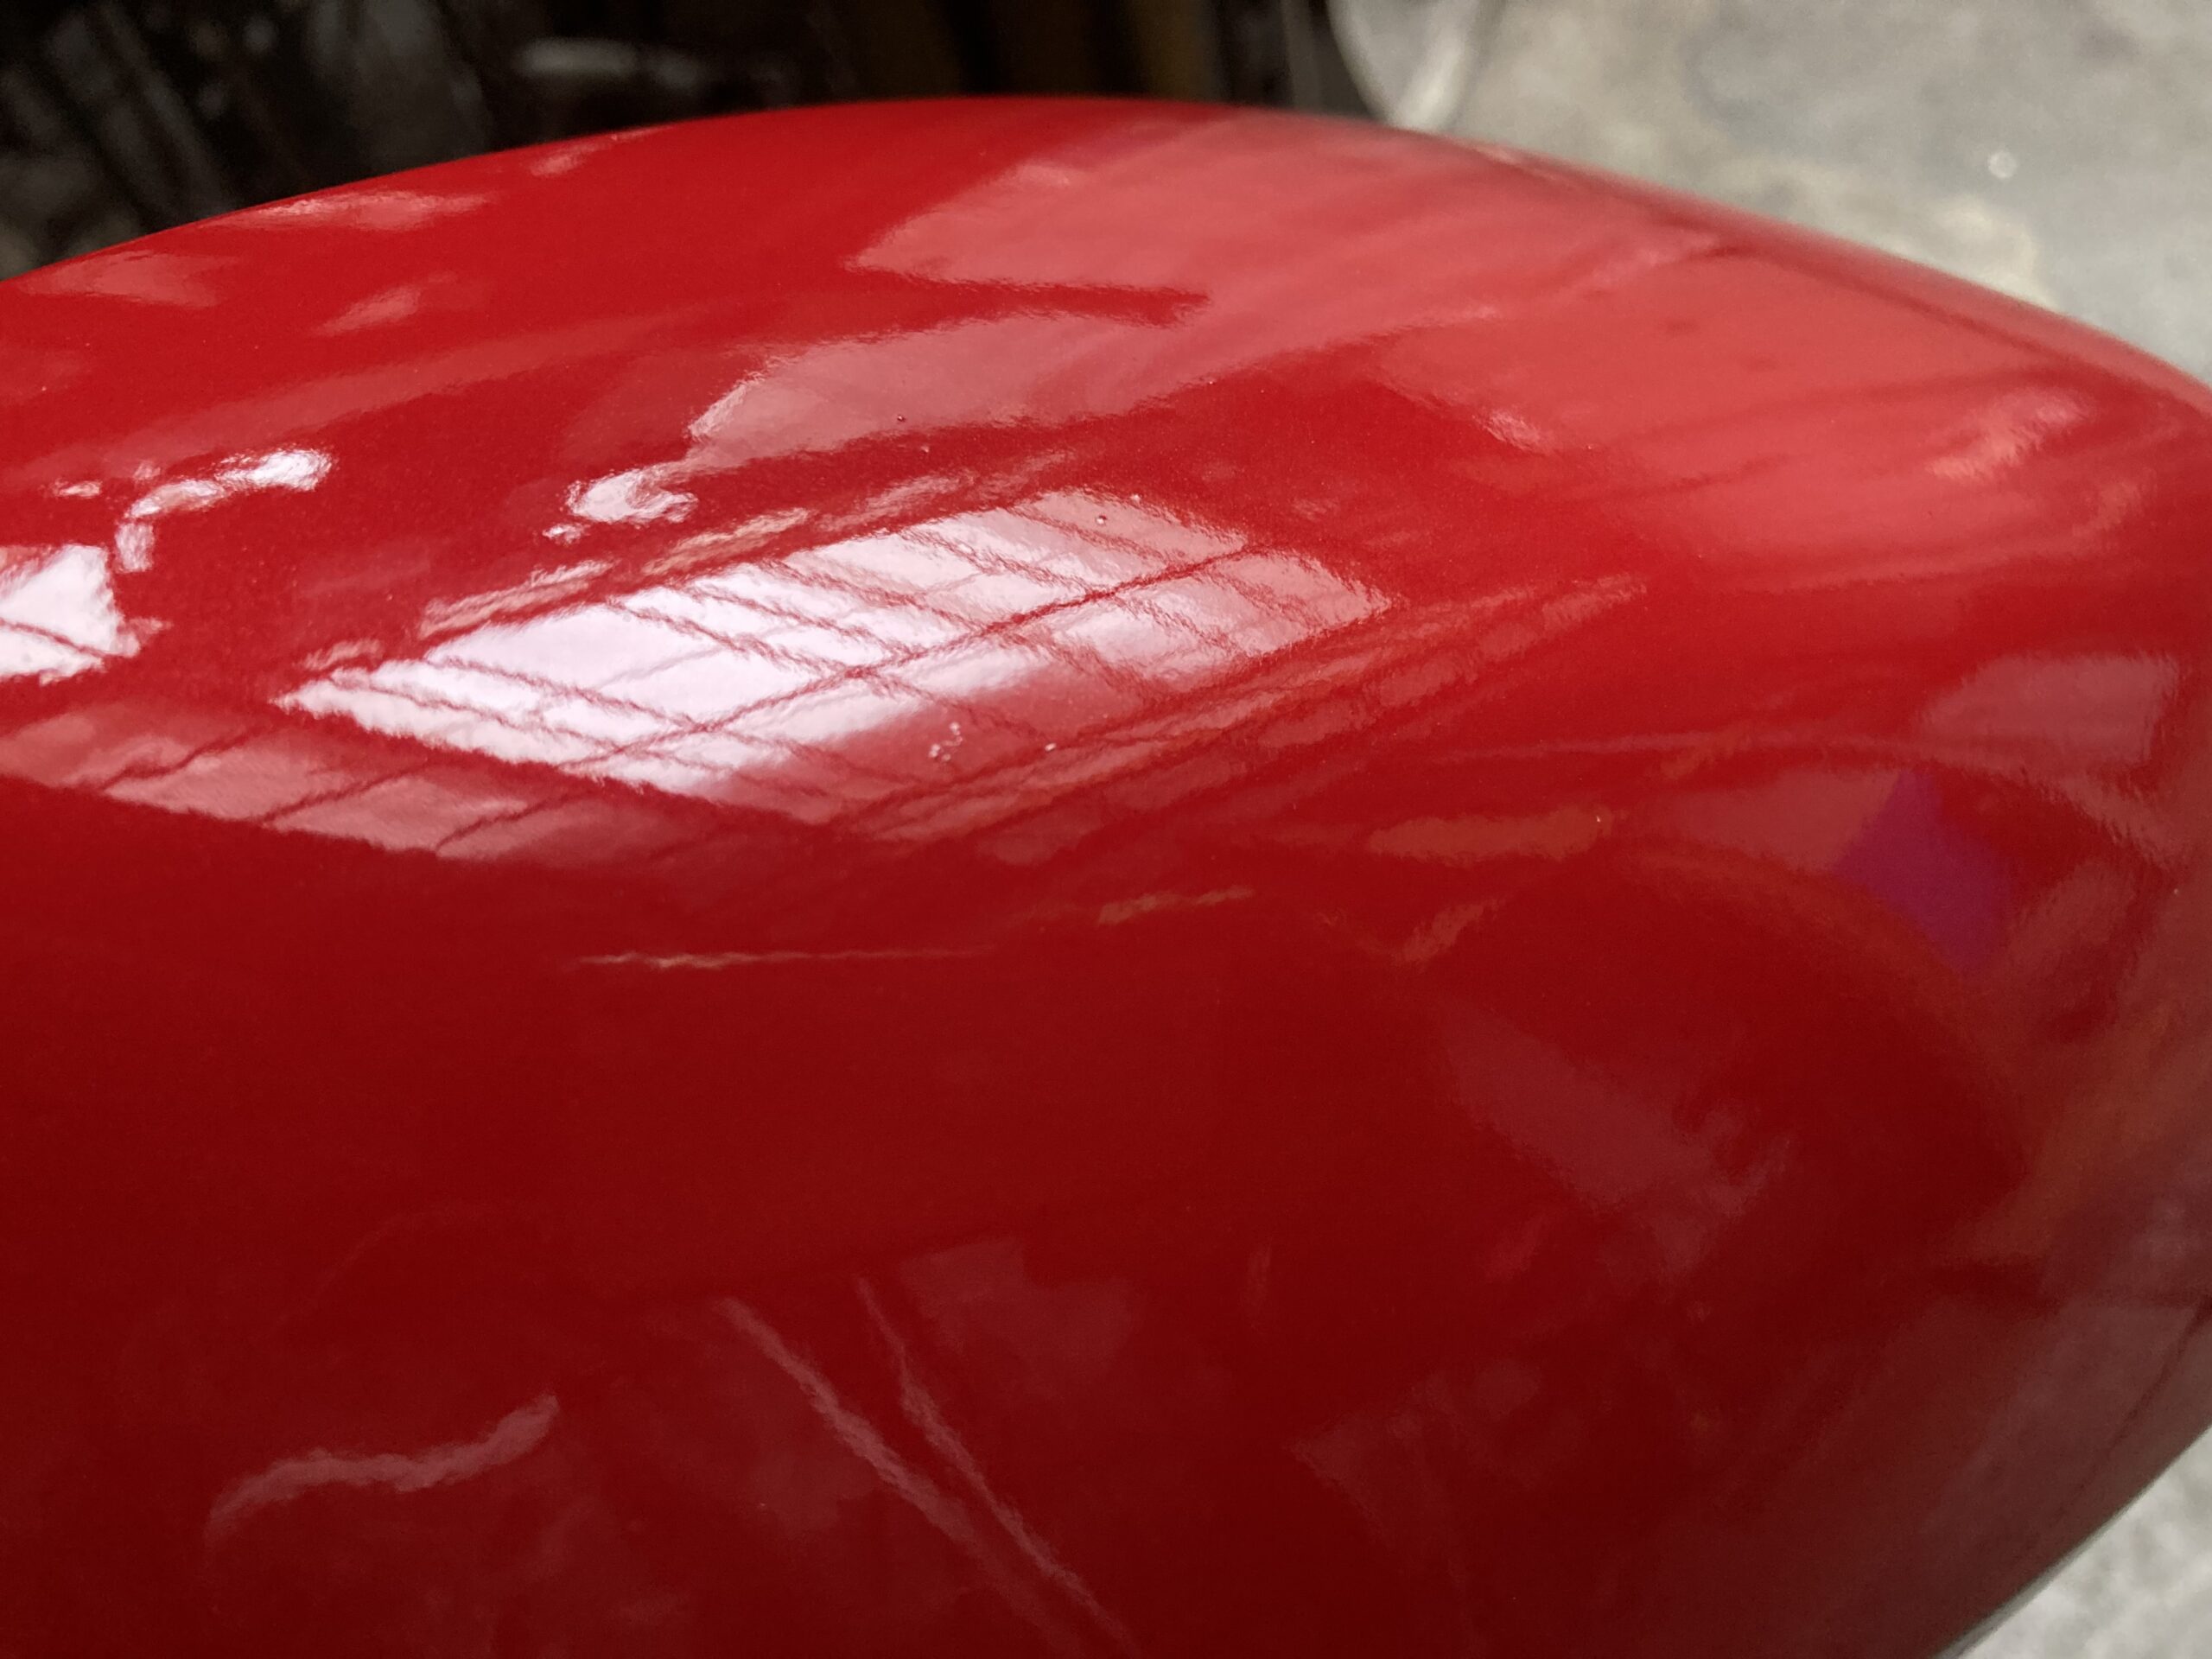
This is paint repulsion. In a general automotive repair environment where oils are used, perfection is impossible.
I use a fine brush to build up the same color in paint depressions.
Using #1200 equivalent sandpaper attached to a dual-action sander, I sand away the dust, repulsion repair build-ups, and orange peel all at once.
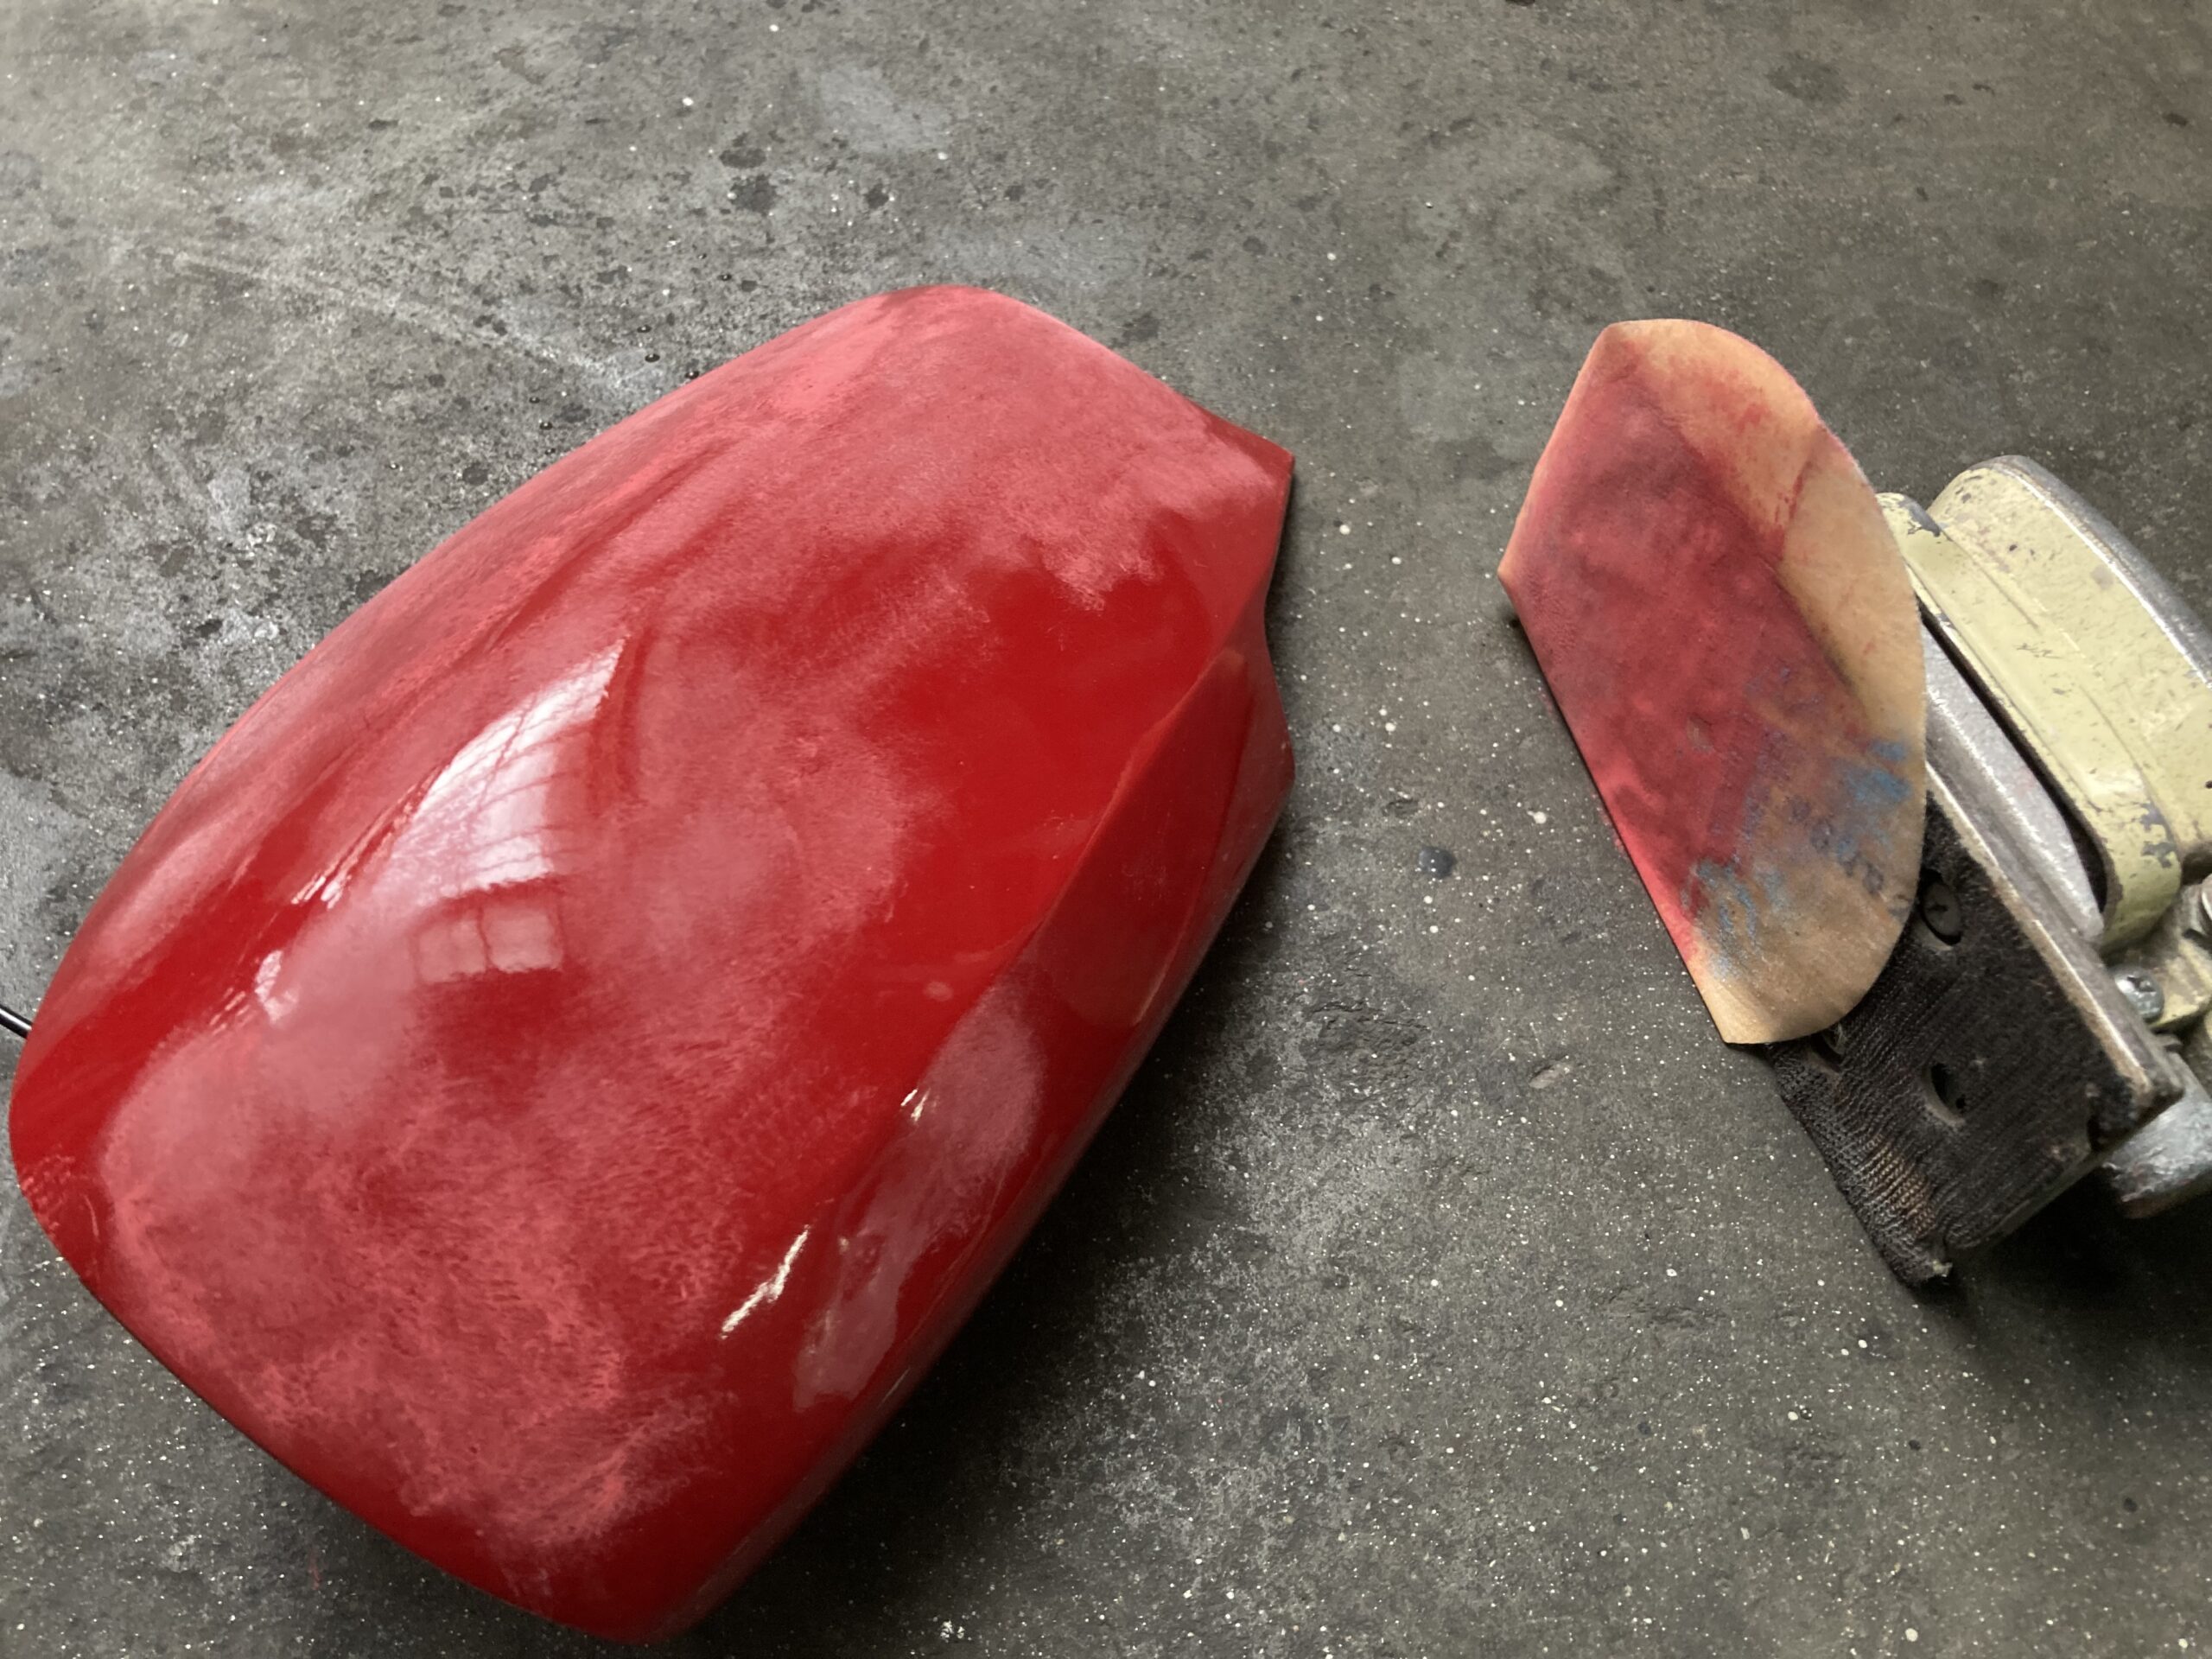
I proceed with polishing using a sharp compound for surface adjustment, monitoring the condition of the paint surface.
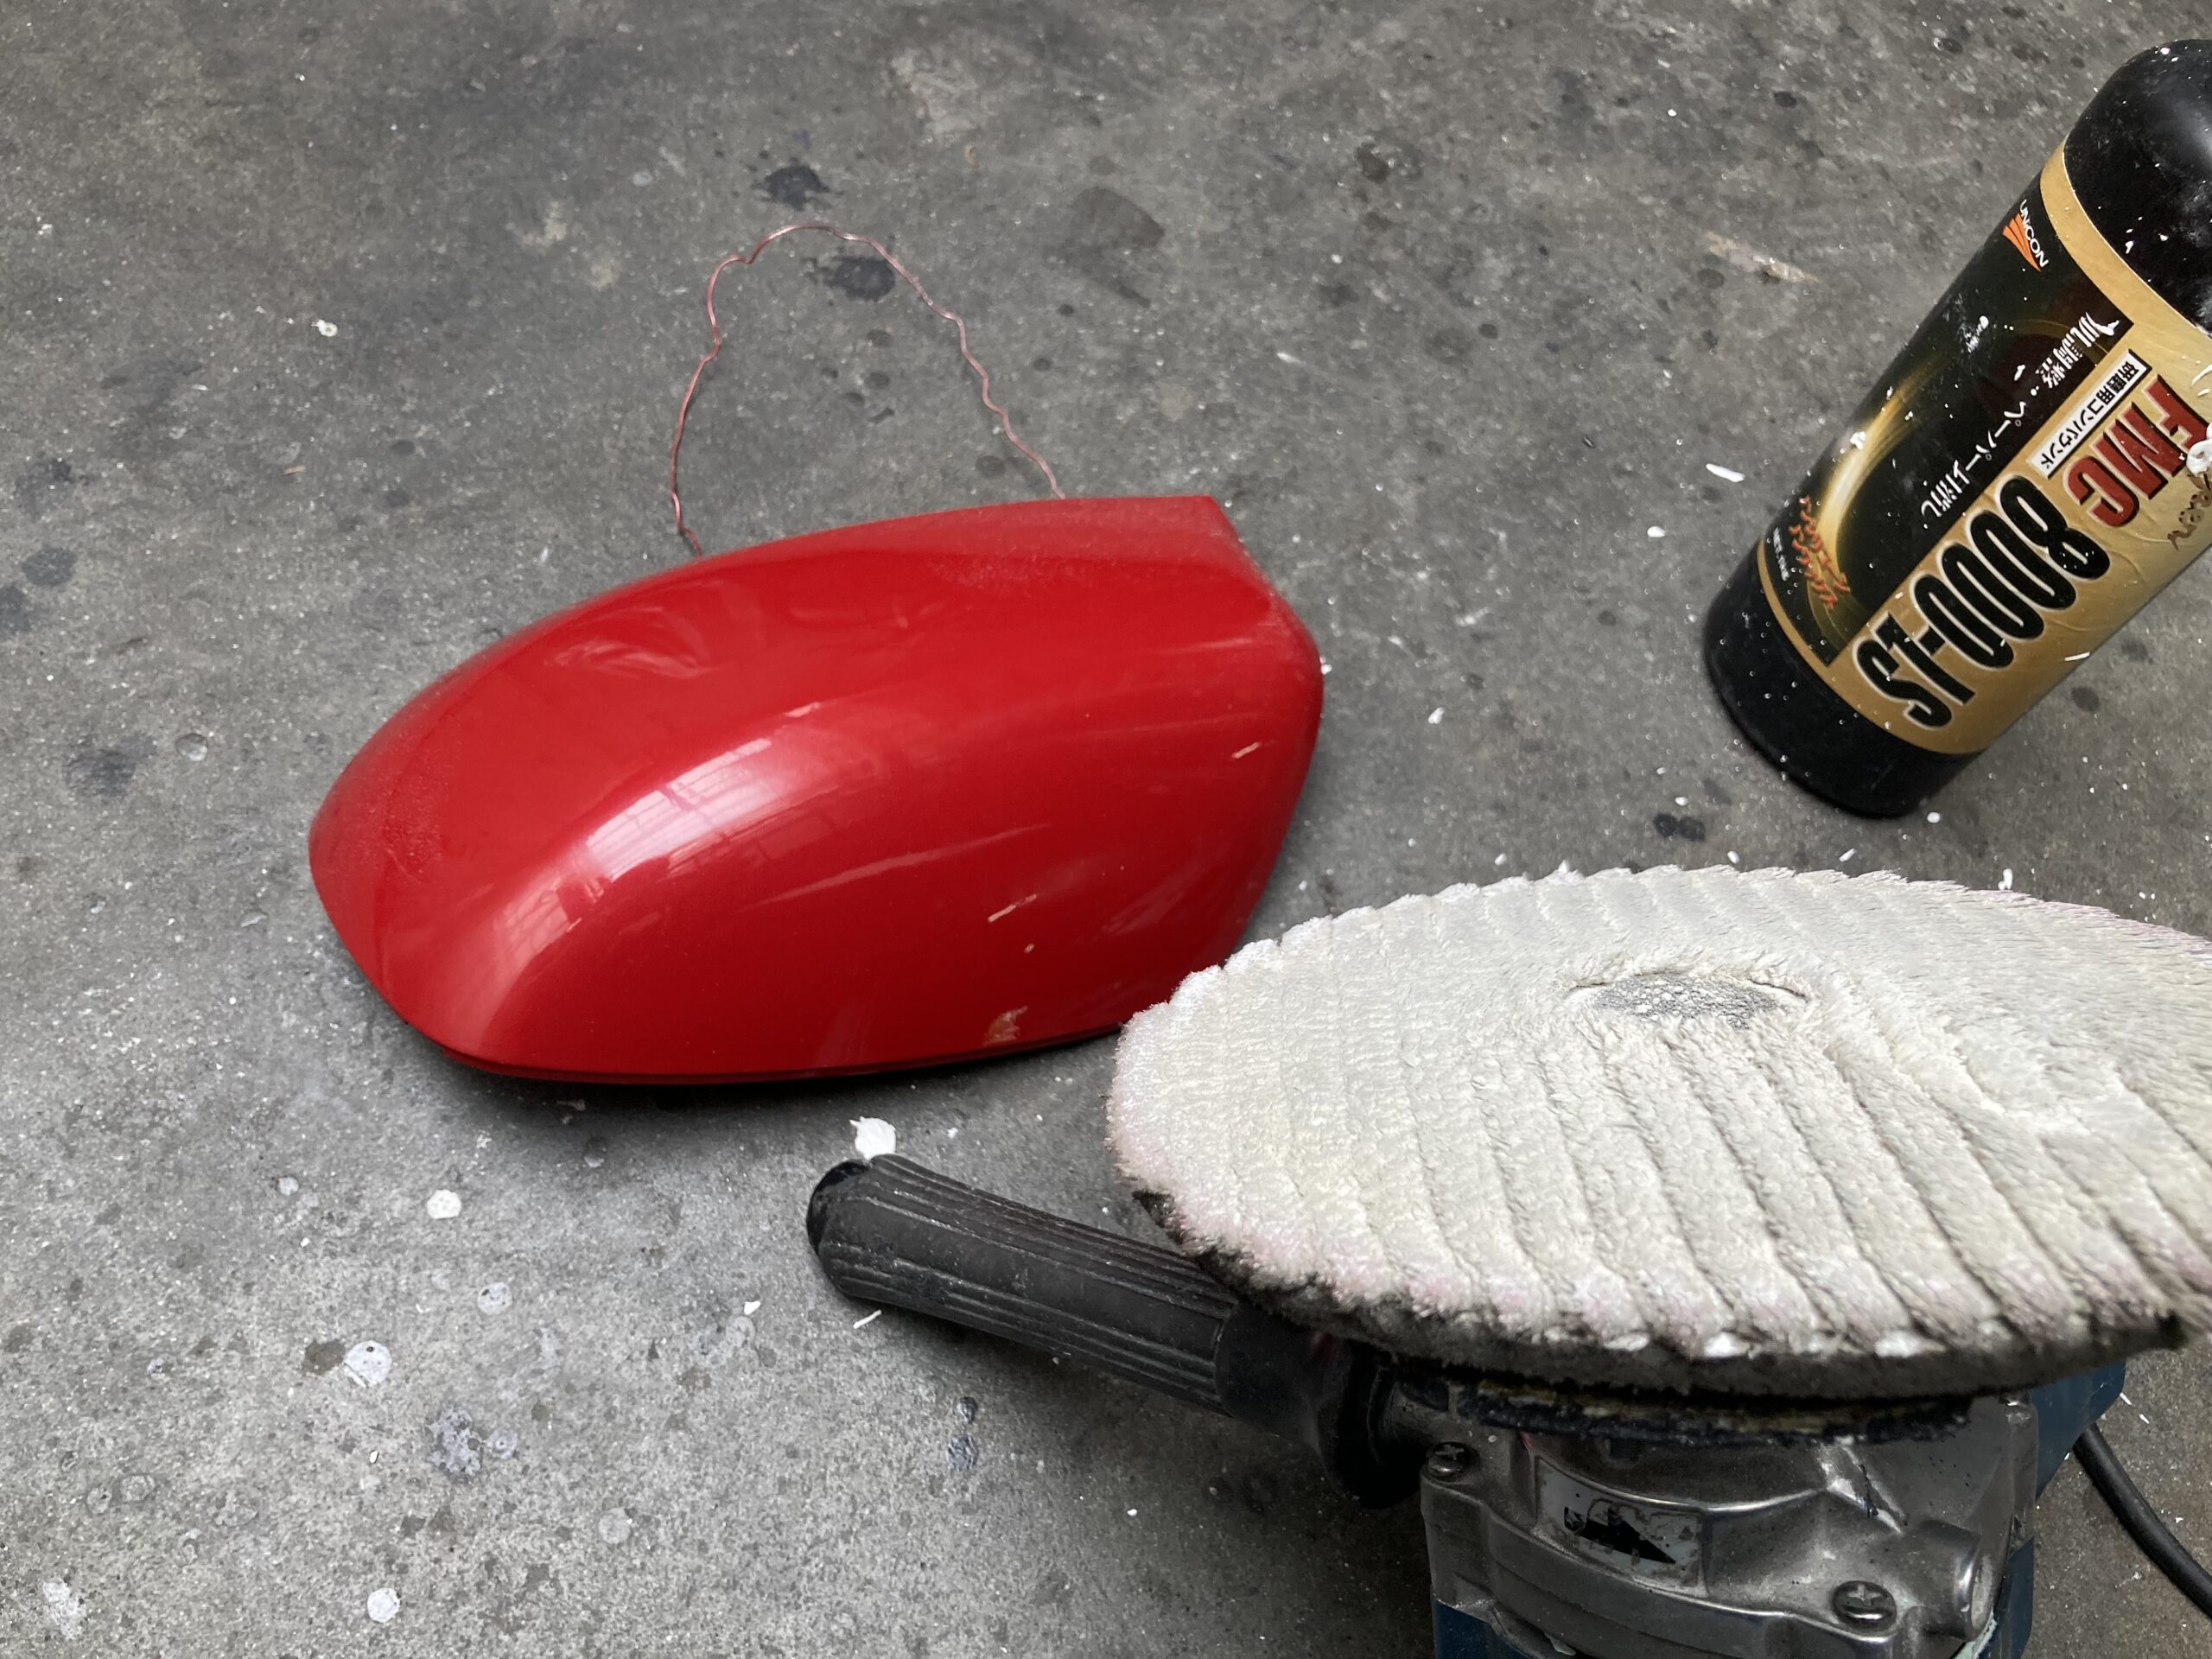
Finally, I polish with an ultra-fine finishing compound and a sponge buff,
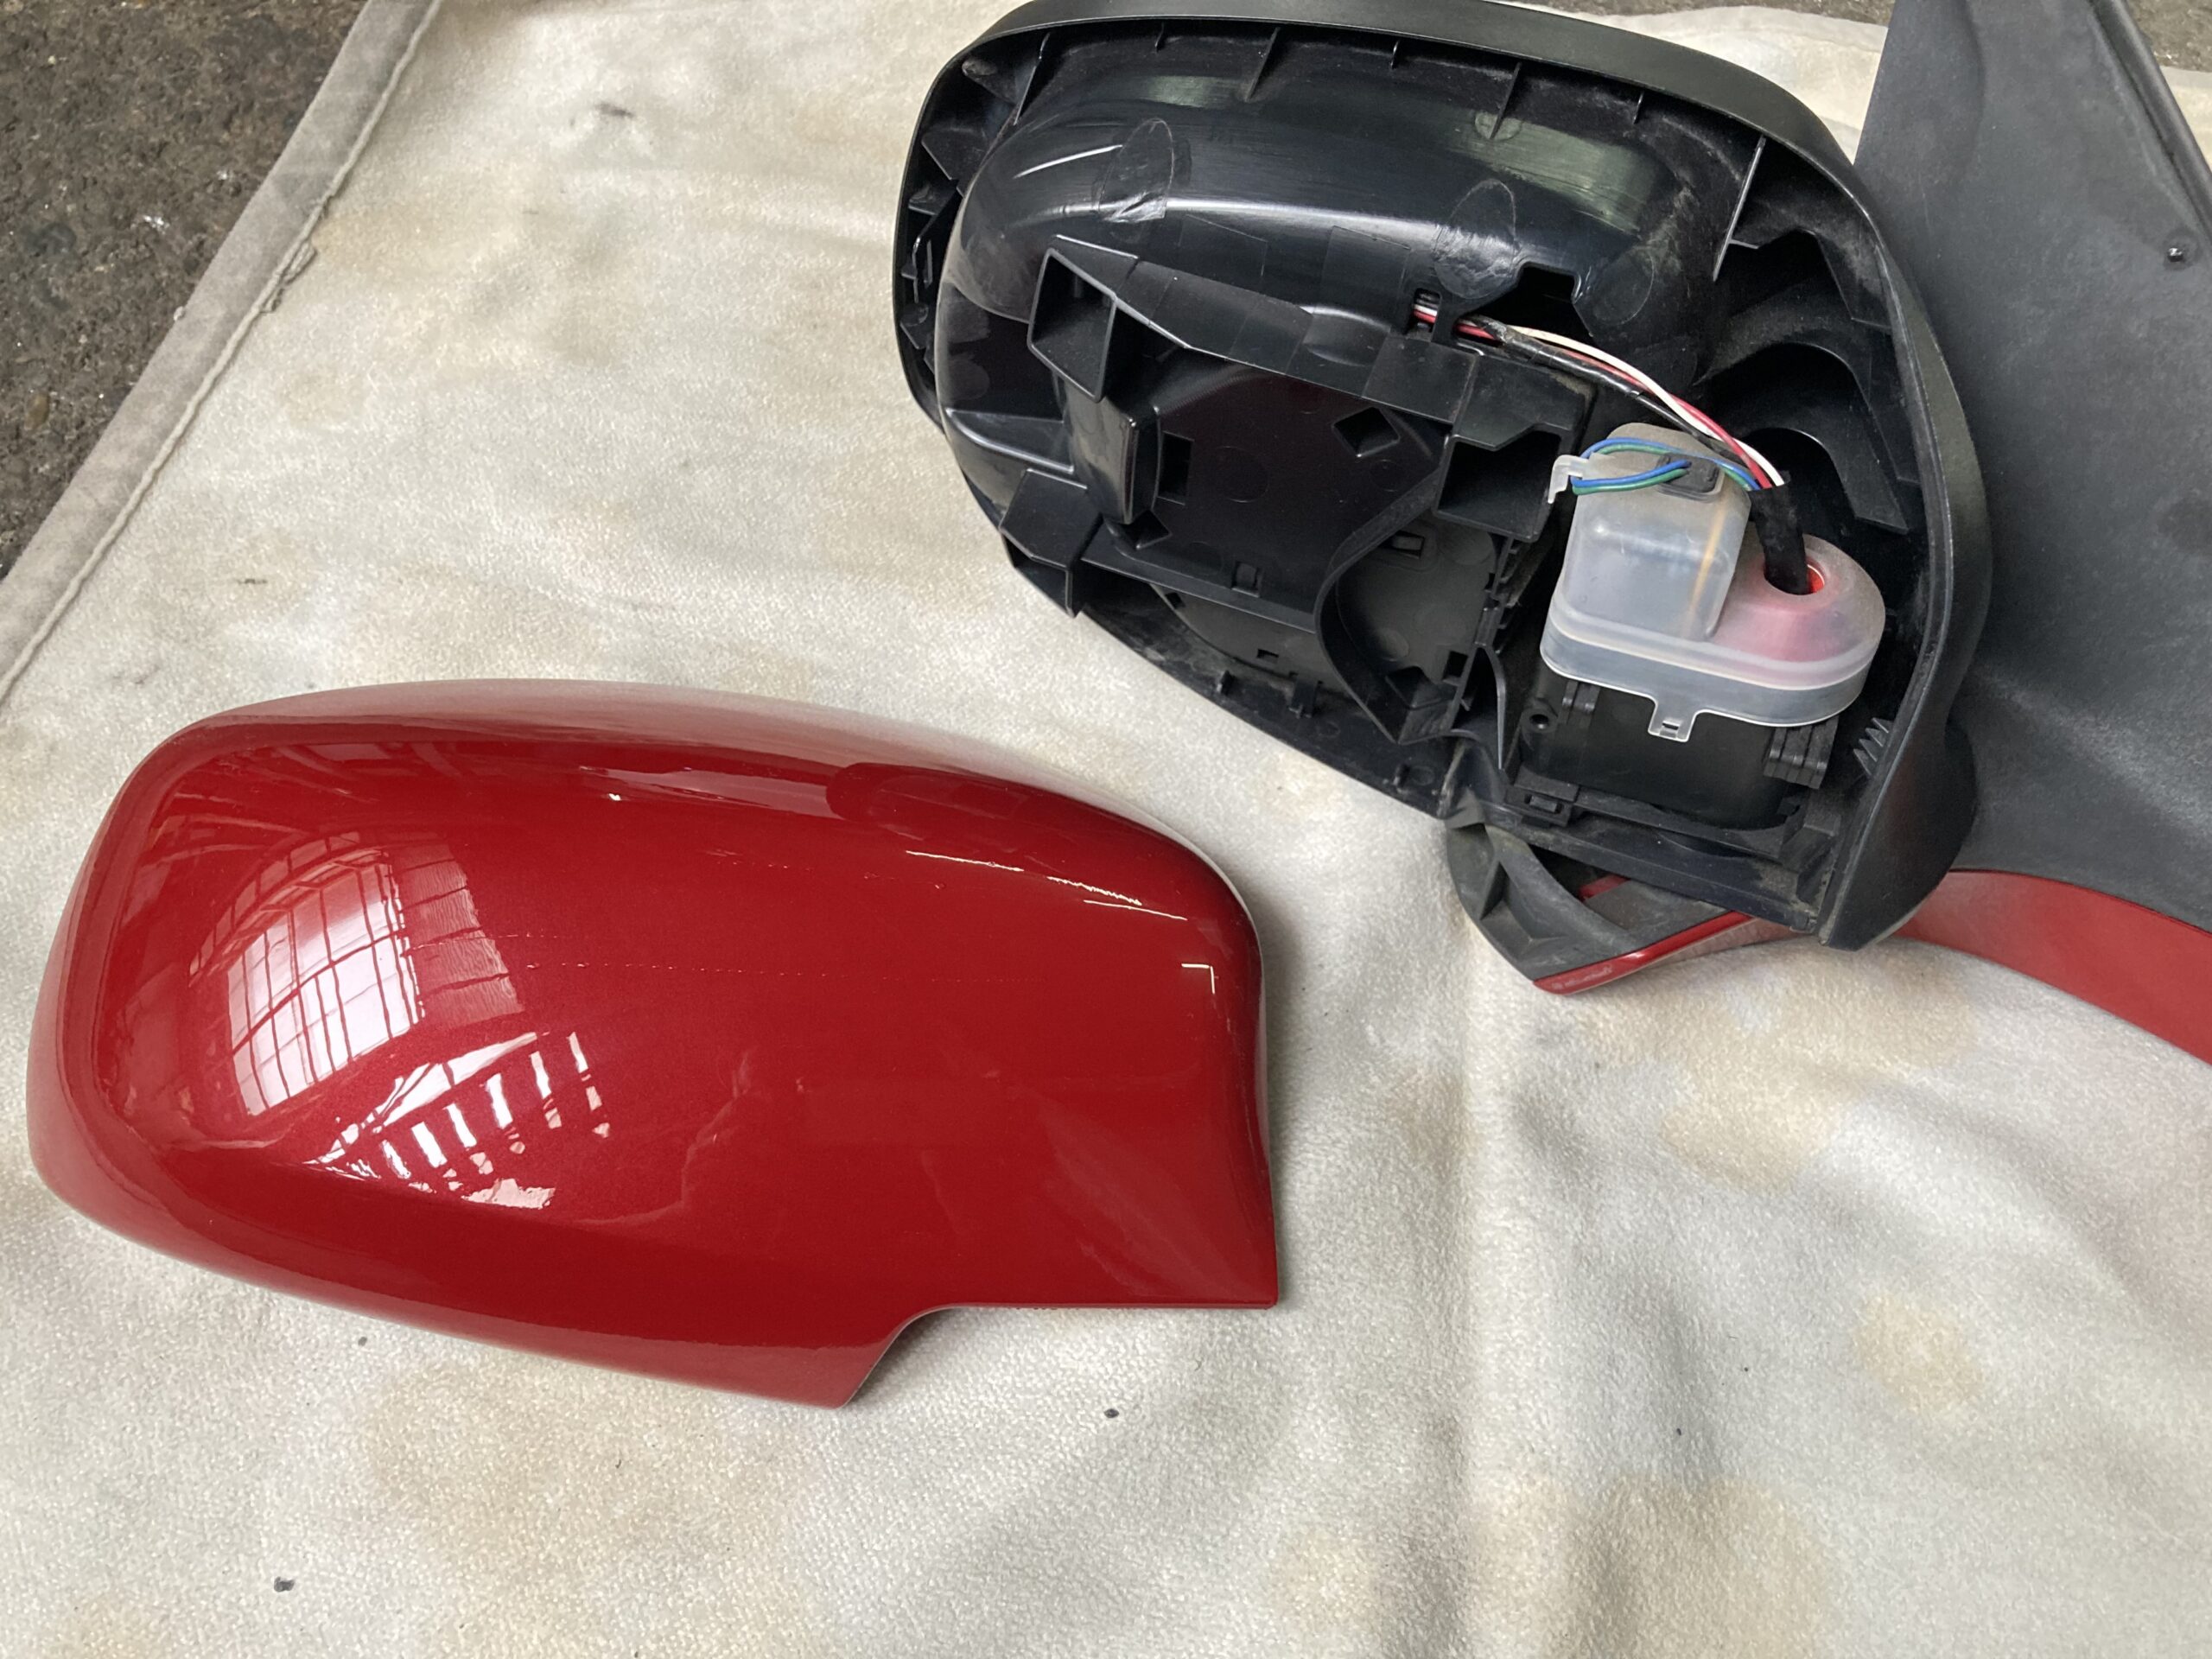
And complete by attaching it to the door mirror unit.
I’ve explained the rough outline of the repair painting process, but in reality, there are several other steps involved.
Leave a Reply