Around the time a vehicle exceeds 10 years of age, “rust” and “fading” of wipers become particularly noticeable, especially on vehicles parked outdoors.
Since this is in a location visible from the driver’s seat, if the deterioration progresses to red rust as shown in the photo, the entire vehicle will appear shabby.
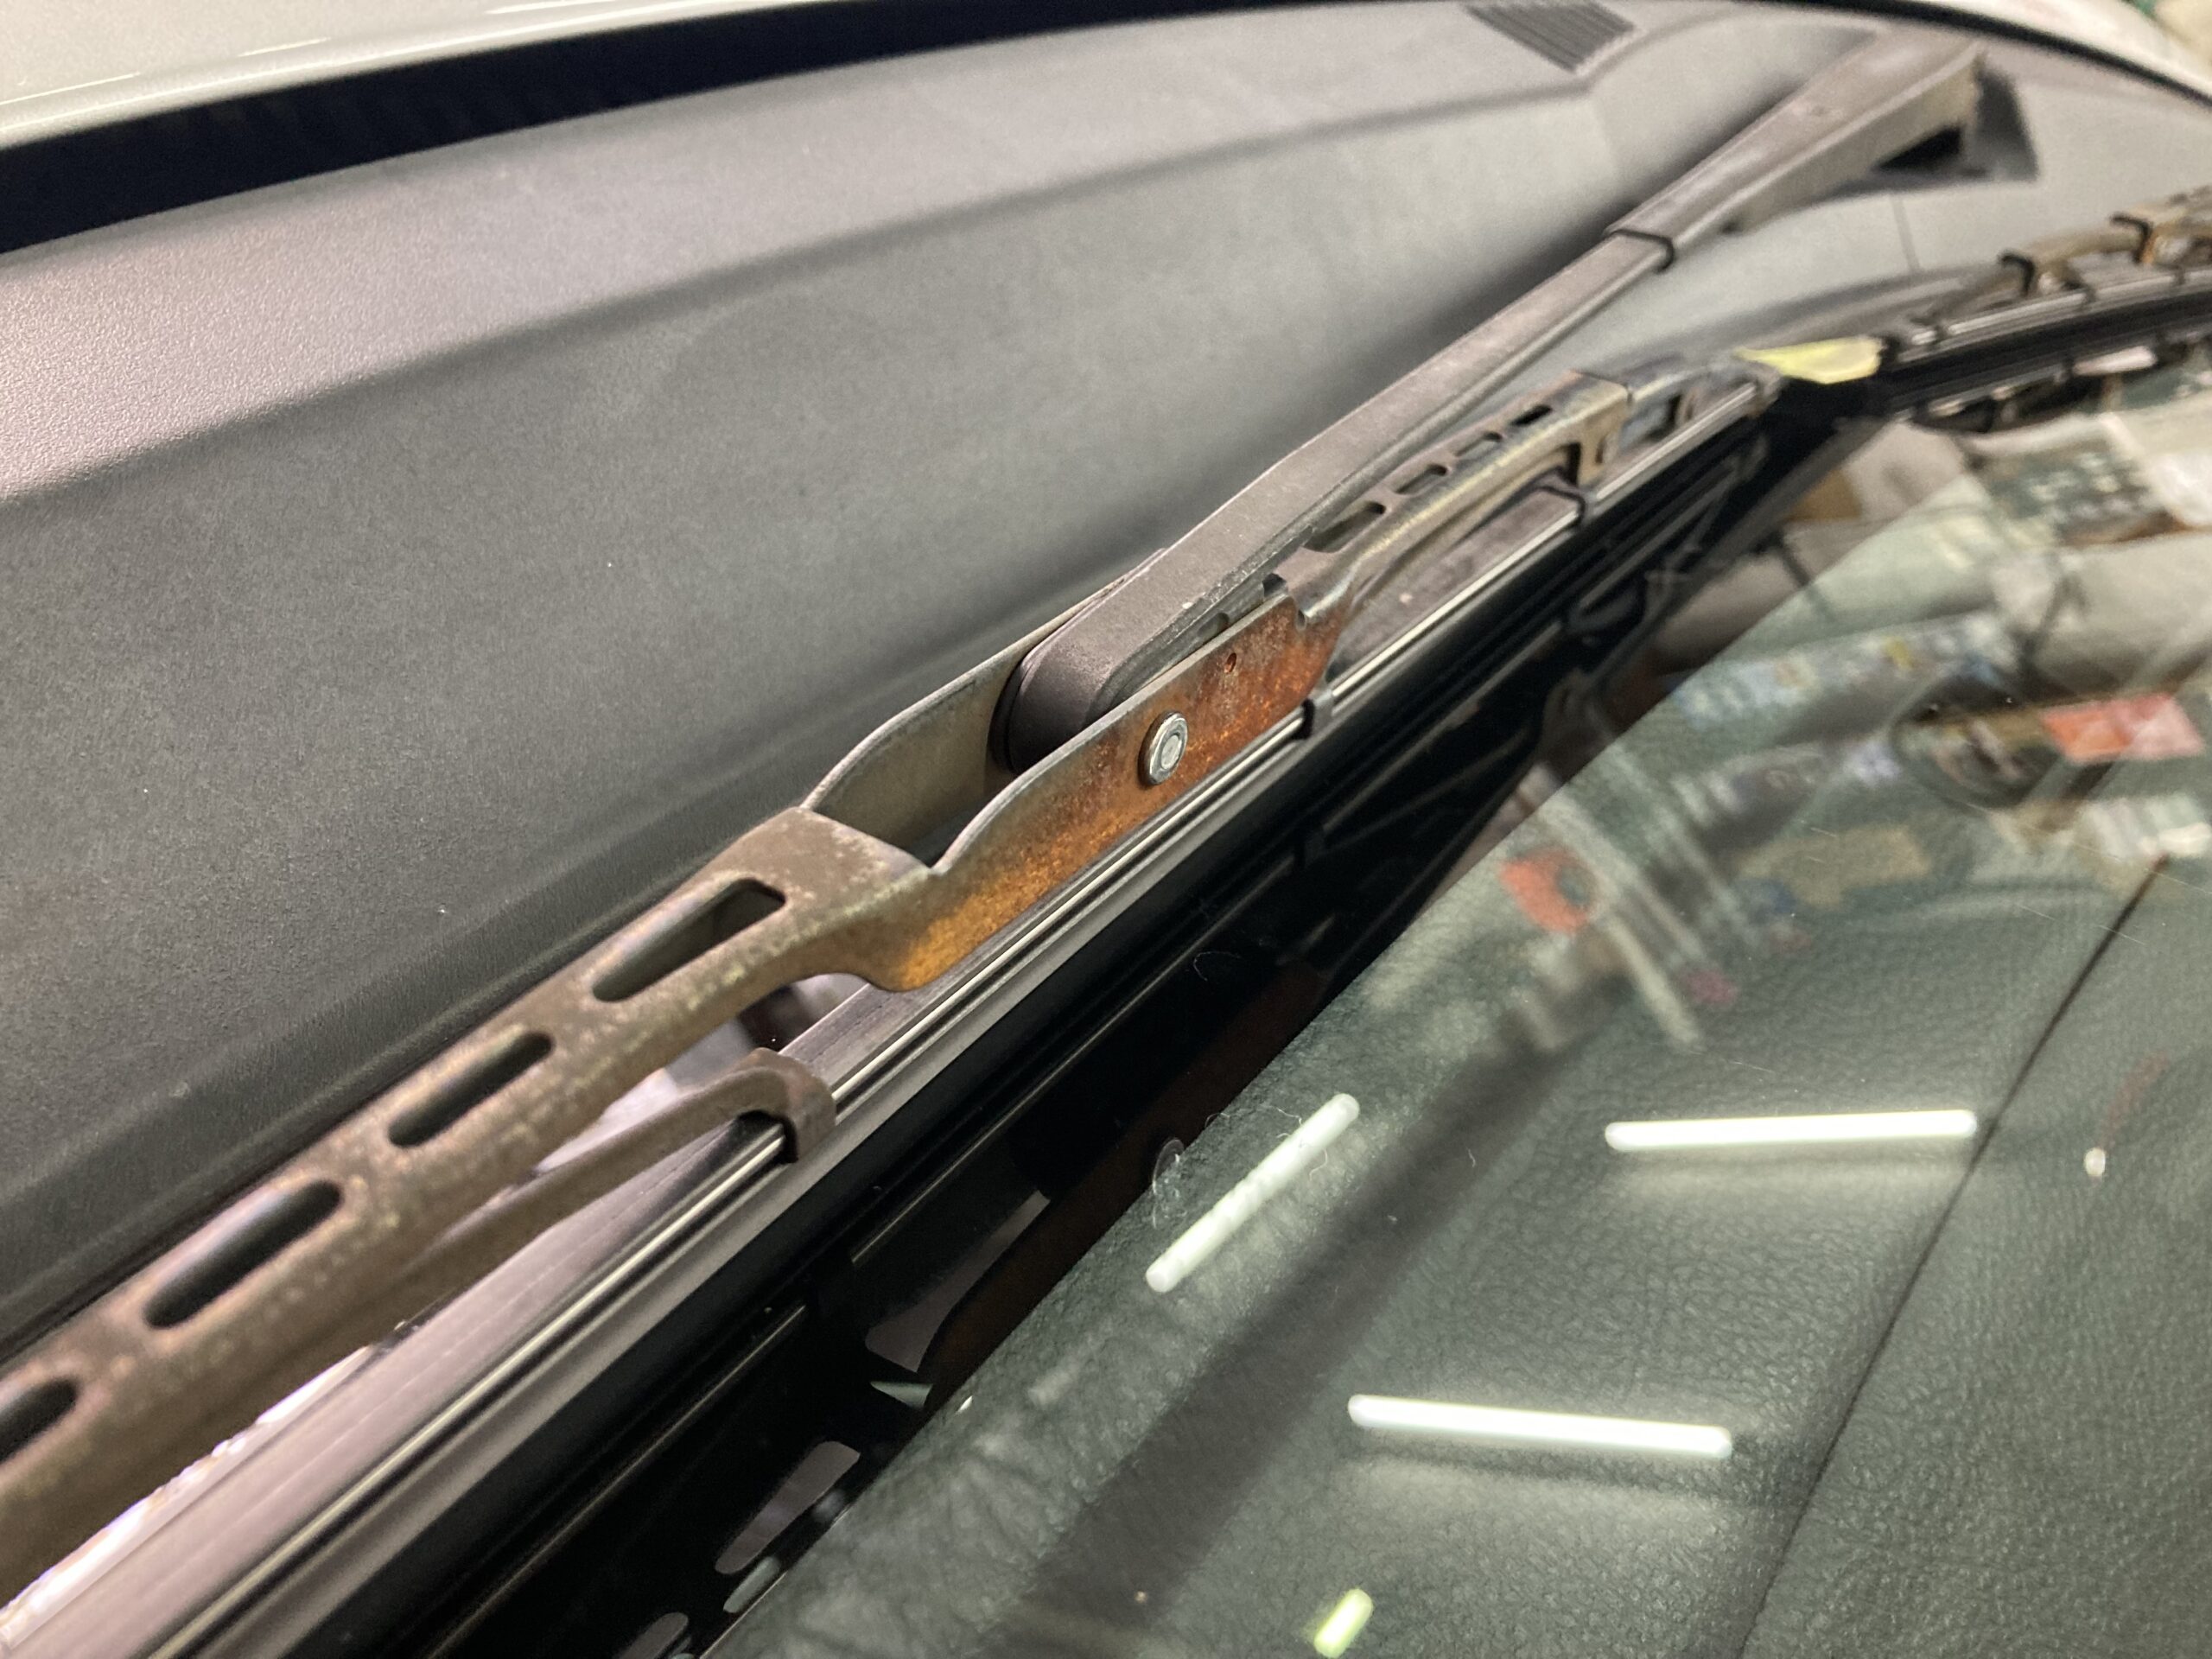
The wipers located outside the vehicle consist of the following three parts:
①Wiper arm
②Wiper blade
③Wiper rubber
What is sold as replacement parts at auto parts stores and gas stations are ③wiper rubber (replacement rubber) or the combination of ②wiper blade and ③wiper rubber (this is commonly called a wiper blade).
The rust in the photo above is on the wiper blade part, so it can be easily cleaned by replacing it with a commercially available product.
However, as shown in the next photo, if rust extends to the ③wiper arm part, replacement parts are only available as genuine parts, so obtaining them is not easy.
Even if you can obtain them, the replacement work requires appropriate technical skills.
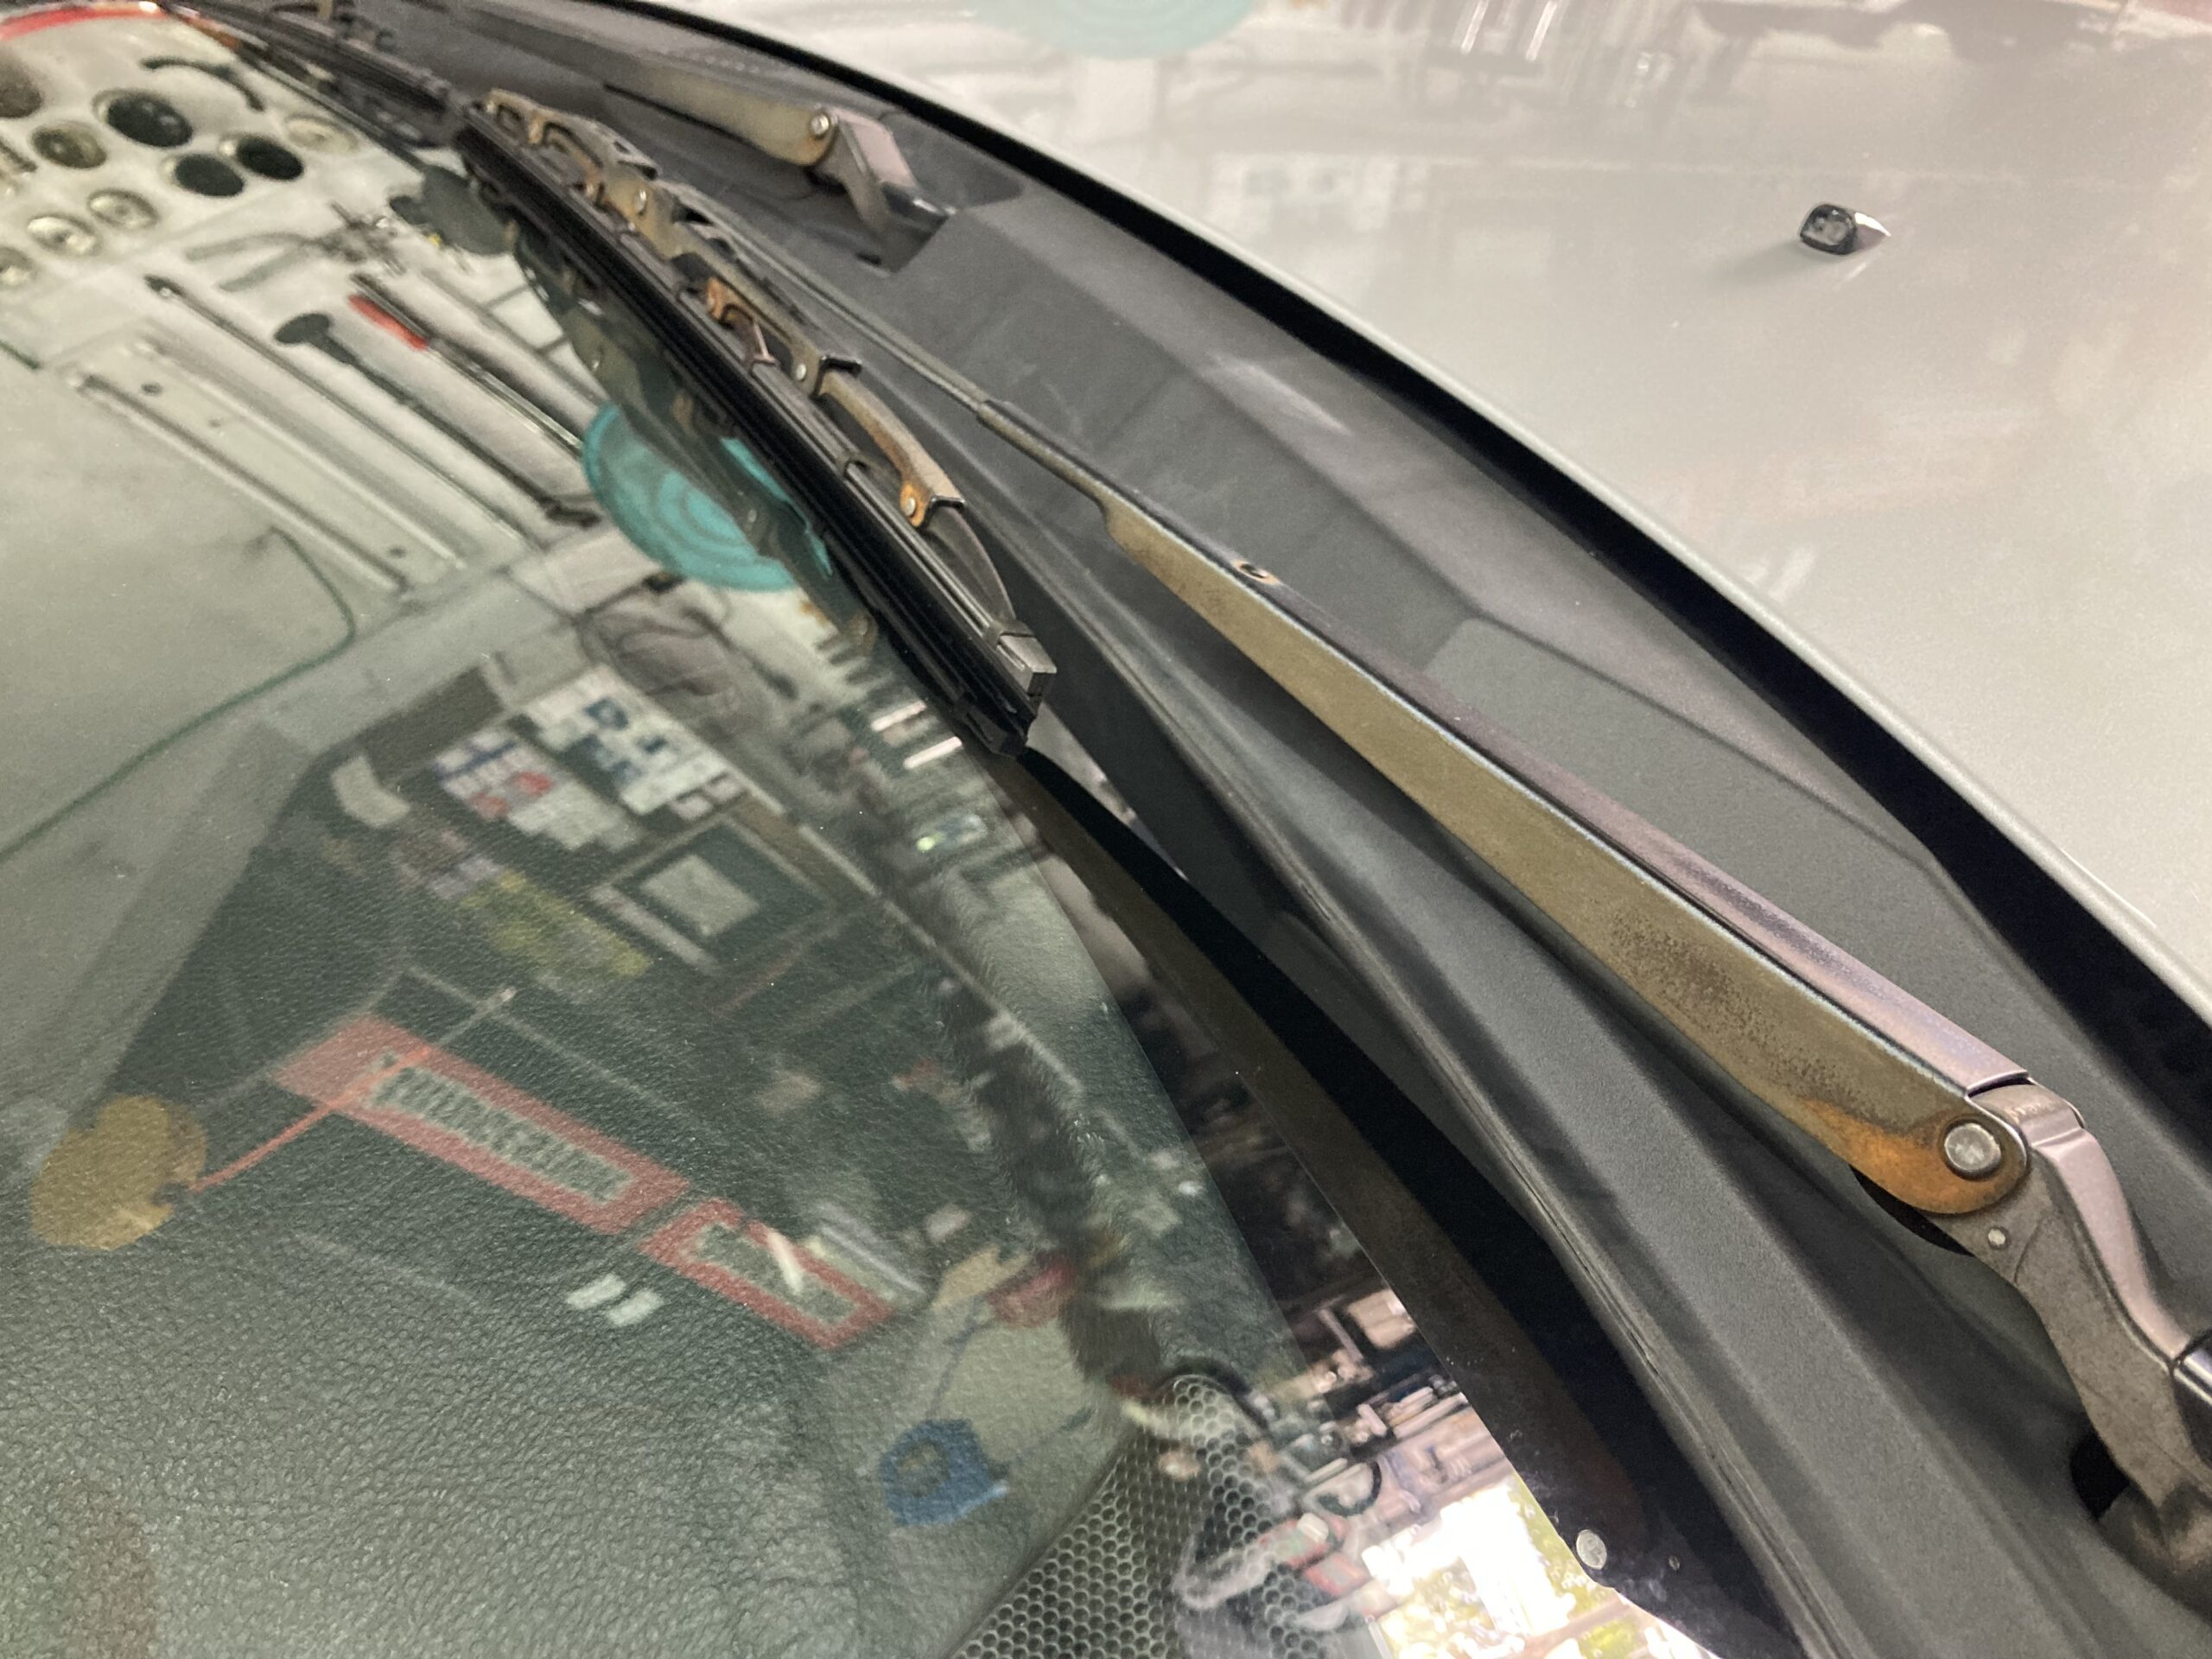
This is because the wiper arm is typically tapered and fitted to the reciprocating rotational axis of the wiper link mechanism built into the cowl top panel, and it may become stuck due to rusting from rainwater, making it difficult to remove.
Also, for vehicles over 20 years old, it’s not uncommon for parts supply to have ended, so in my case, regardless of parts availability, I usually handle it with repairs.
Since wiper blades have an intricately intertwined shape, mini rotary tools and rotary wire brushes like this are useful for removing red rust.
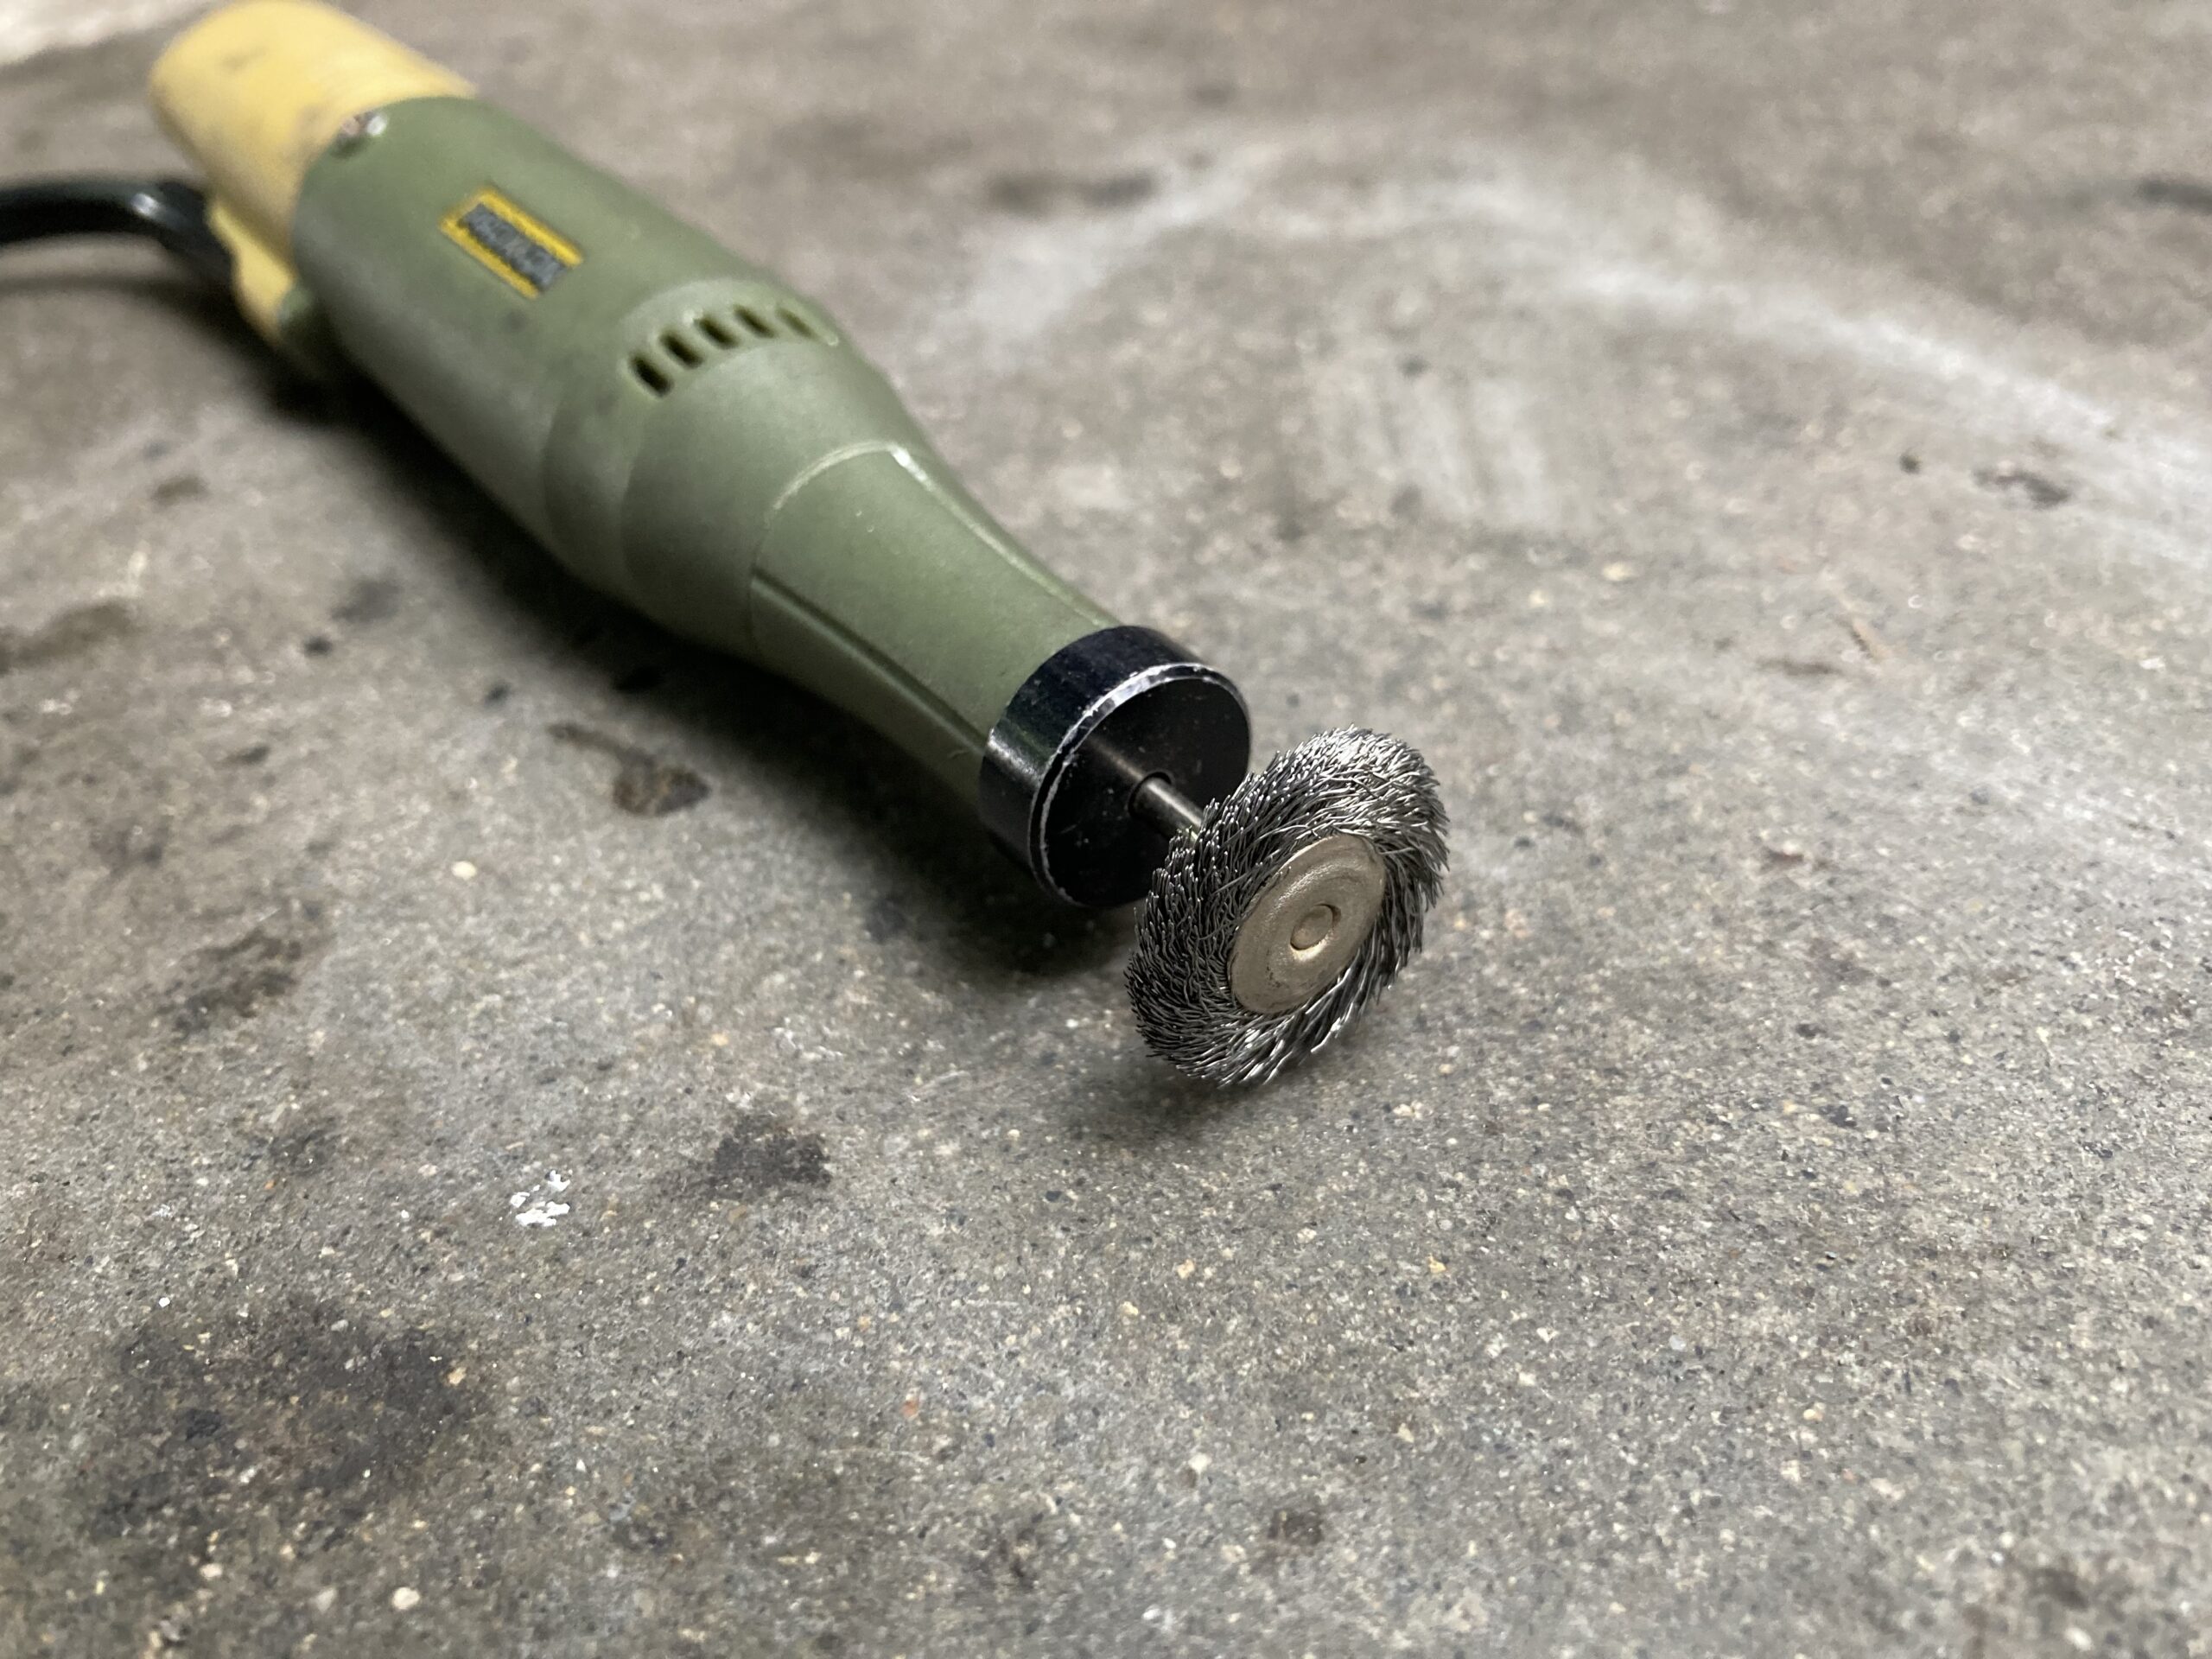
It’s important to completely remove the rust until the underlying metal is clearly visible. This is because it’s extremely difficult to conceal unevenness in the base with thick coats of paint.
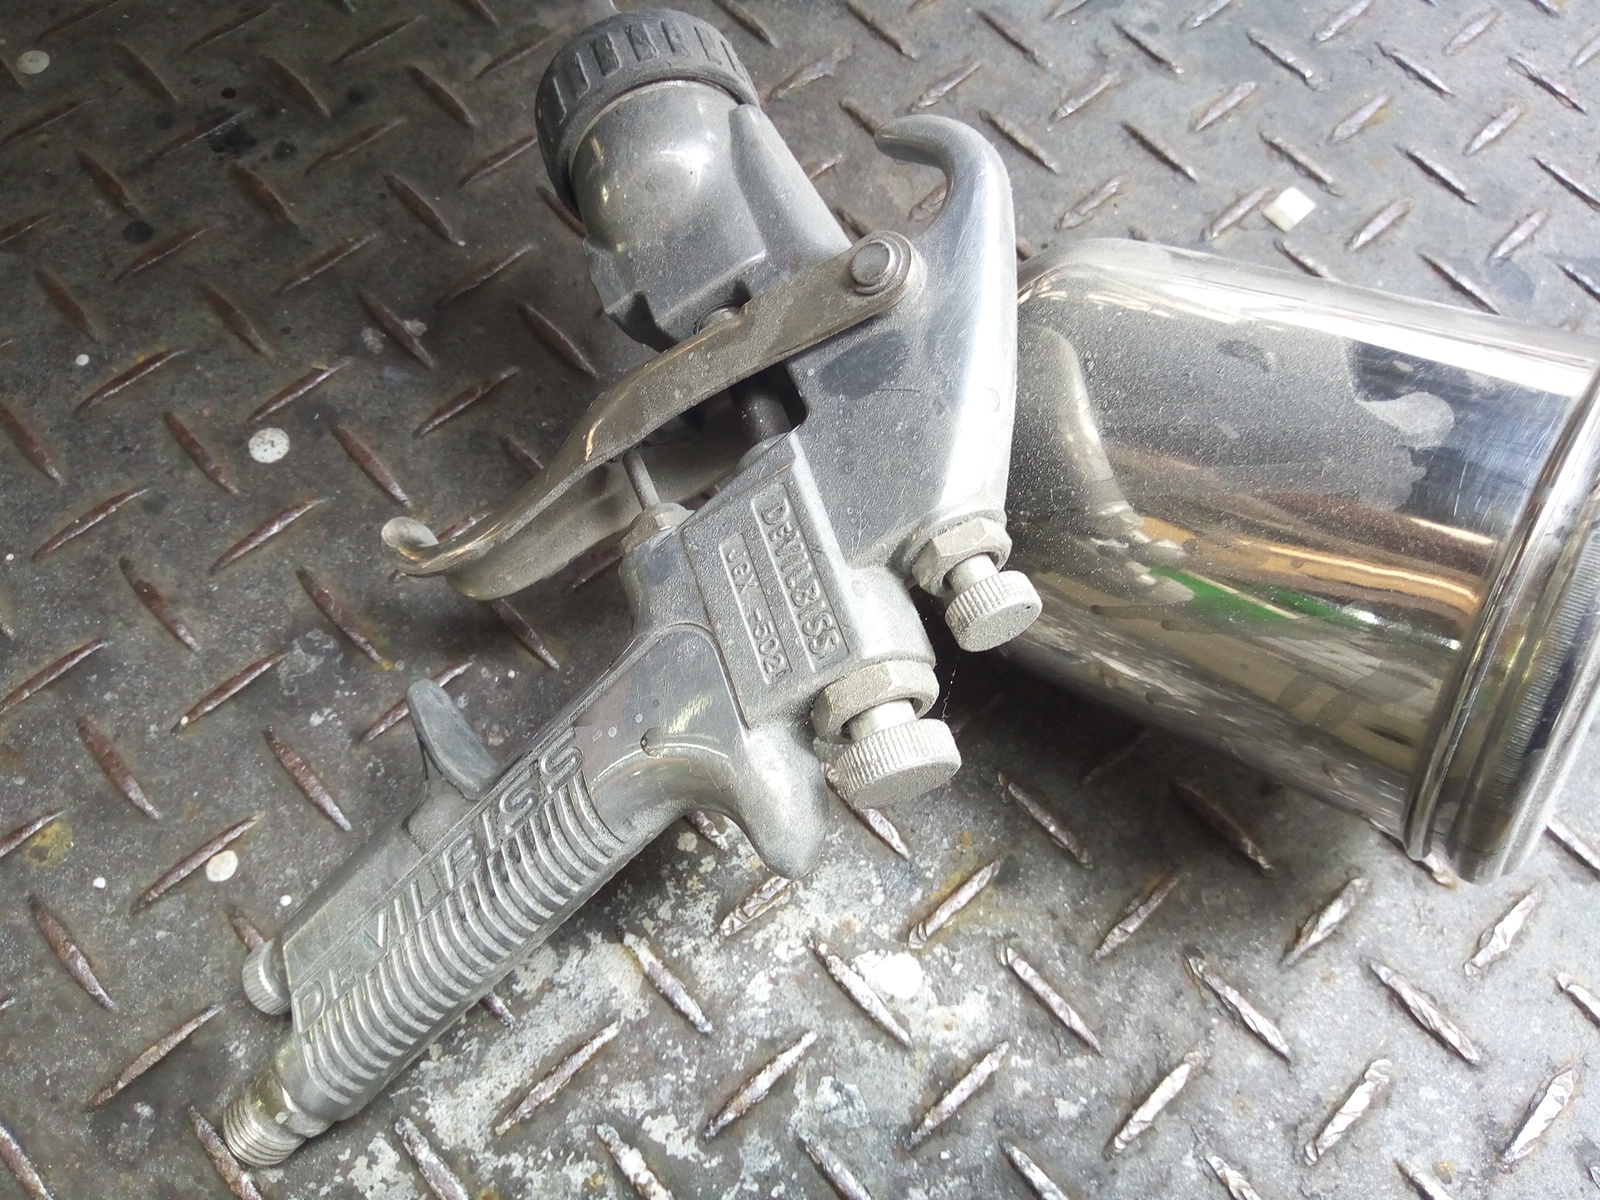
This top-quality Made in USA DeVilbiss HVLP (low-pressure gun for general automotive repair painting) that I received from a painting professional is truly easy to use, with fine mist-like paint gently settling on the painting target.
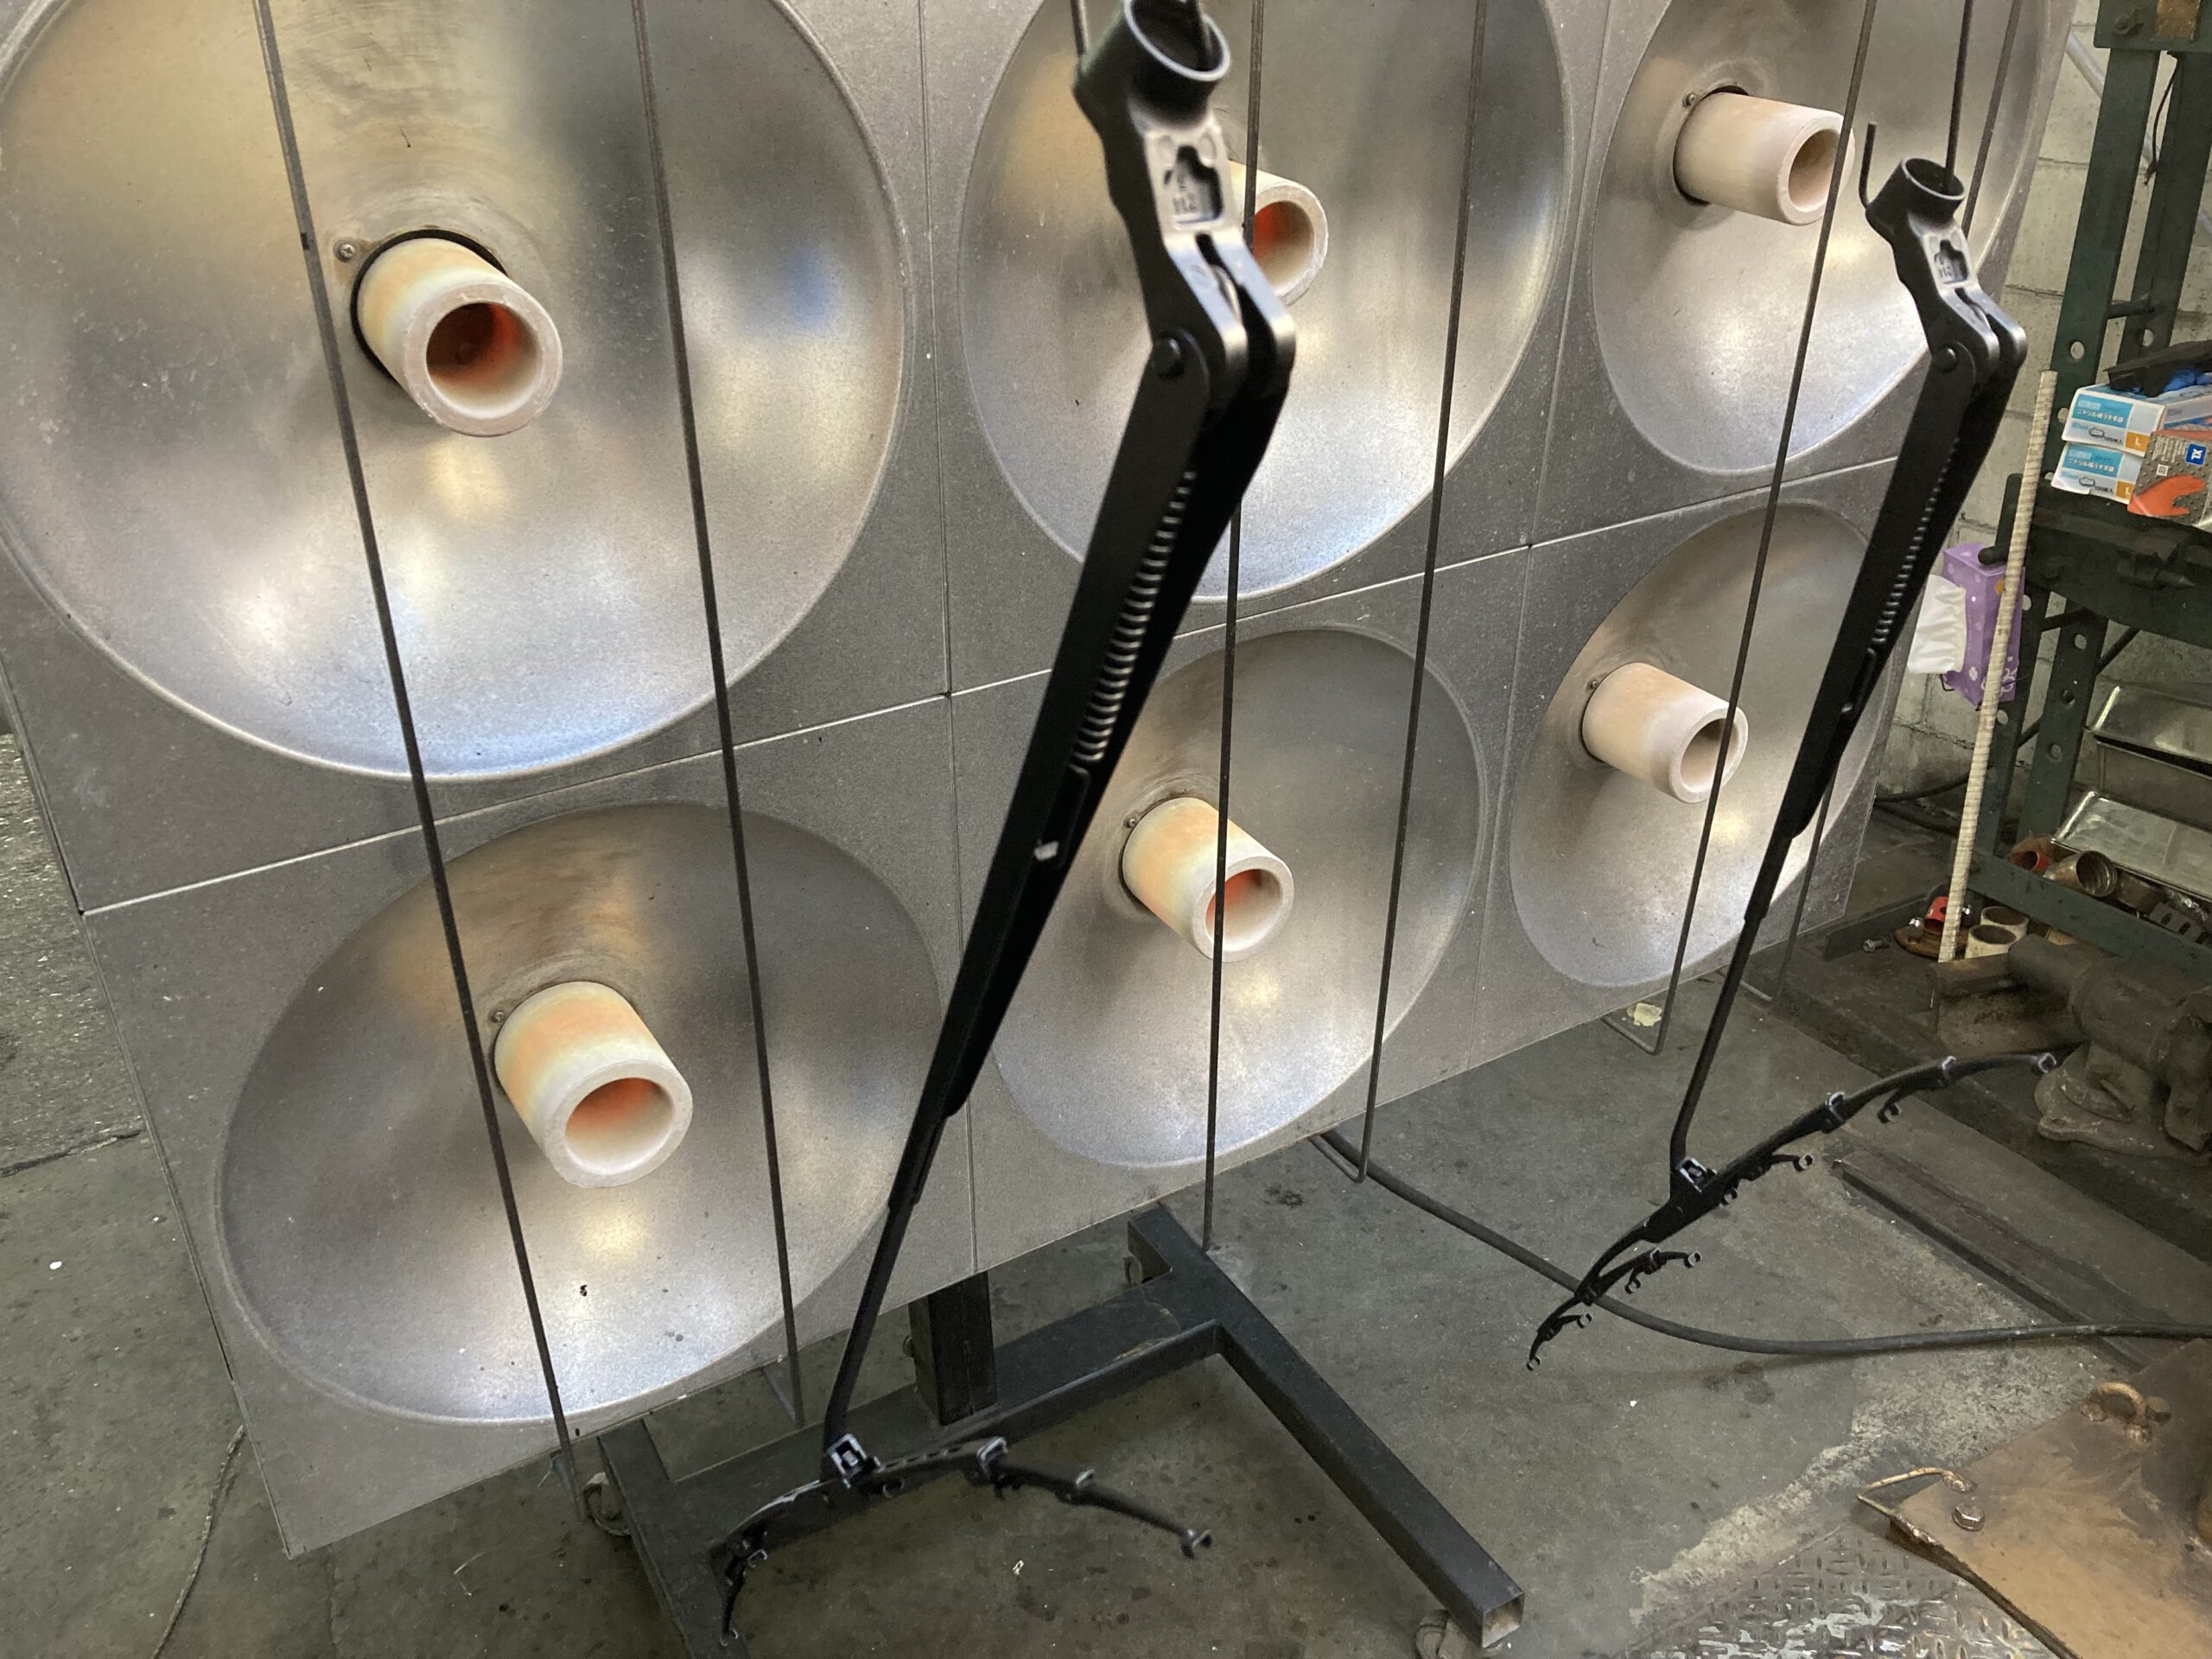
Since this is a location exposed to direct sunlight and rain, urethane painting with high film strength is ideal.
Please consider that the difference between acrylic lacquer film from spray cans and urethane paint film is like the difference between sand crafts and concrete.
Although the finish may look similar, lacquer film that easily dissolves in thinner is like a sand castle that collapses when water hits it.
Urethane film, with a hard and solid structure like concrete, has a film strength that hardly changes even with thinner.
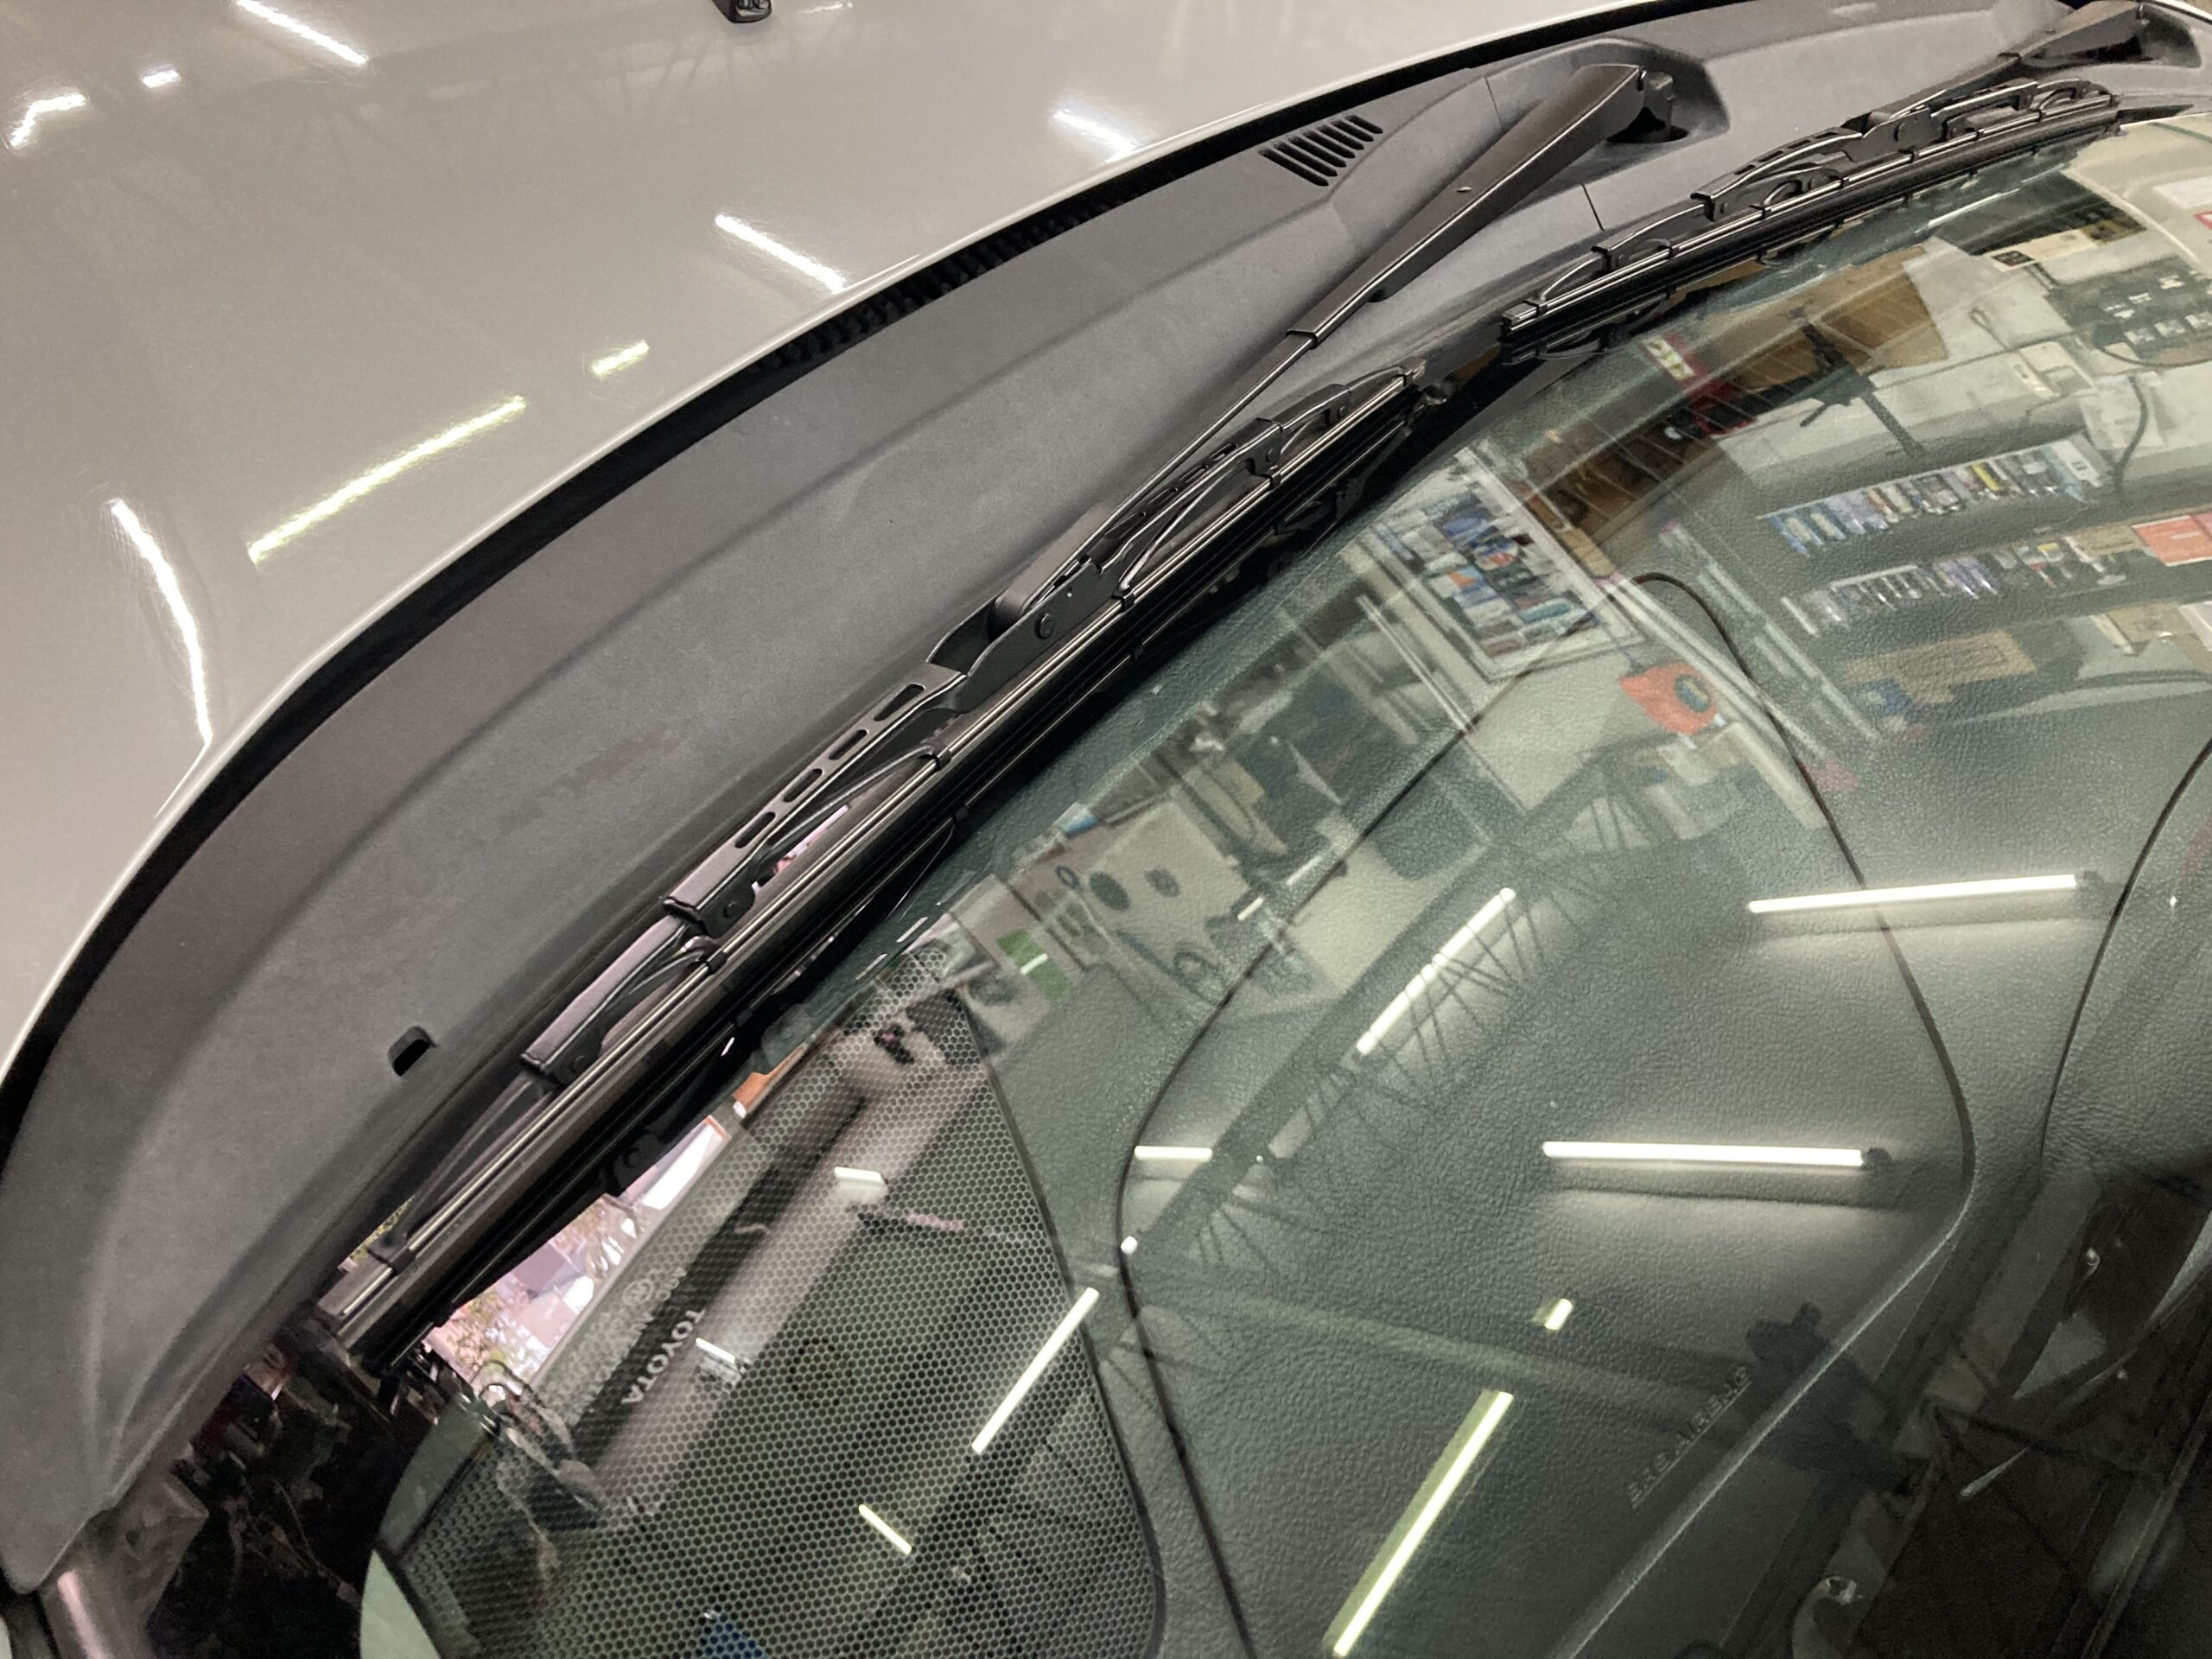
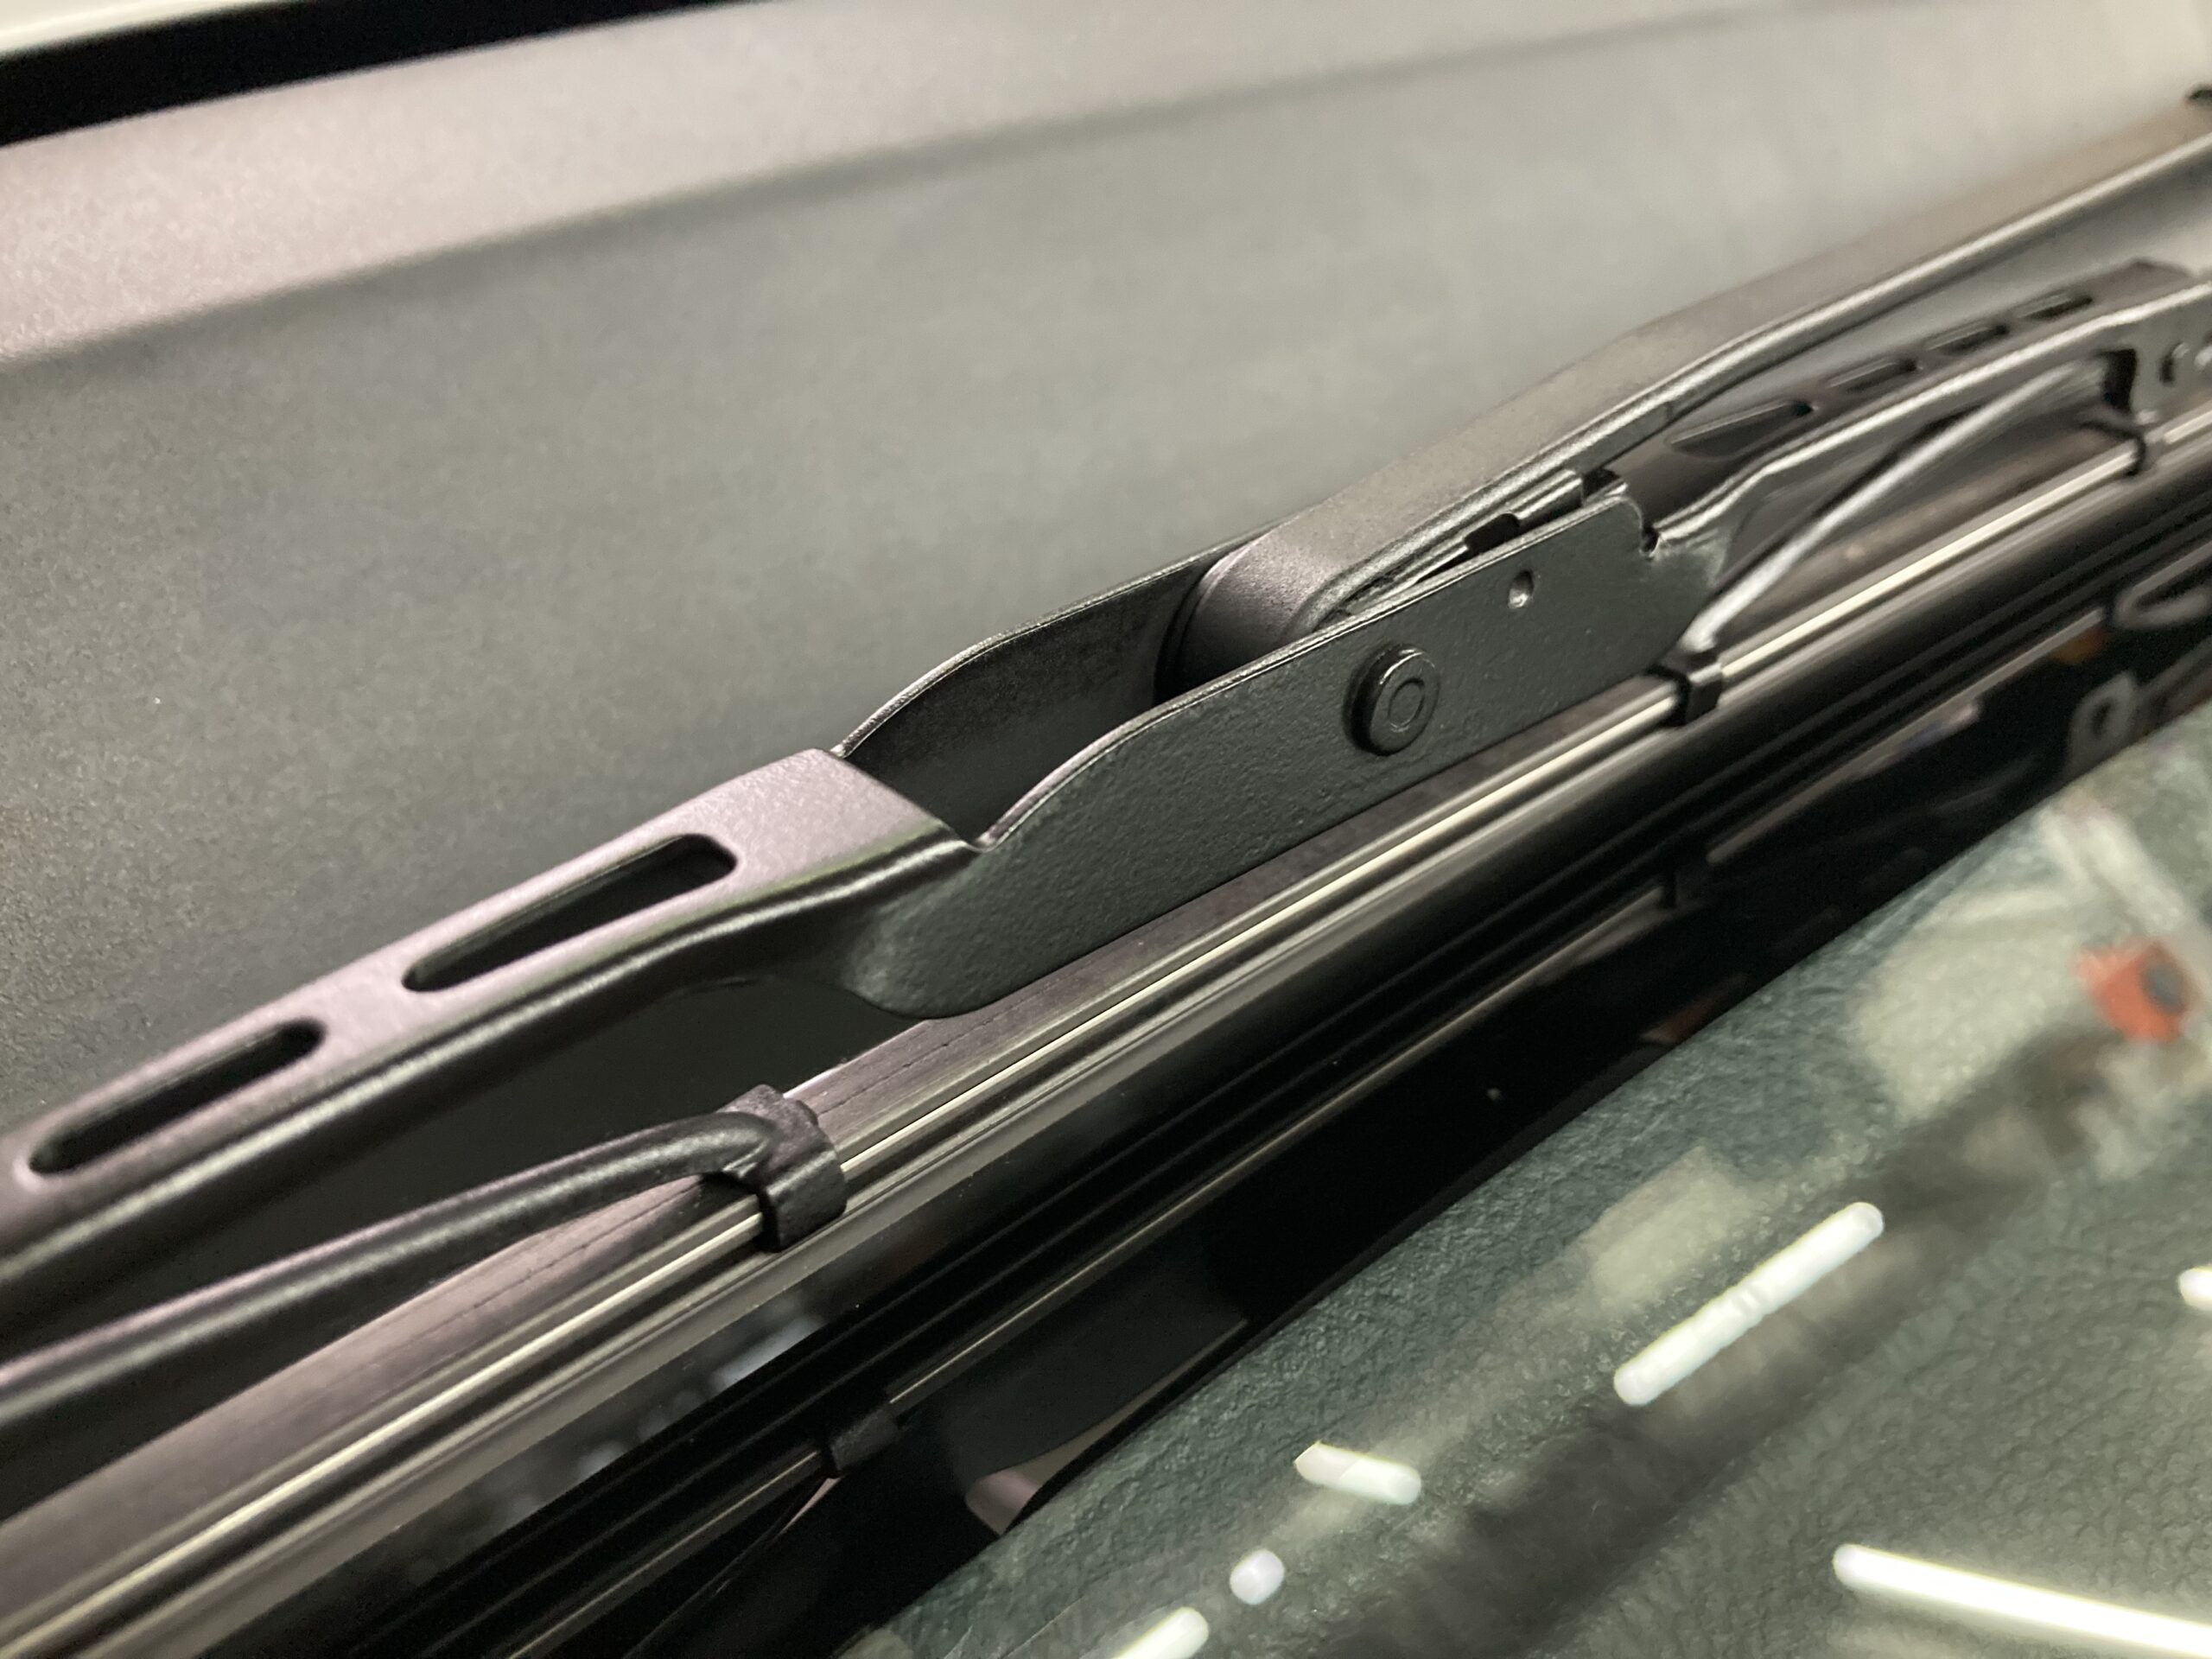

With about an hour of work time, I was able to finish it to this extent.
Leave a Reply