How to Dramatically Improve Your Touch-Up Paint Skills (Brush Selection and Technique)”
This time, I would like to share specific touch-up methods for pearl and silver metallic paints containing particle pigments.
With enough time and effort, it’s possible to achieve such a beautiful finish that the repair becomes virtually undetectable, but the goal of this procedure is to make scratches less noticeable in just a few to around 10 minutes.

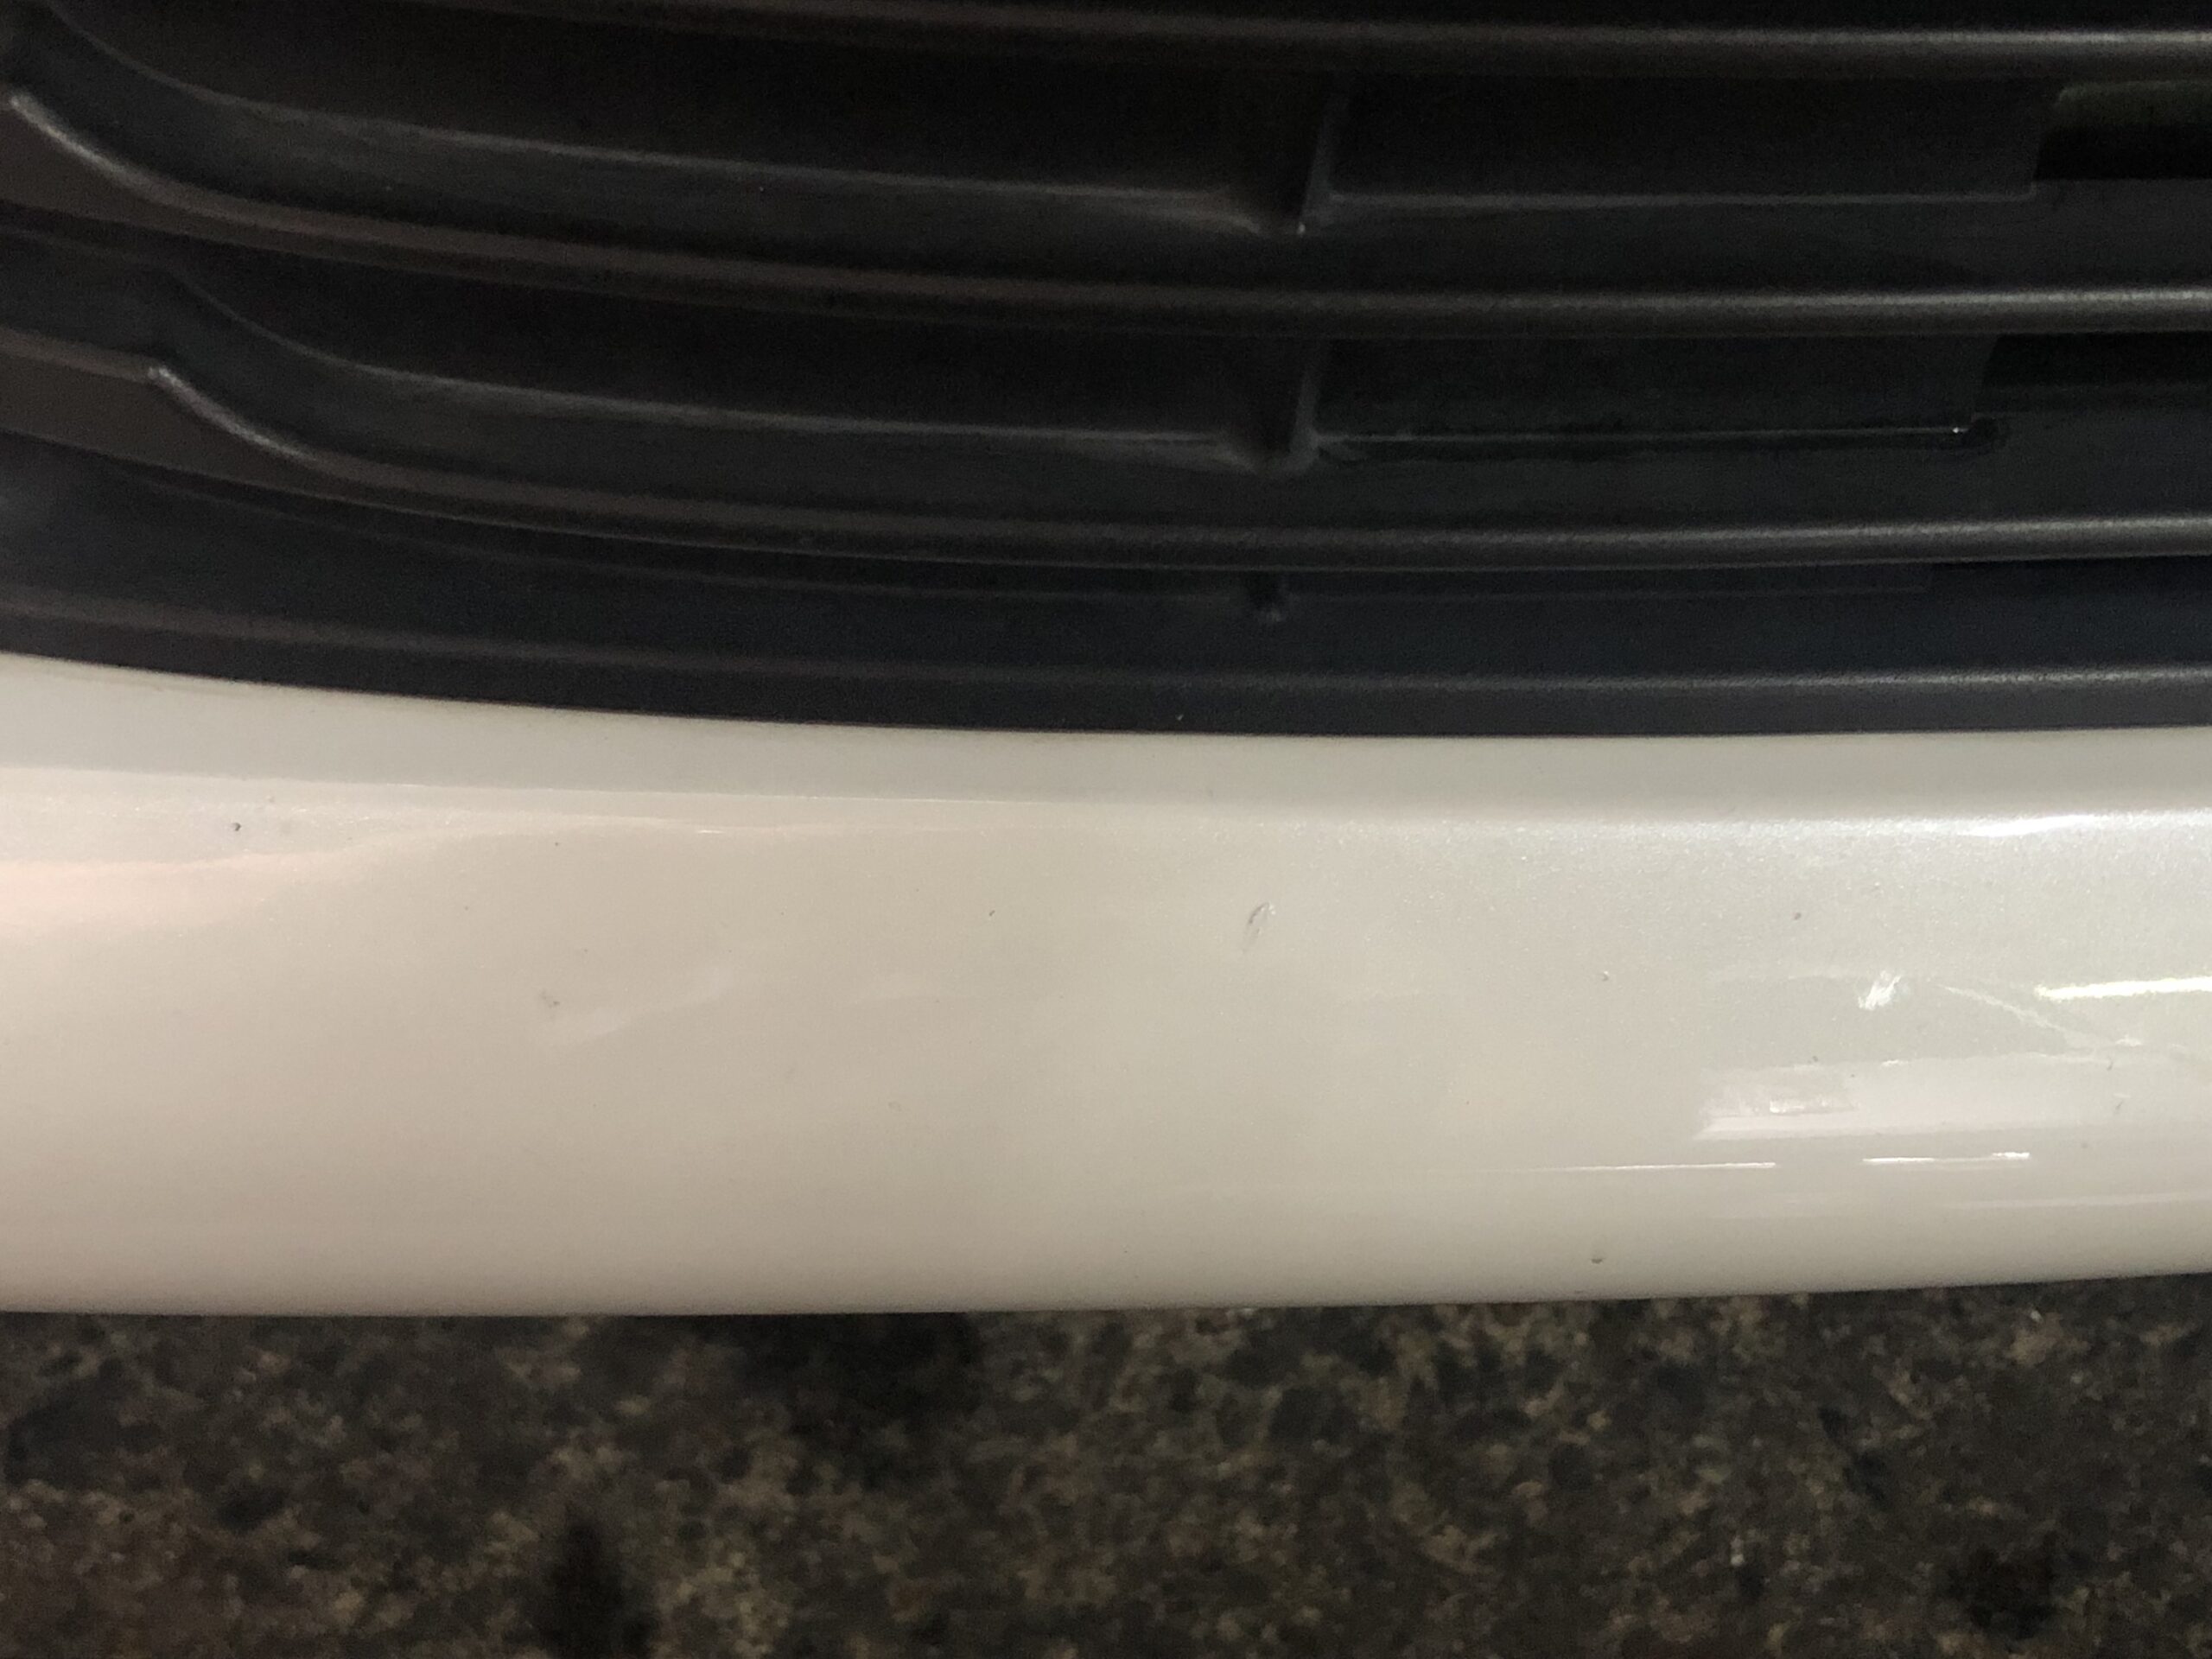
First, here’s an example of white pearl repair.
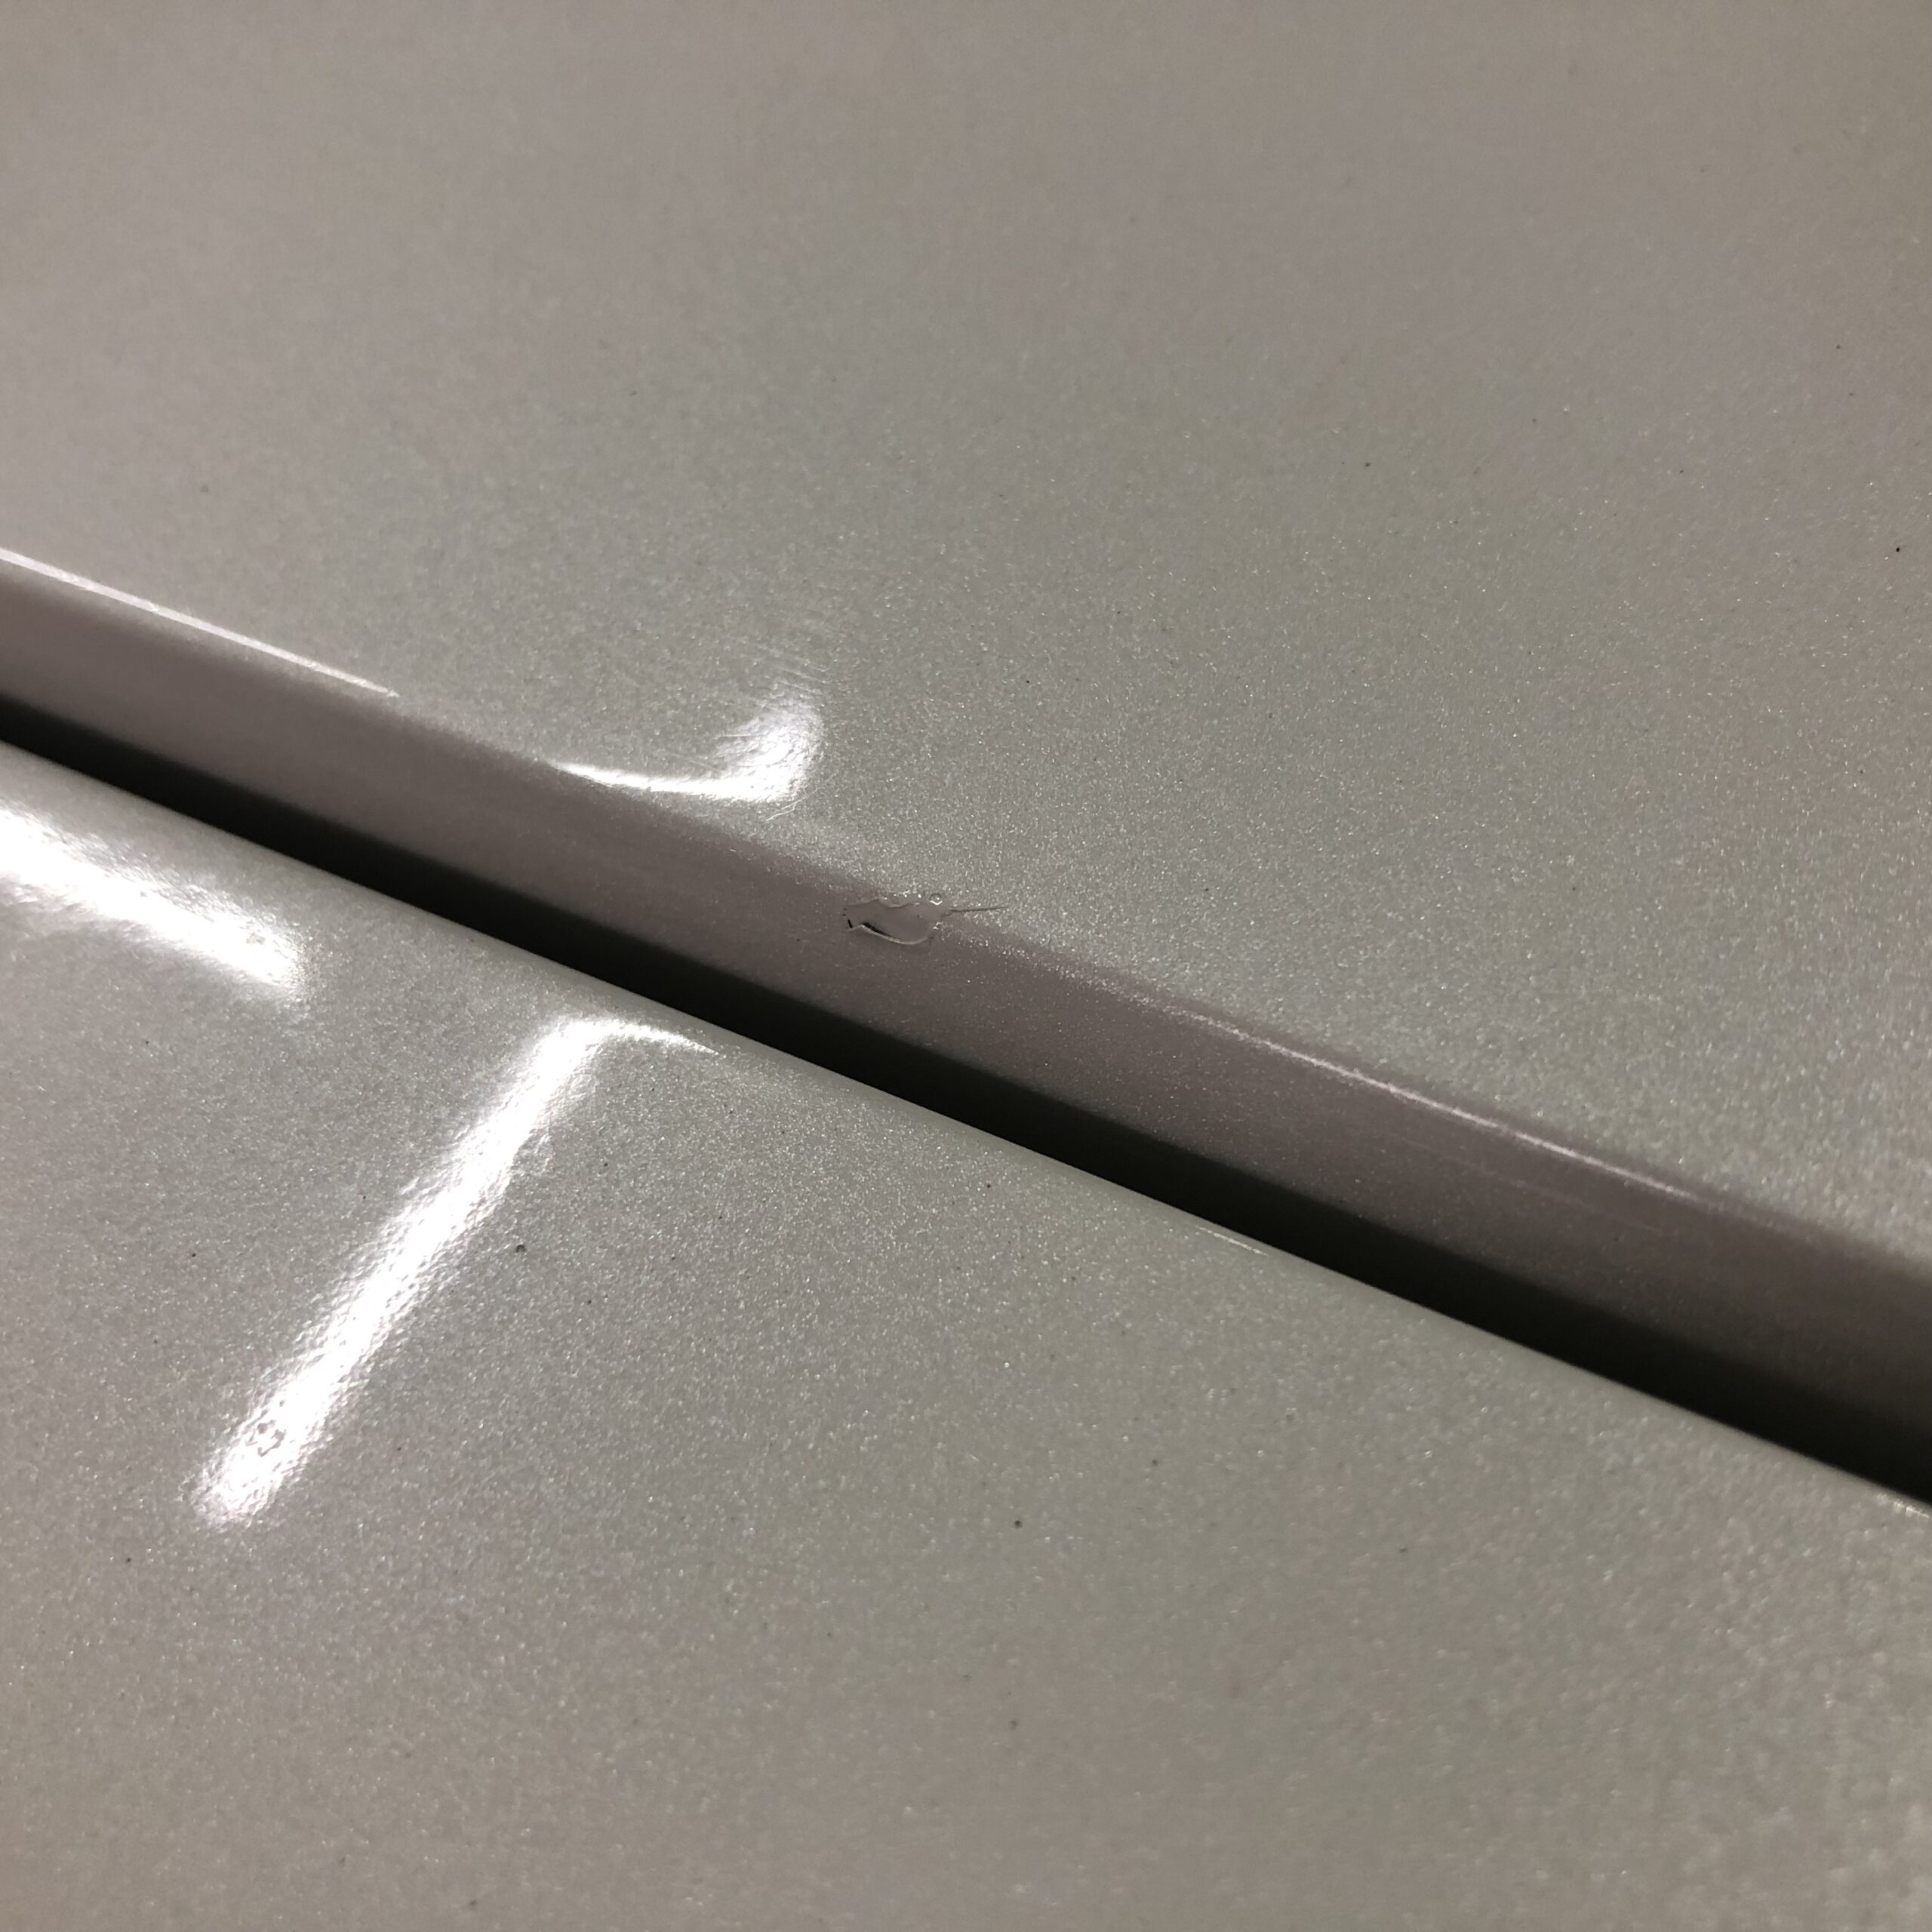
A small scratch on the front bumper caused by stone chips.
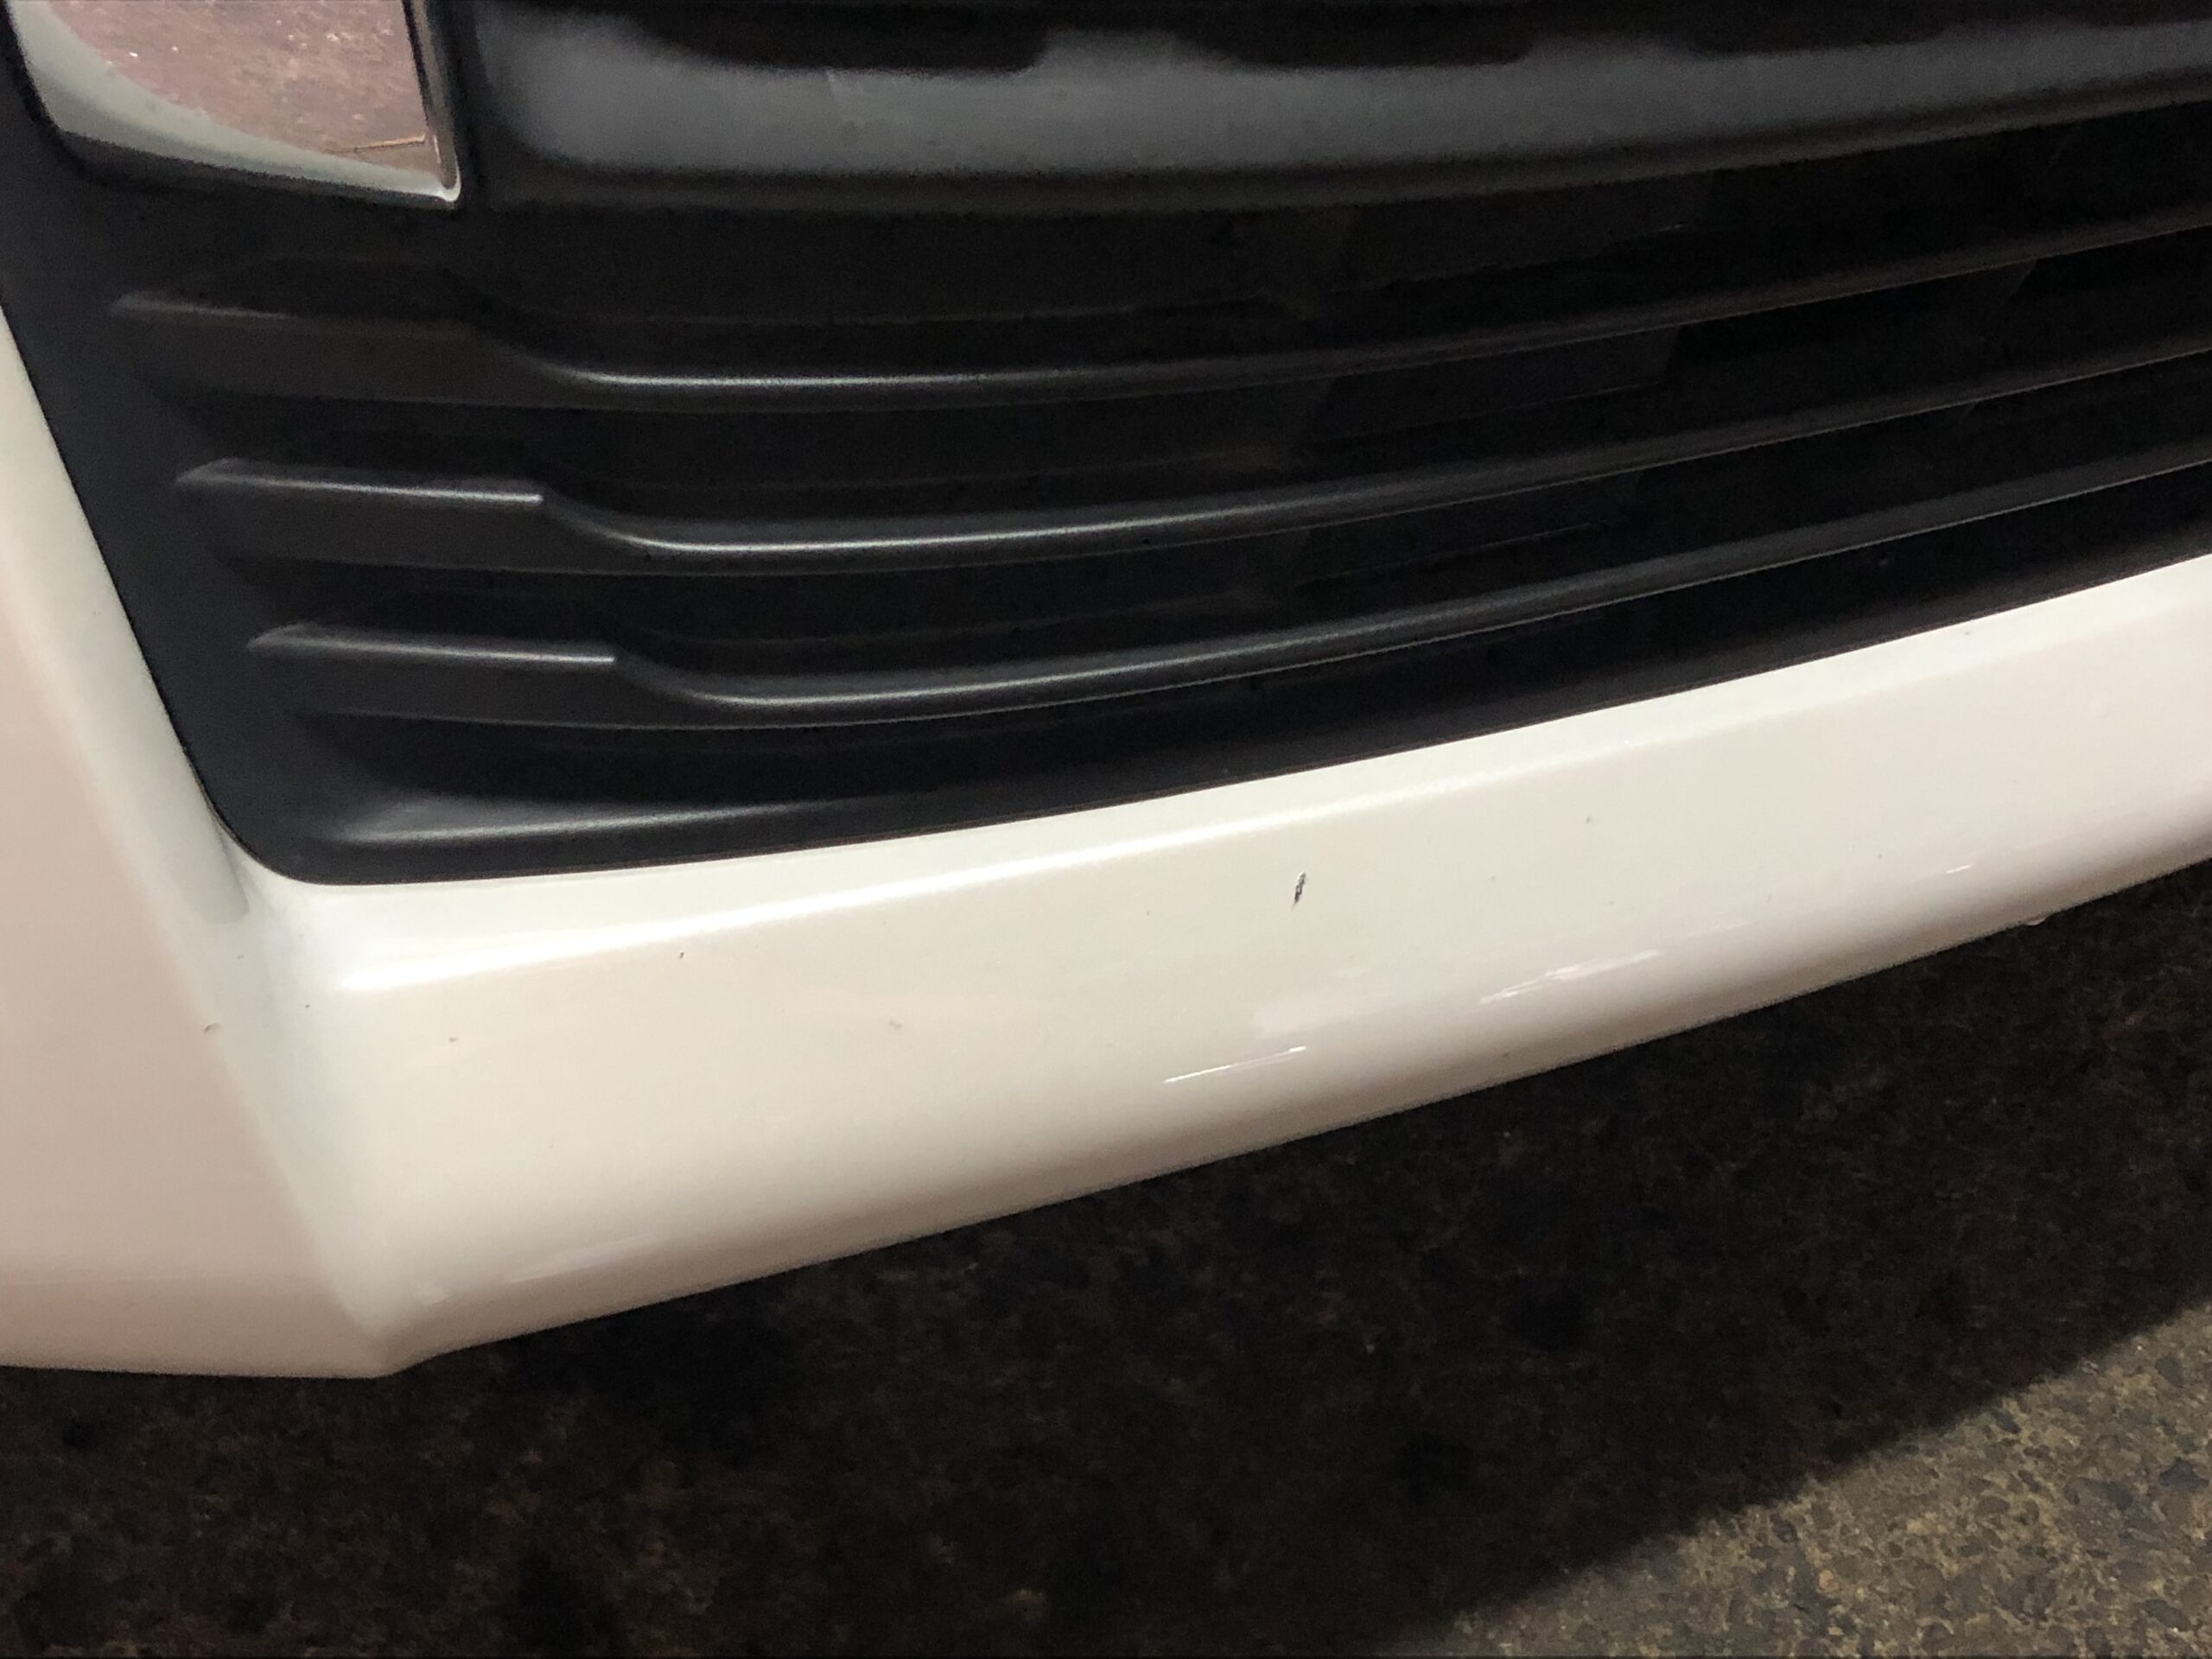
Because the bumper material (PP) is black, it creates a clear contrast with the white pearl paint color, making it noticeable even from a distance.
Since it’s a small scratch, not worth extensive body repair, I think you would first purchase commercial touch-up paint.
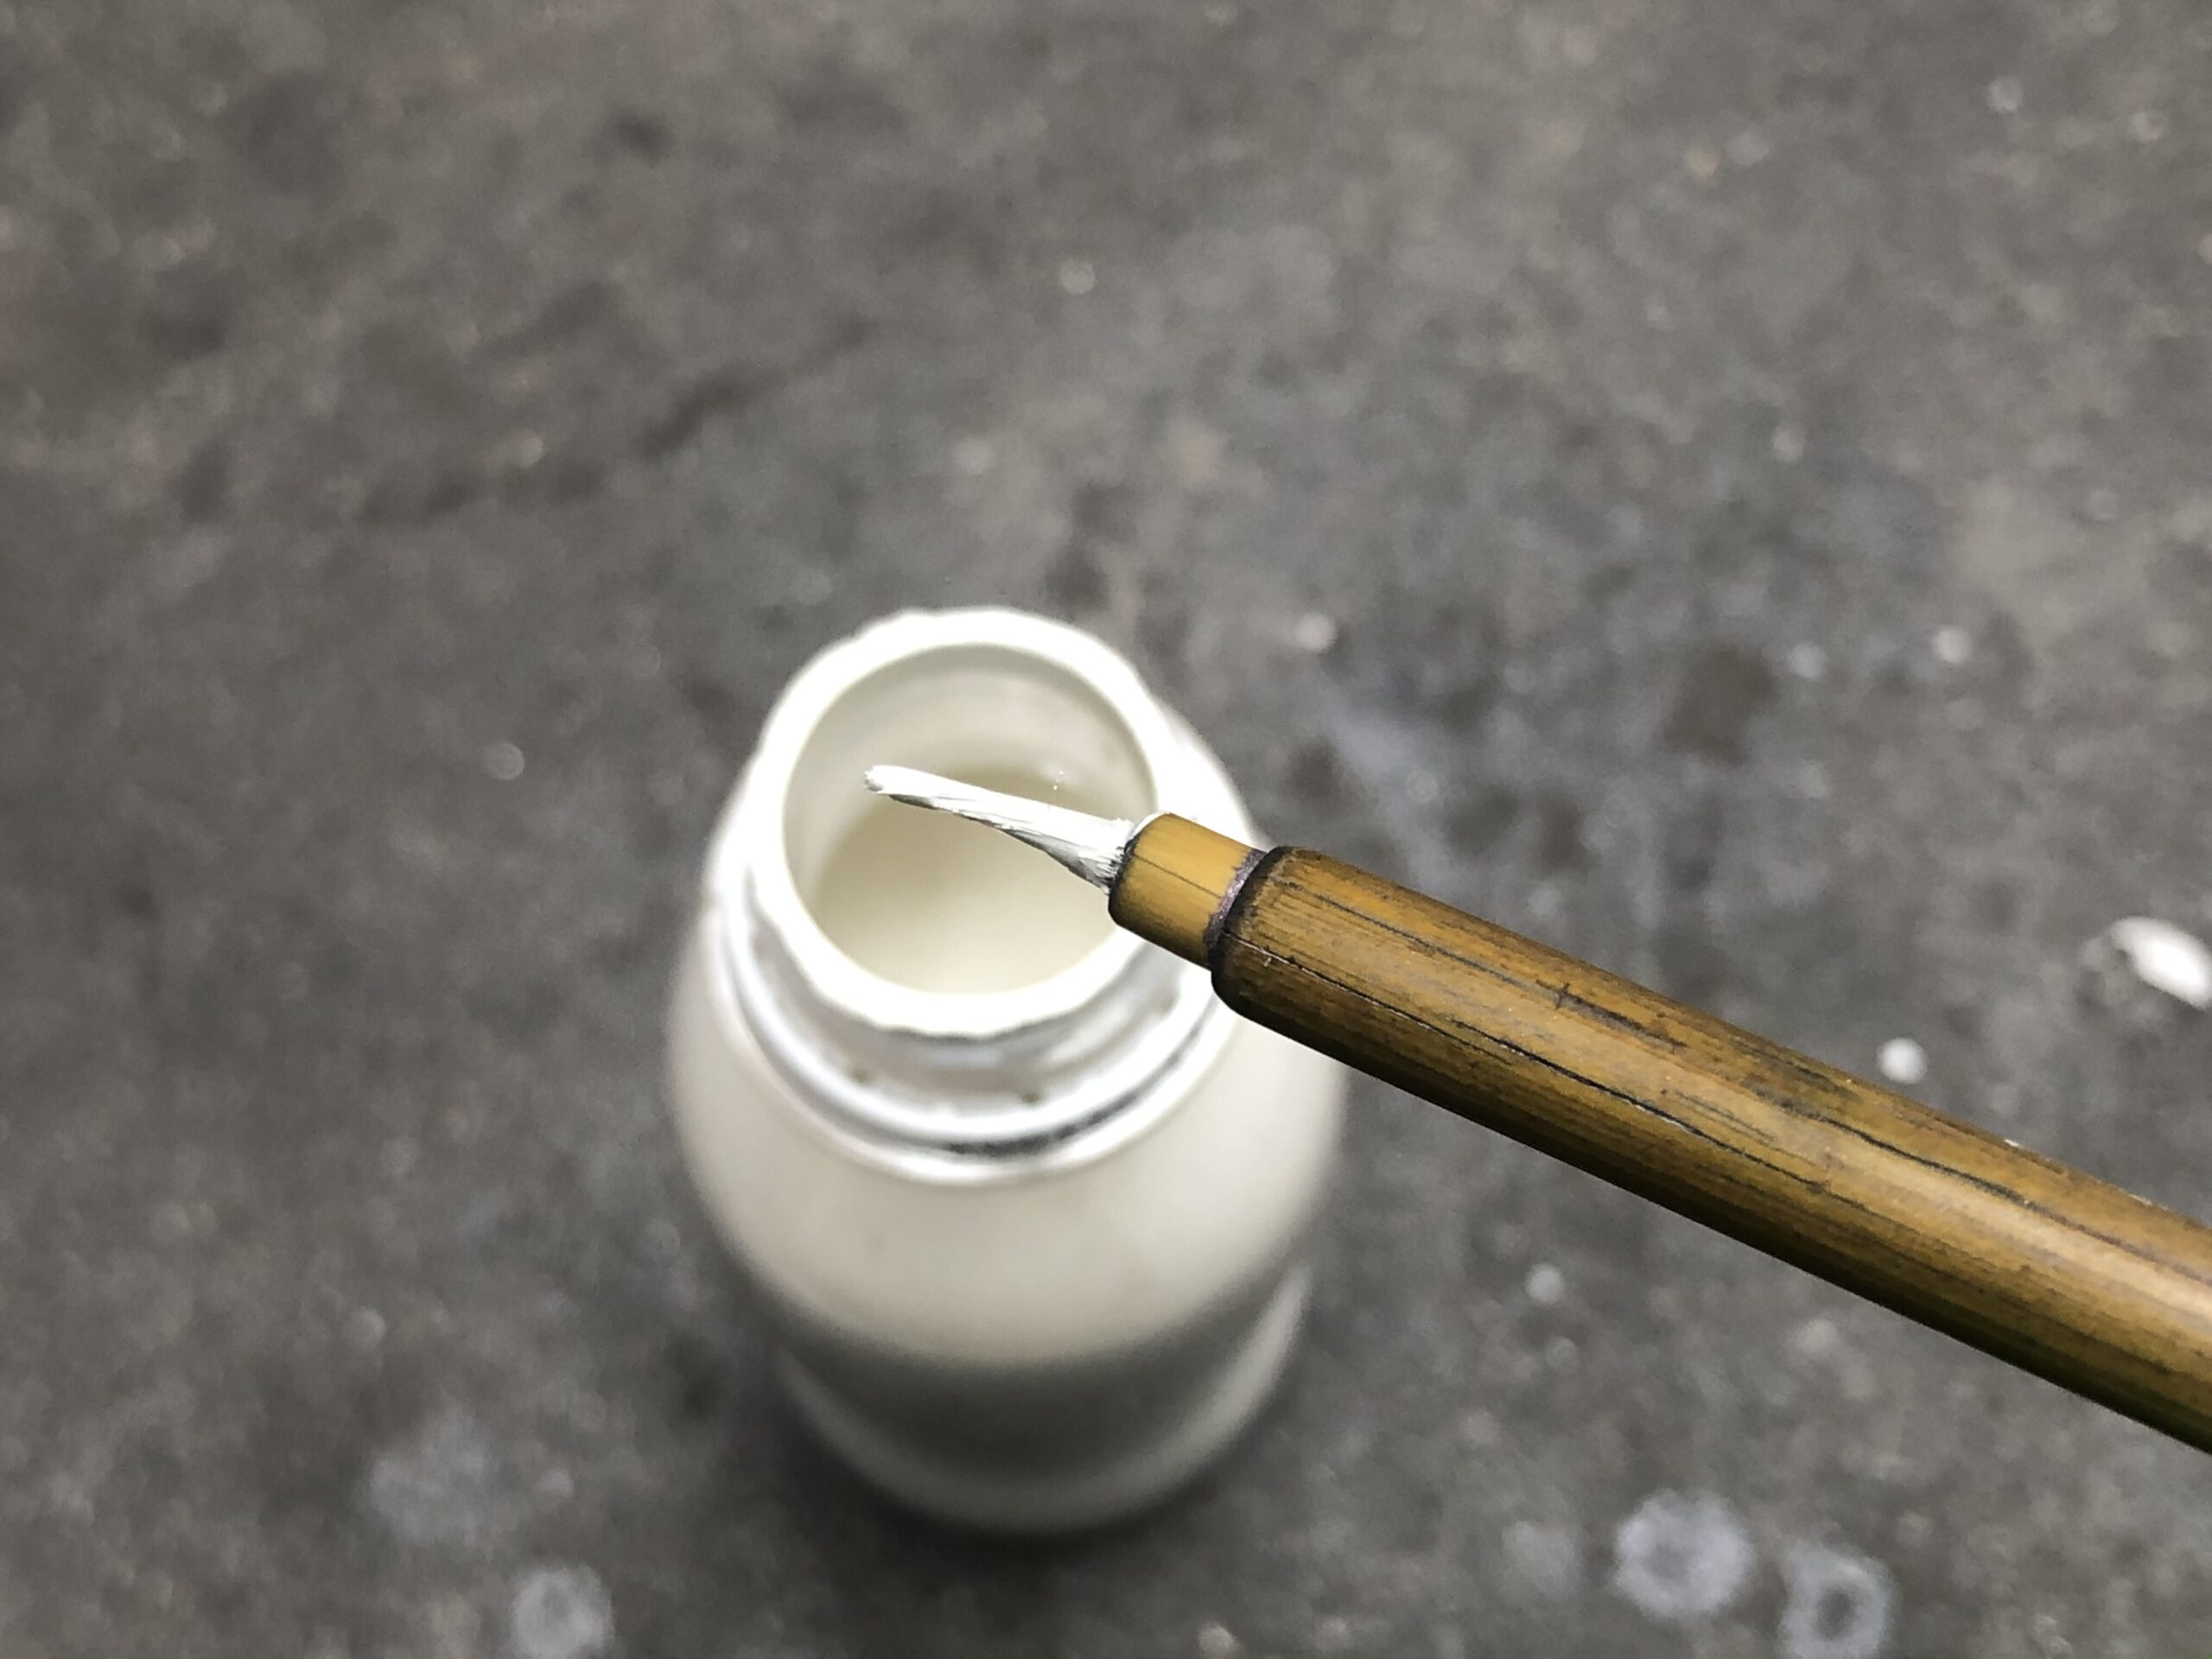
You would look up the color code, select the matching color, and apply it with the brush attached to the cap.
However, you might find that it doesn’t match the original color and doesn’t finish neatly, right?
It may be surprising, but in the case of white pearl, commercial touch-up paint is fundamentally unsuitable for brush application.
New car white pearl paint consists of three layers: ① Base white paint ② Pearl paint ③ Clear coat. Since it’s applied in three stages, it’s called “3-coat pearl,” but you can understand why it’s difficult to represent this three-layer structure when applying commercial touch-up paint, which combines all three layers, with a brush.
Depending on the type of white pearl, the pearl pigment sprayed in the second layer has high transparency and thin film thickness, allowing the white base to show through. Since pearl pigments become matte when dry, the third layer of clear coat is applied on top to create gloss.
White pearl processed in this way is often difficult to distinguish from solid white unless viewed up close.
And when you brush-apply the cloudy pearl white sold commercially for repair painting, the pearl pigments are exposed on the paint film surface and lose their gloss when dry. Additionally, shadows form from the pearl particles, darkening the painted area.
This is why the area looks like it has dirt on it, even though you carefully selected the exact same color by checking the color code.
That’s why I don’t use commercial touch-up paints selected by color code.
For small scratches like the one shown at the beginning, I only apply the “base white” without pearl pigments.
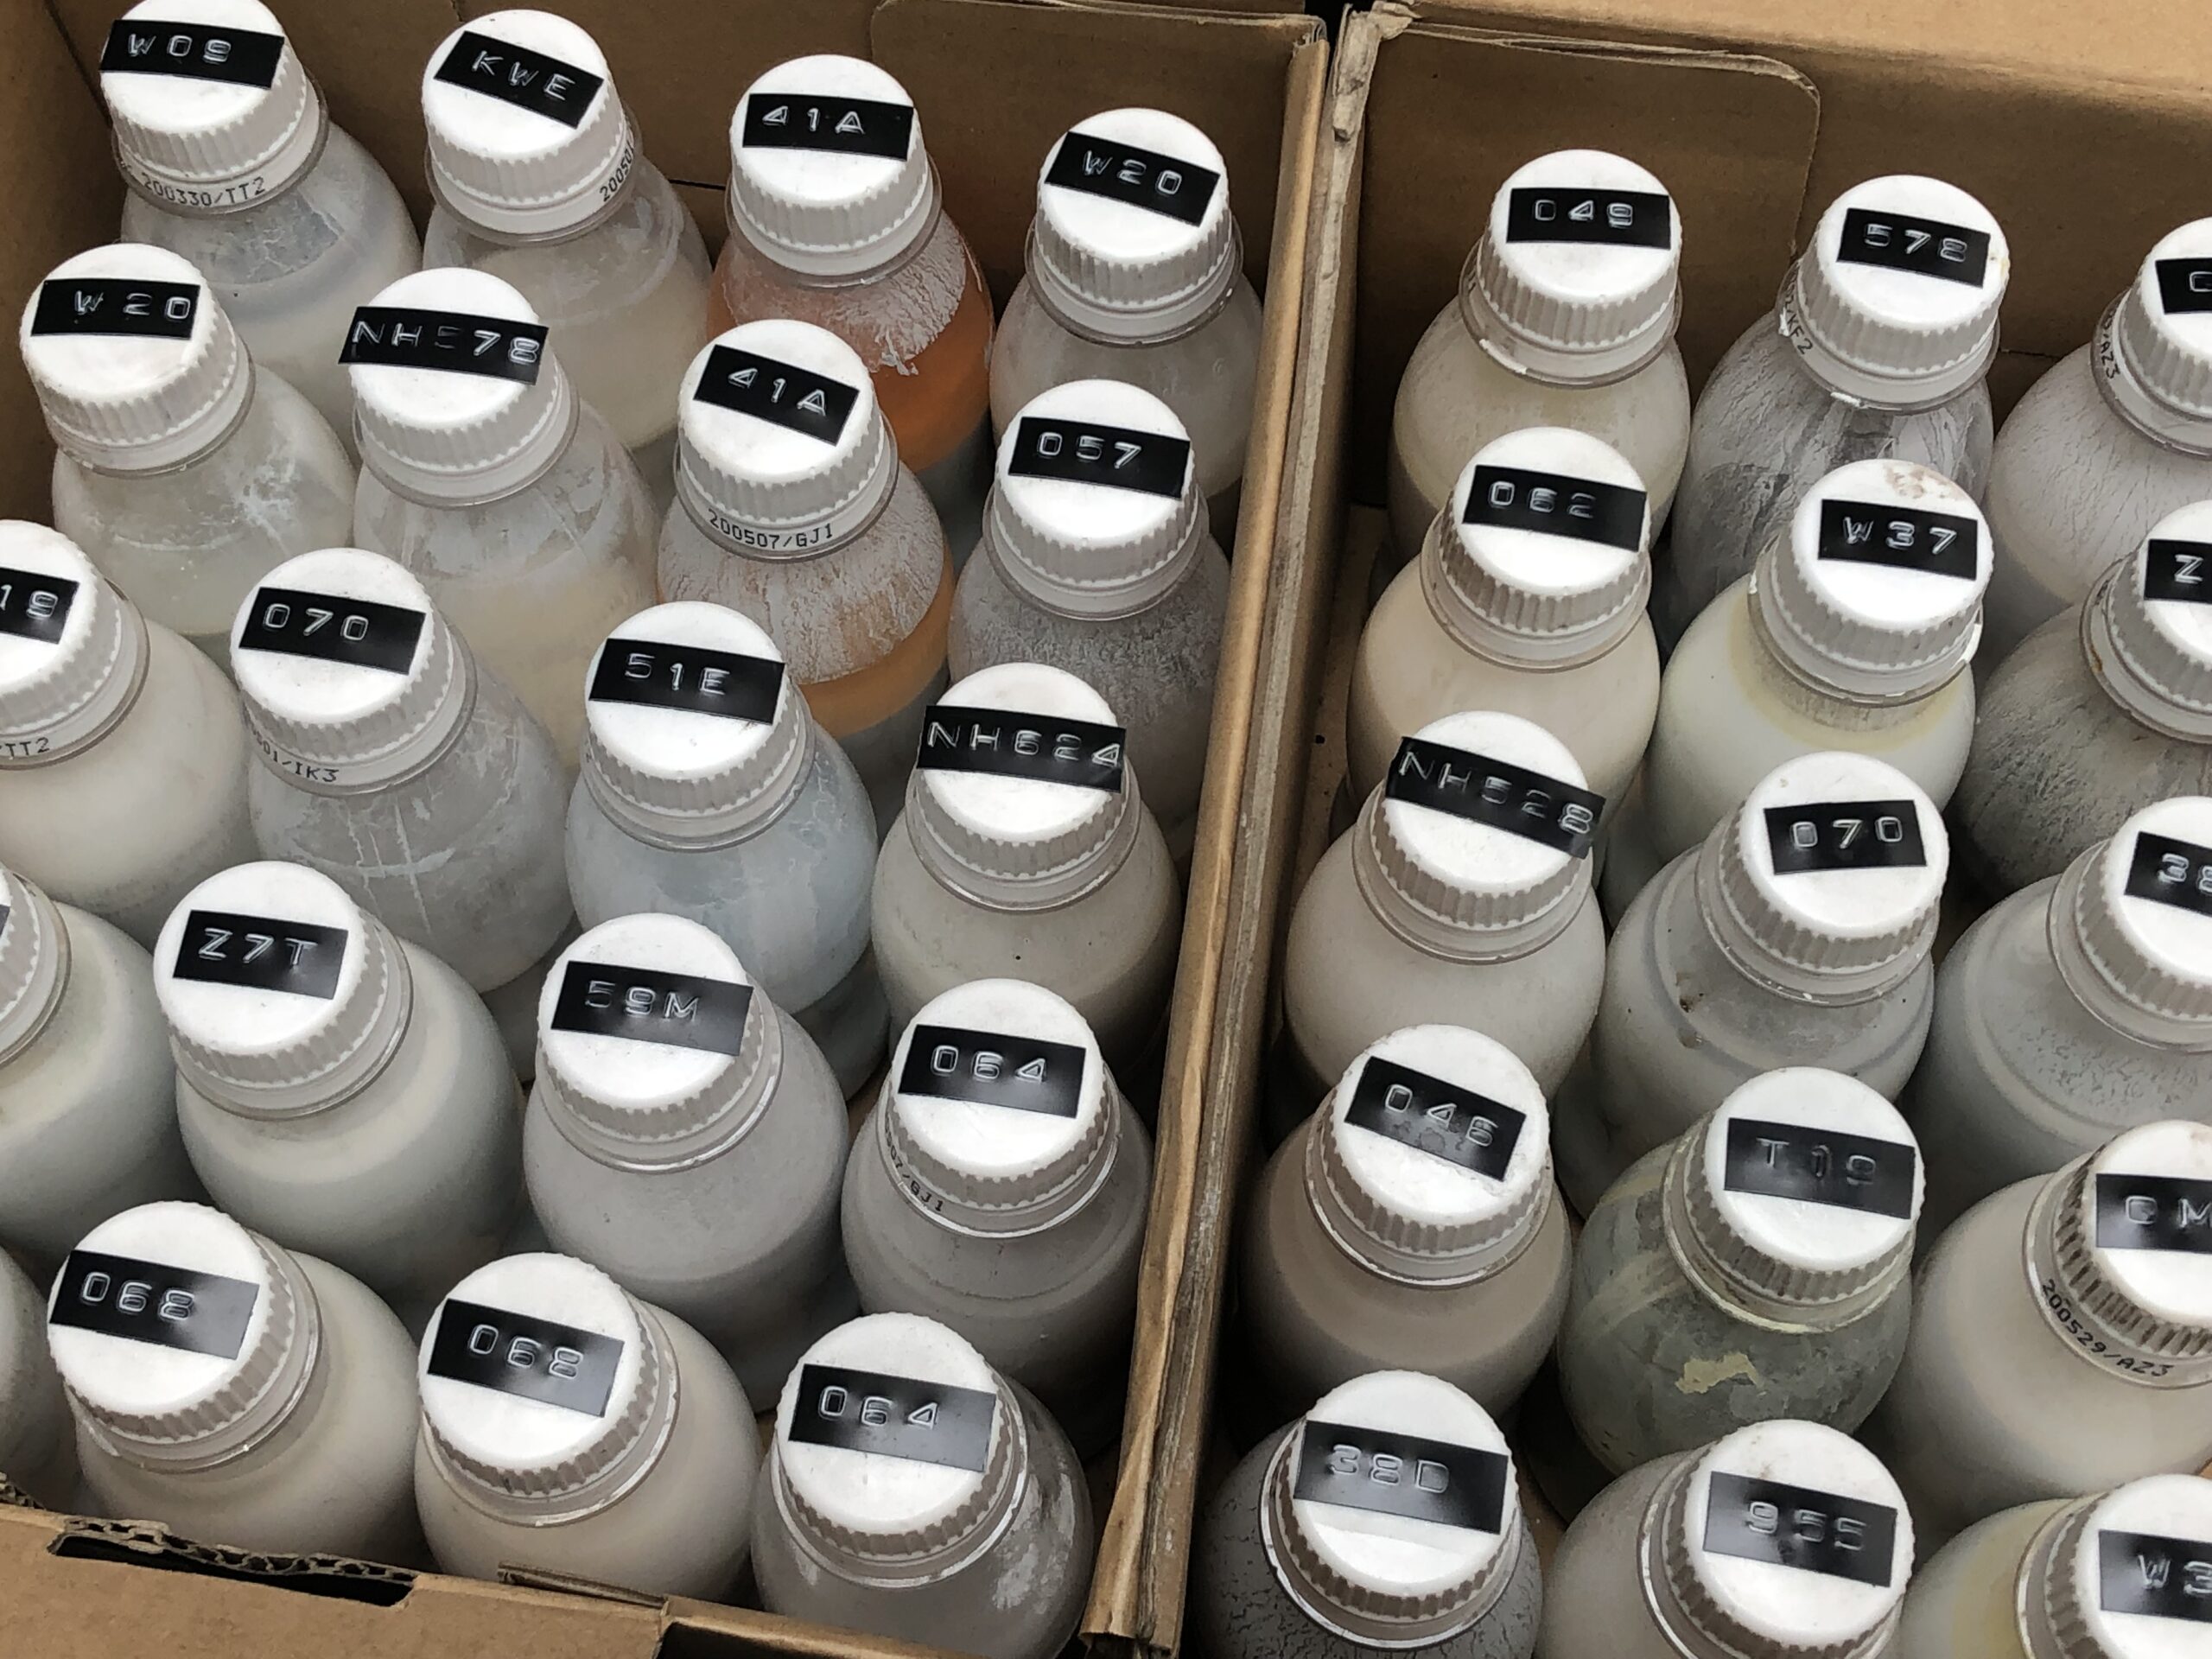
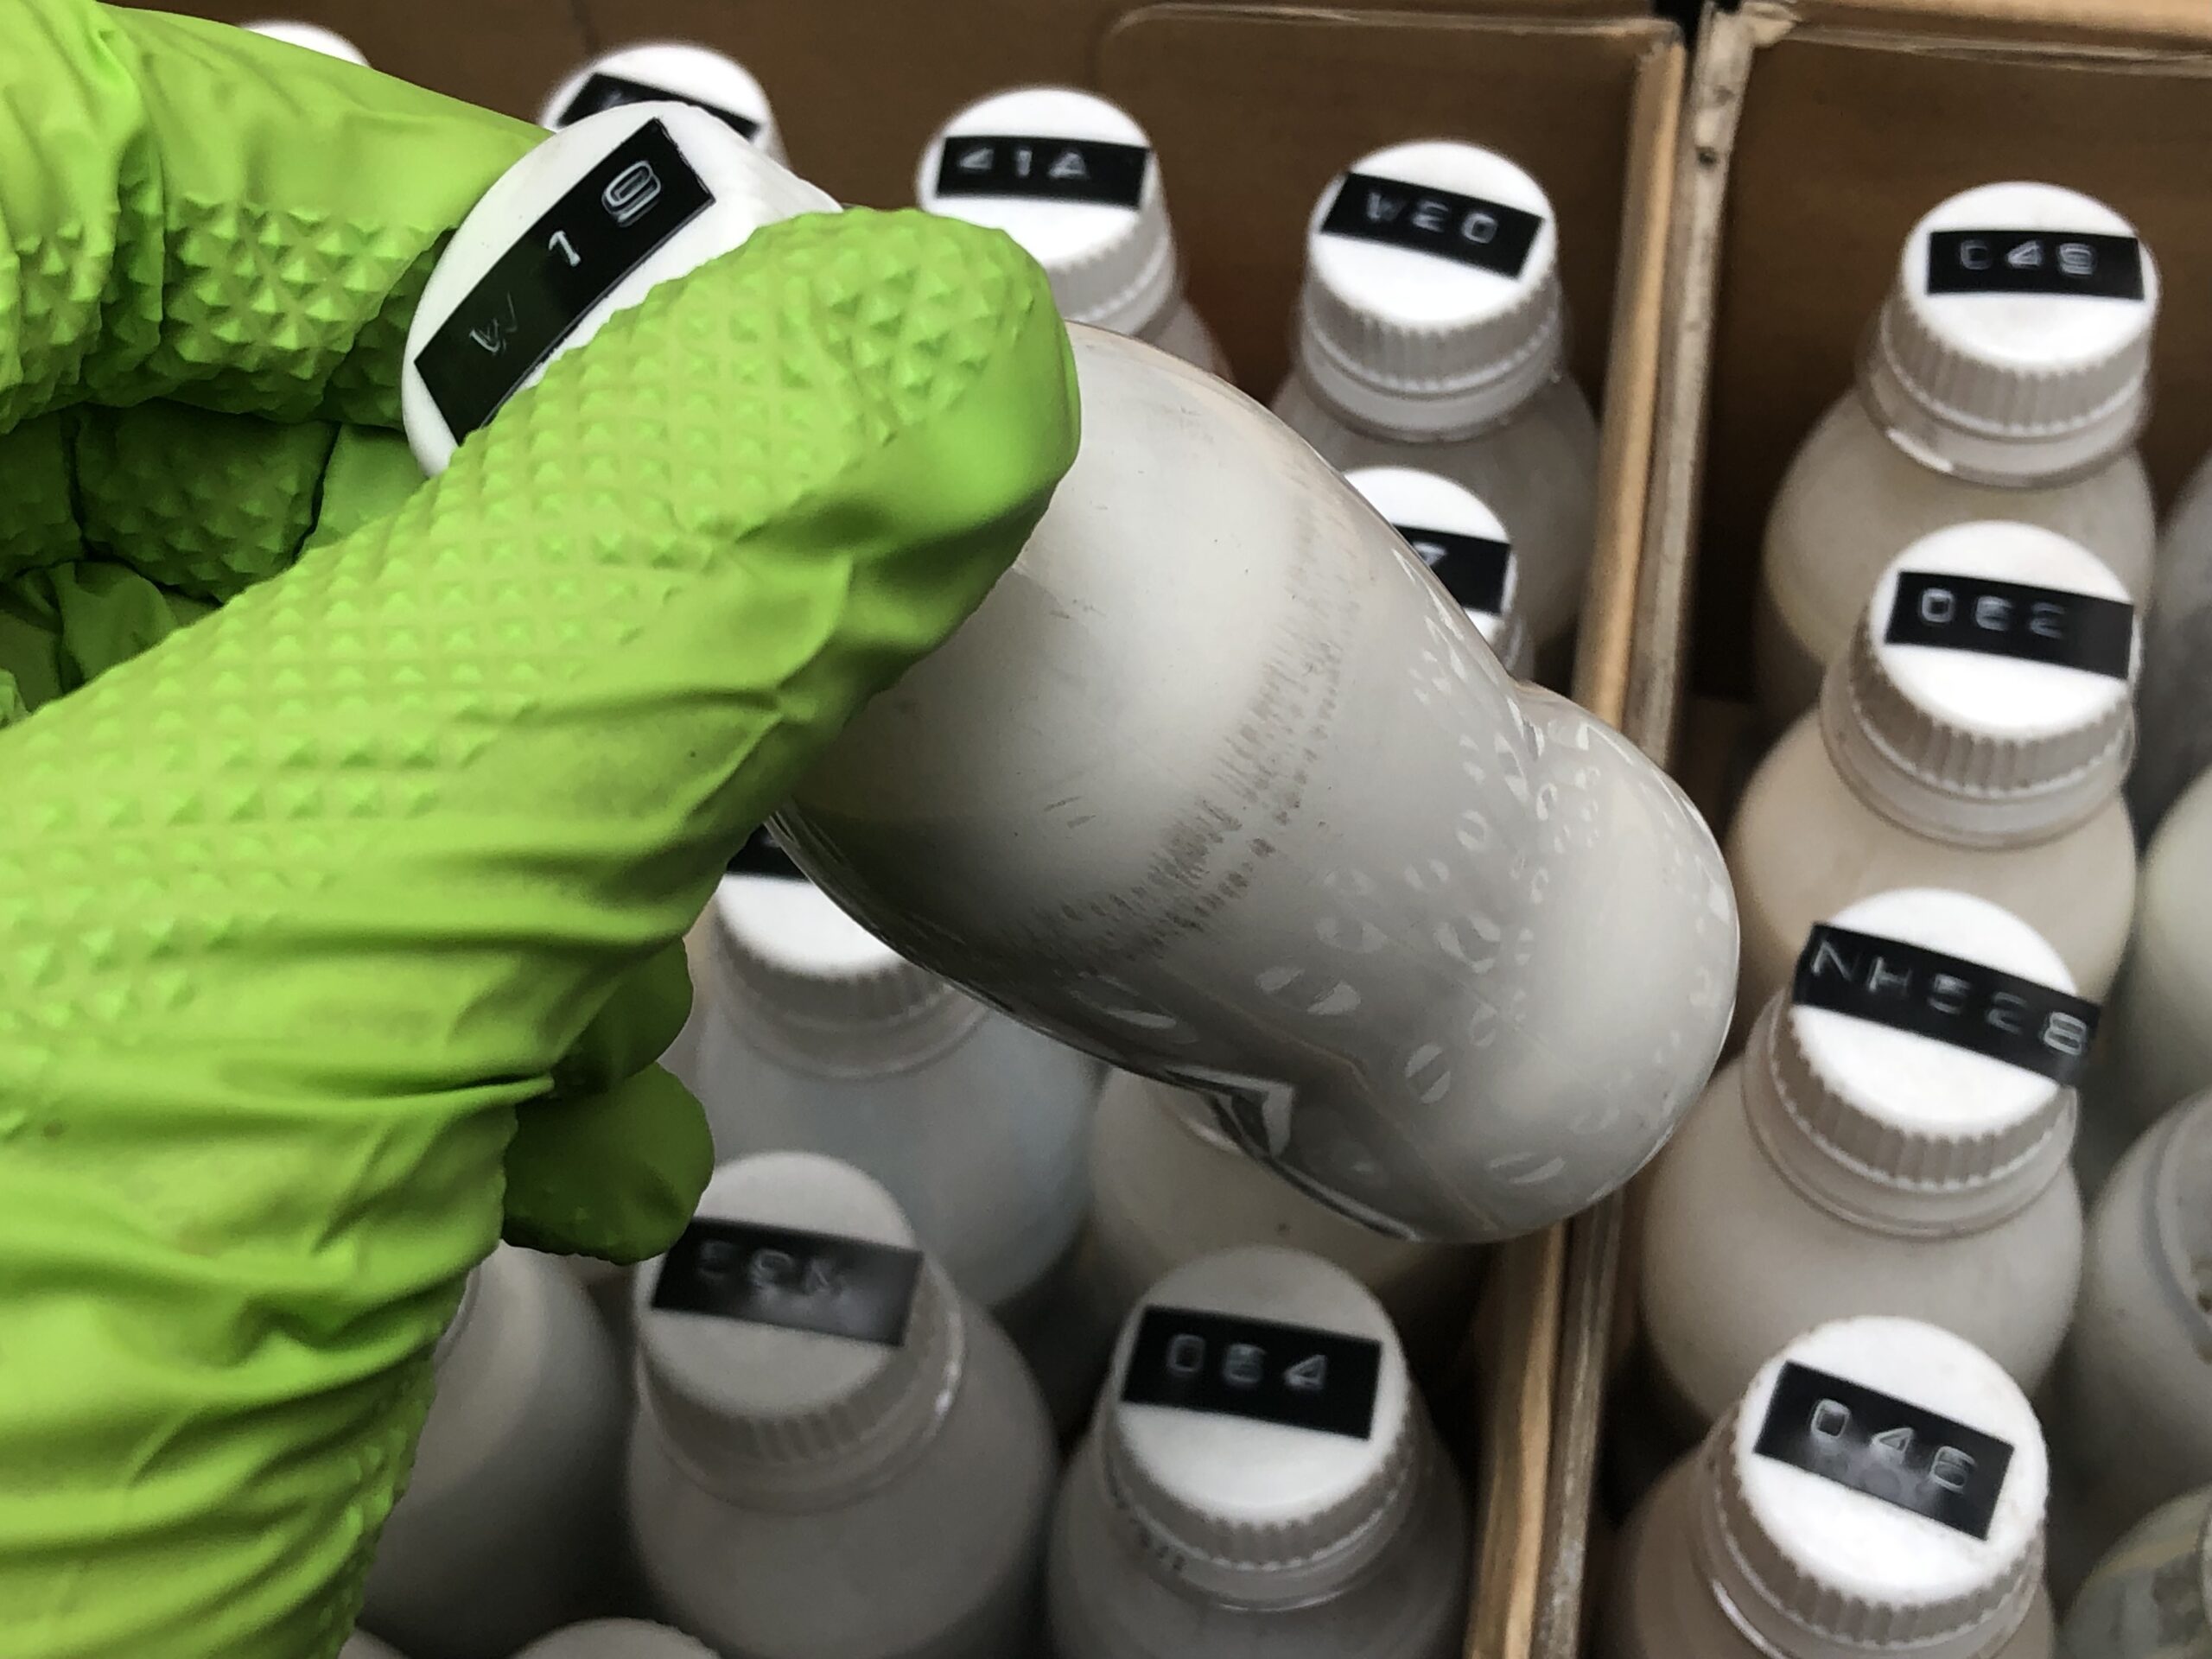
Various white paints I’ve custom mixed. There are many varieties of white. I blend different pigments like black, red, yellow, blue, and others. I use primary color paints that were given to me from a body shop that went out of business.
From these, I select the one with the closest color tone when viewed from a distance.
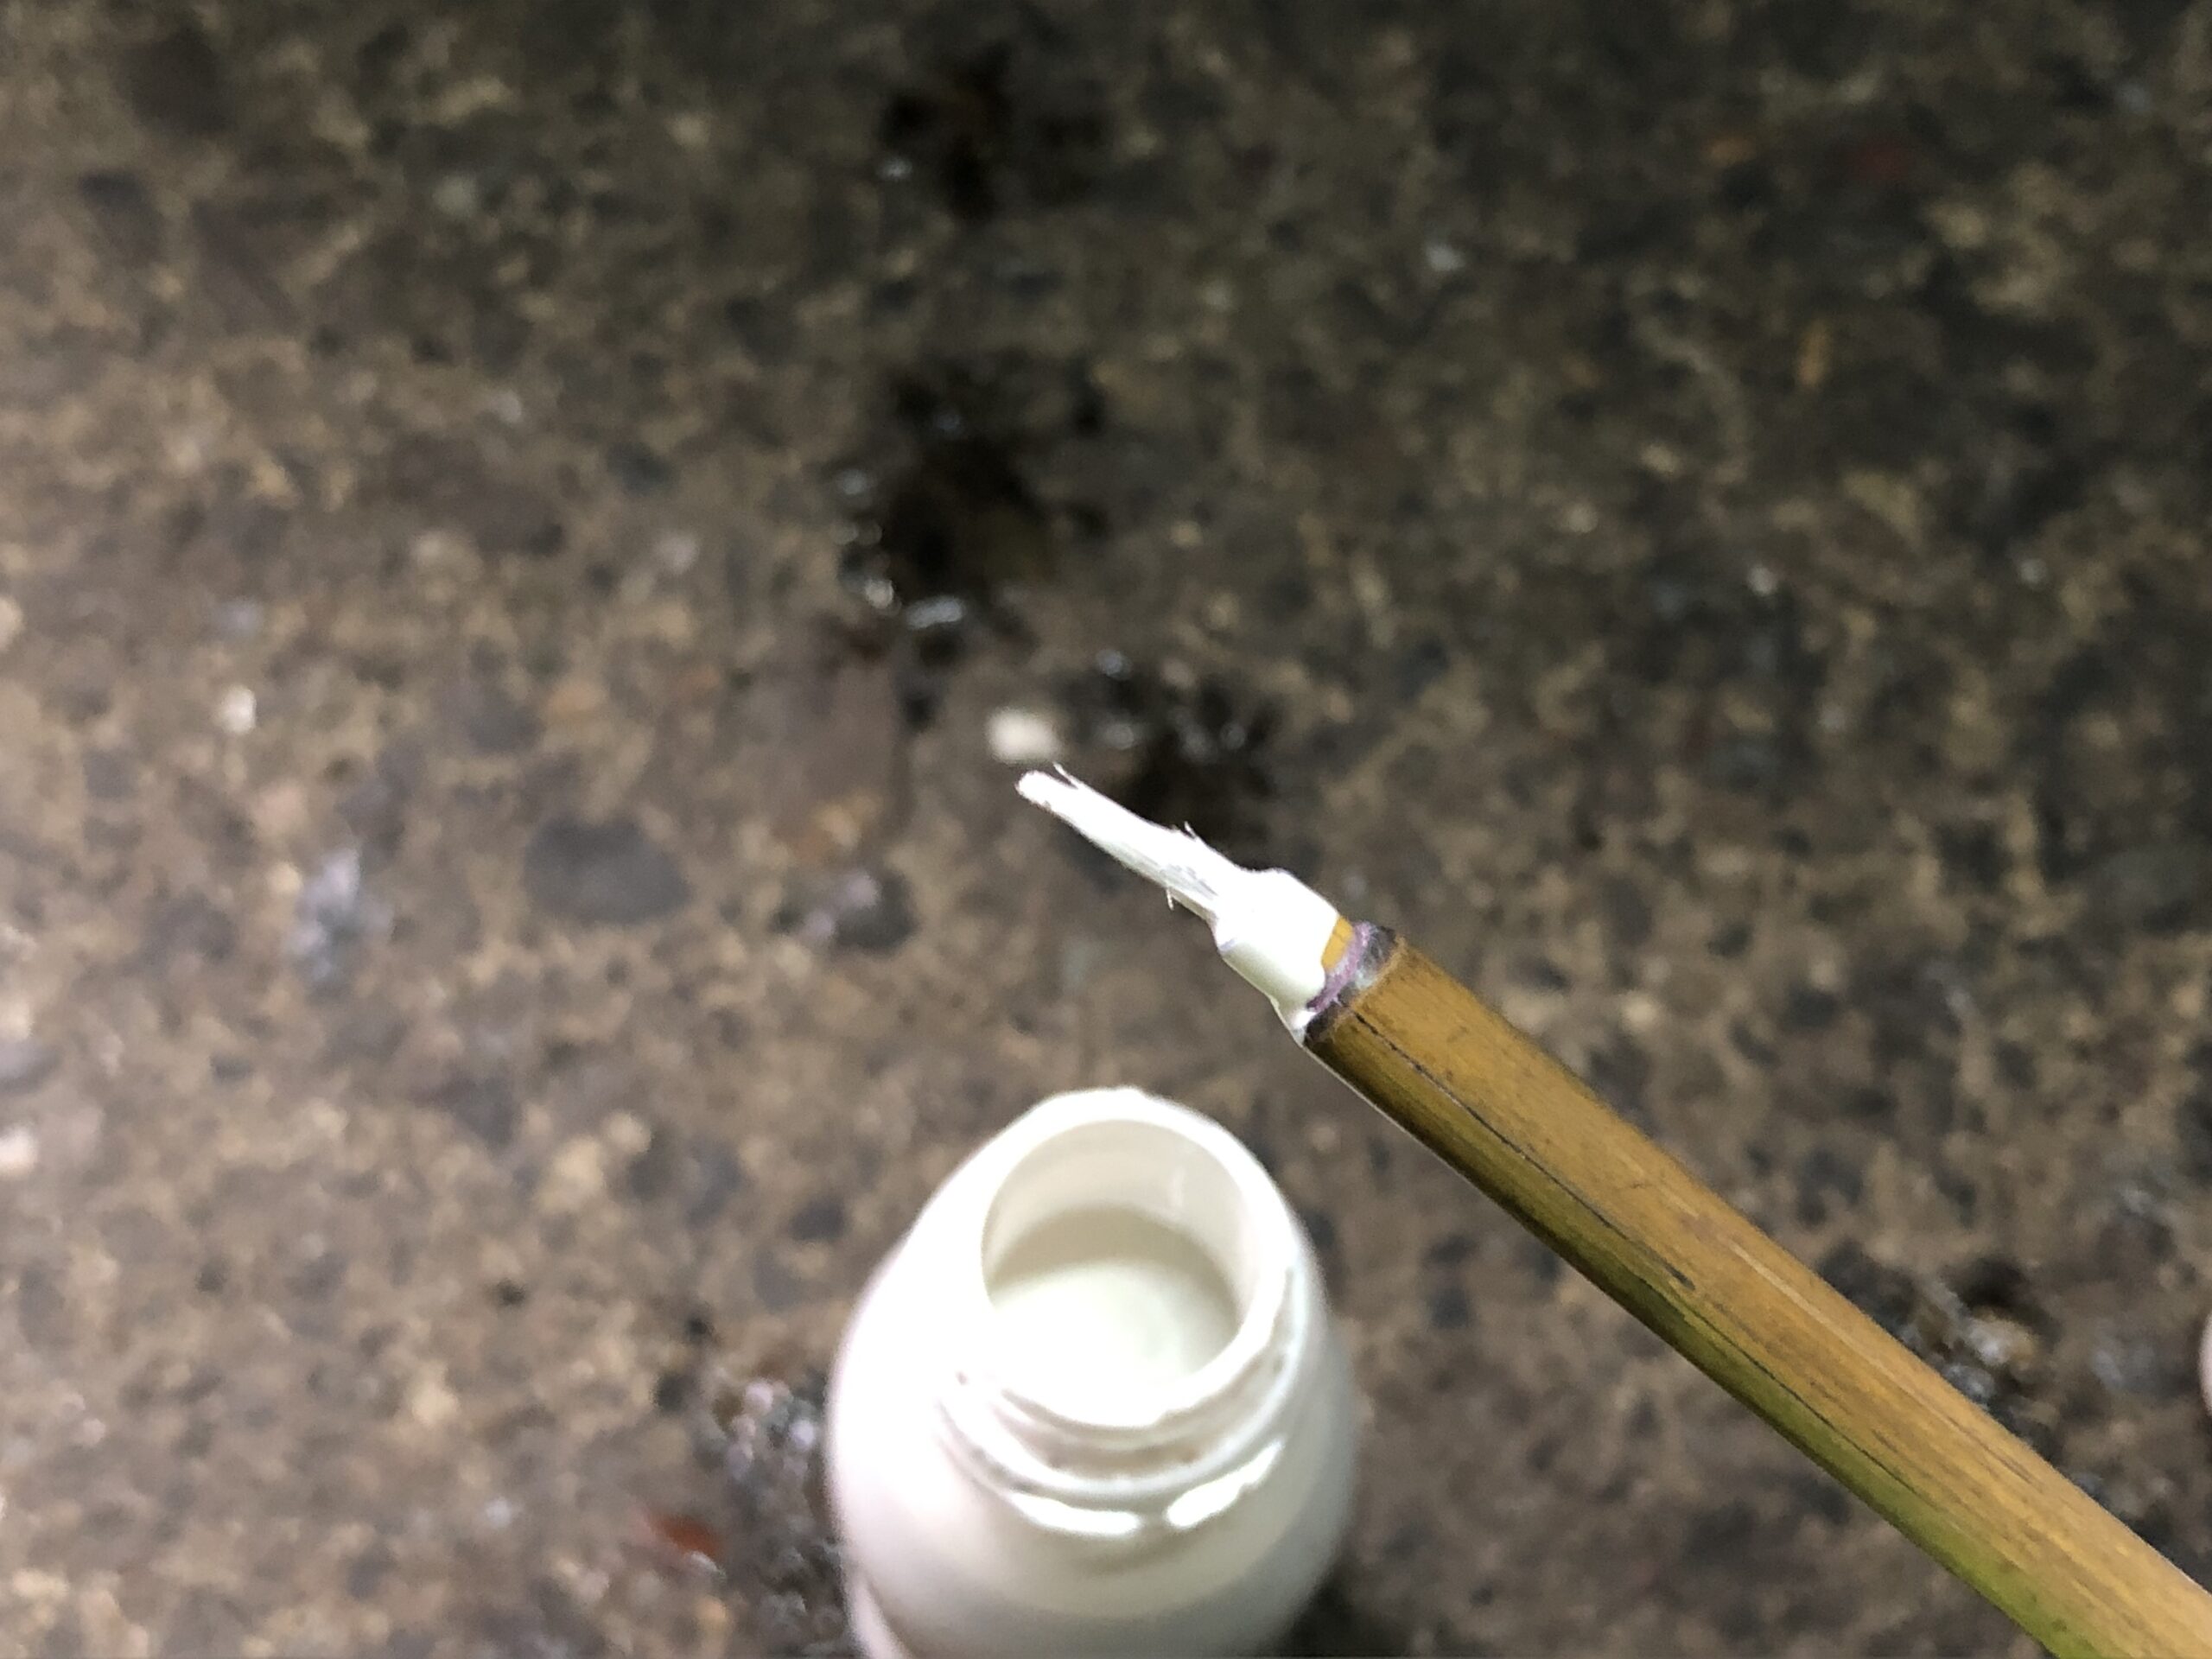
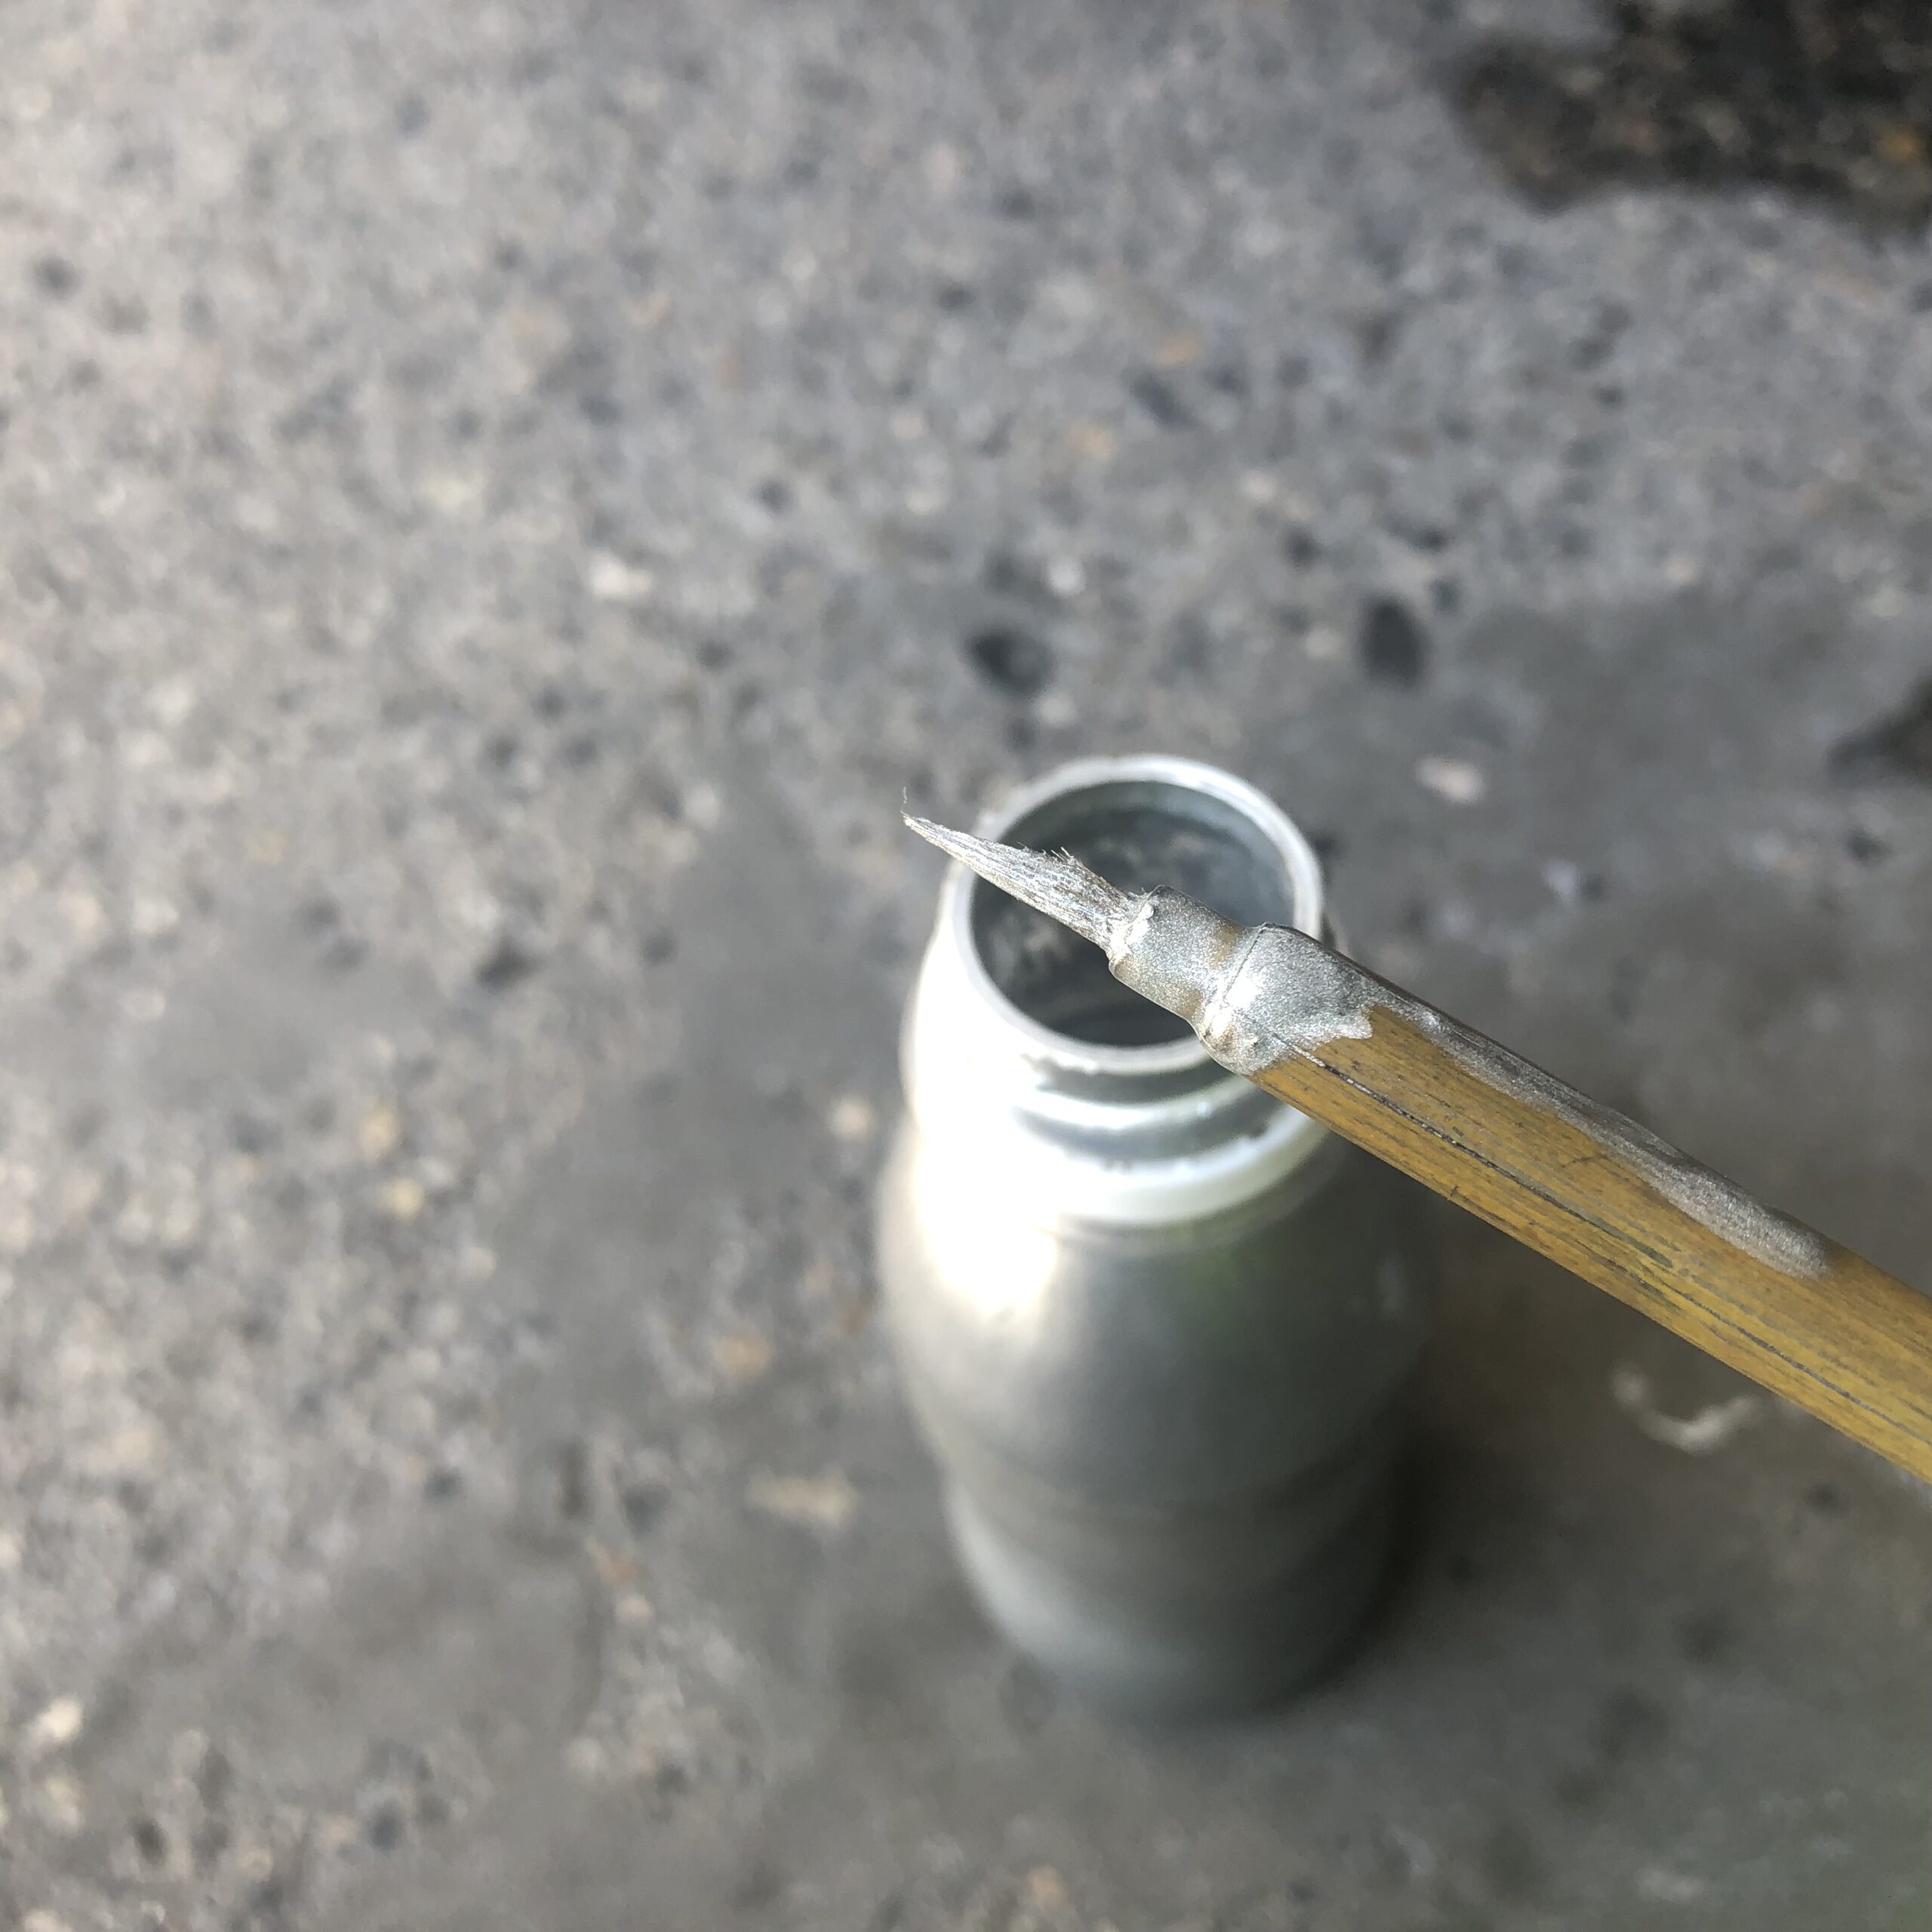
Oh, by the way, no matter how hard you try, you can’t apply paint neatly with the brush attached to the cap of commercial touch-up paint. Even if you don’t use the highest quality detail brush I introduced last time, please get an inexpensive detail brush for a few hundred yen.
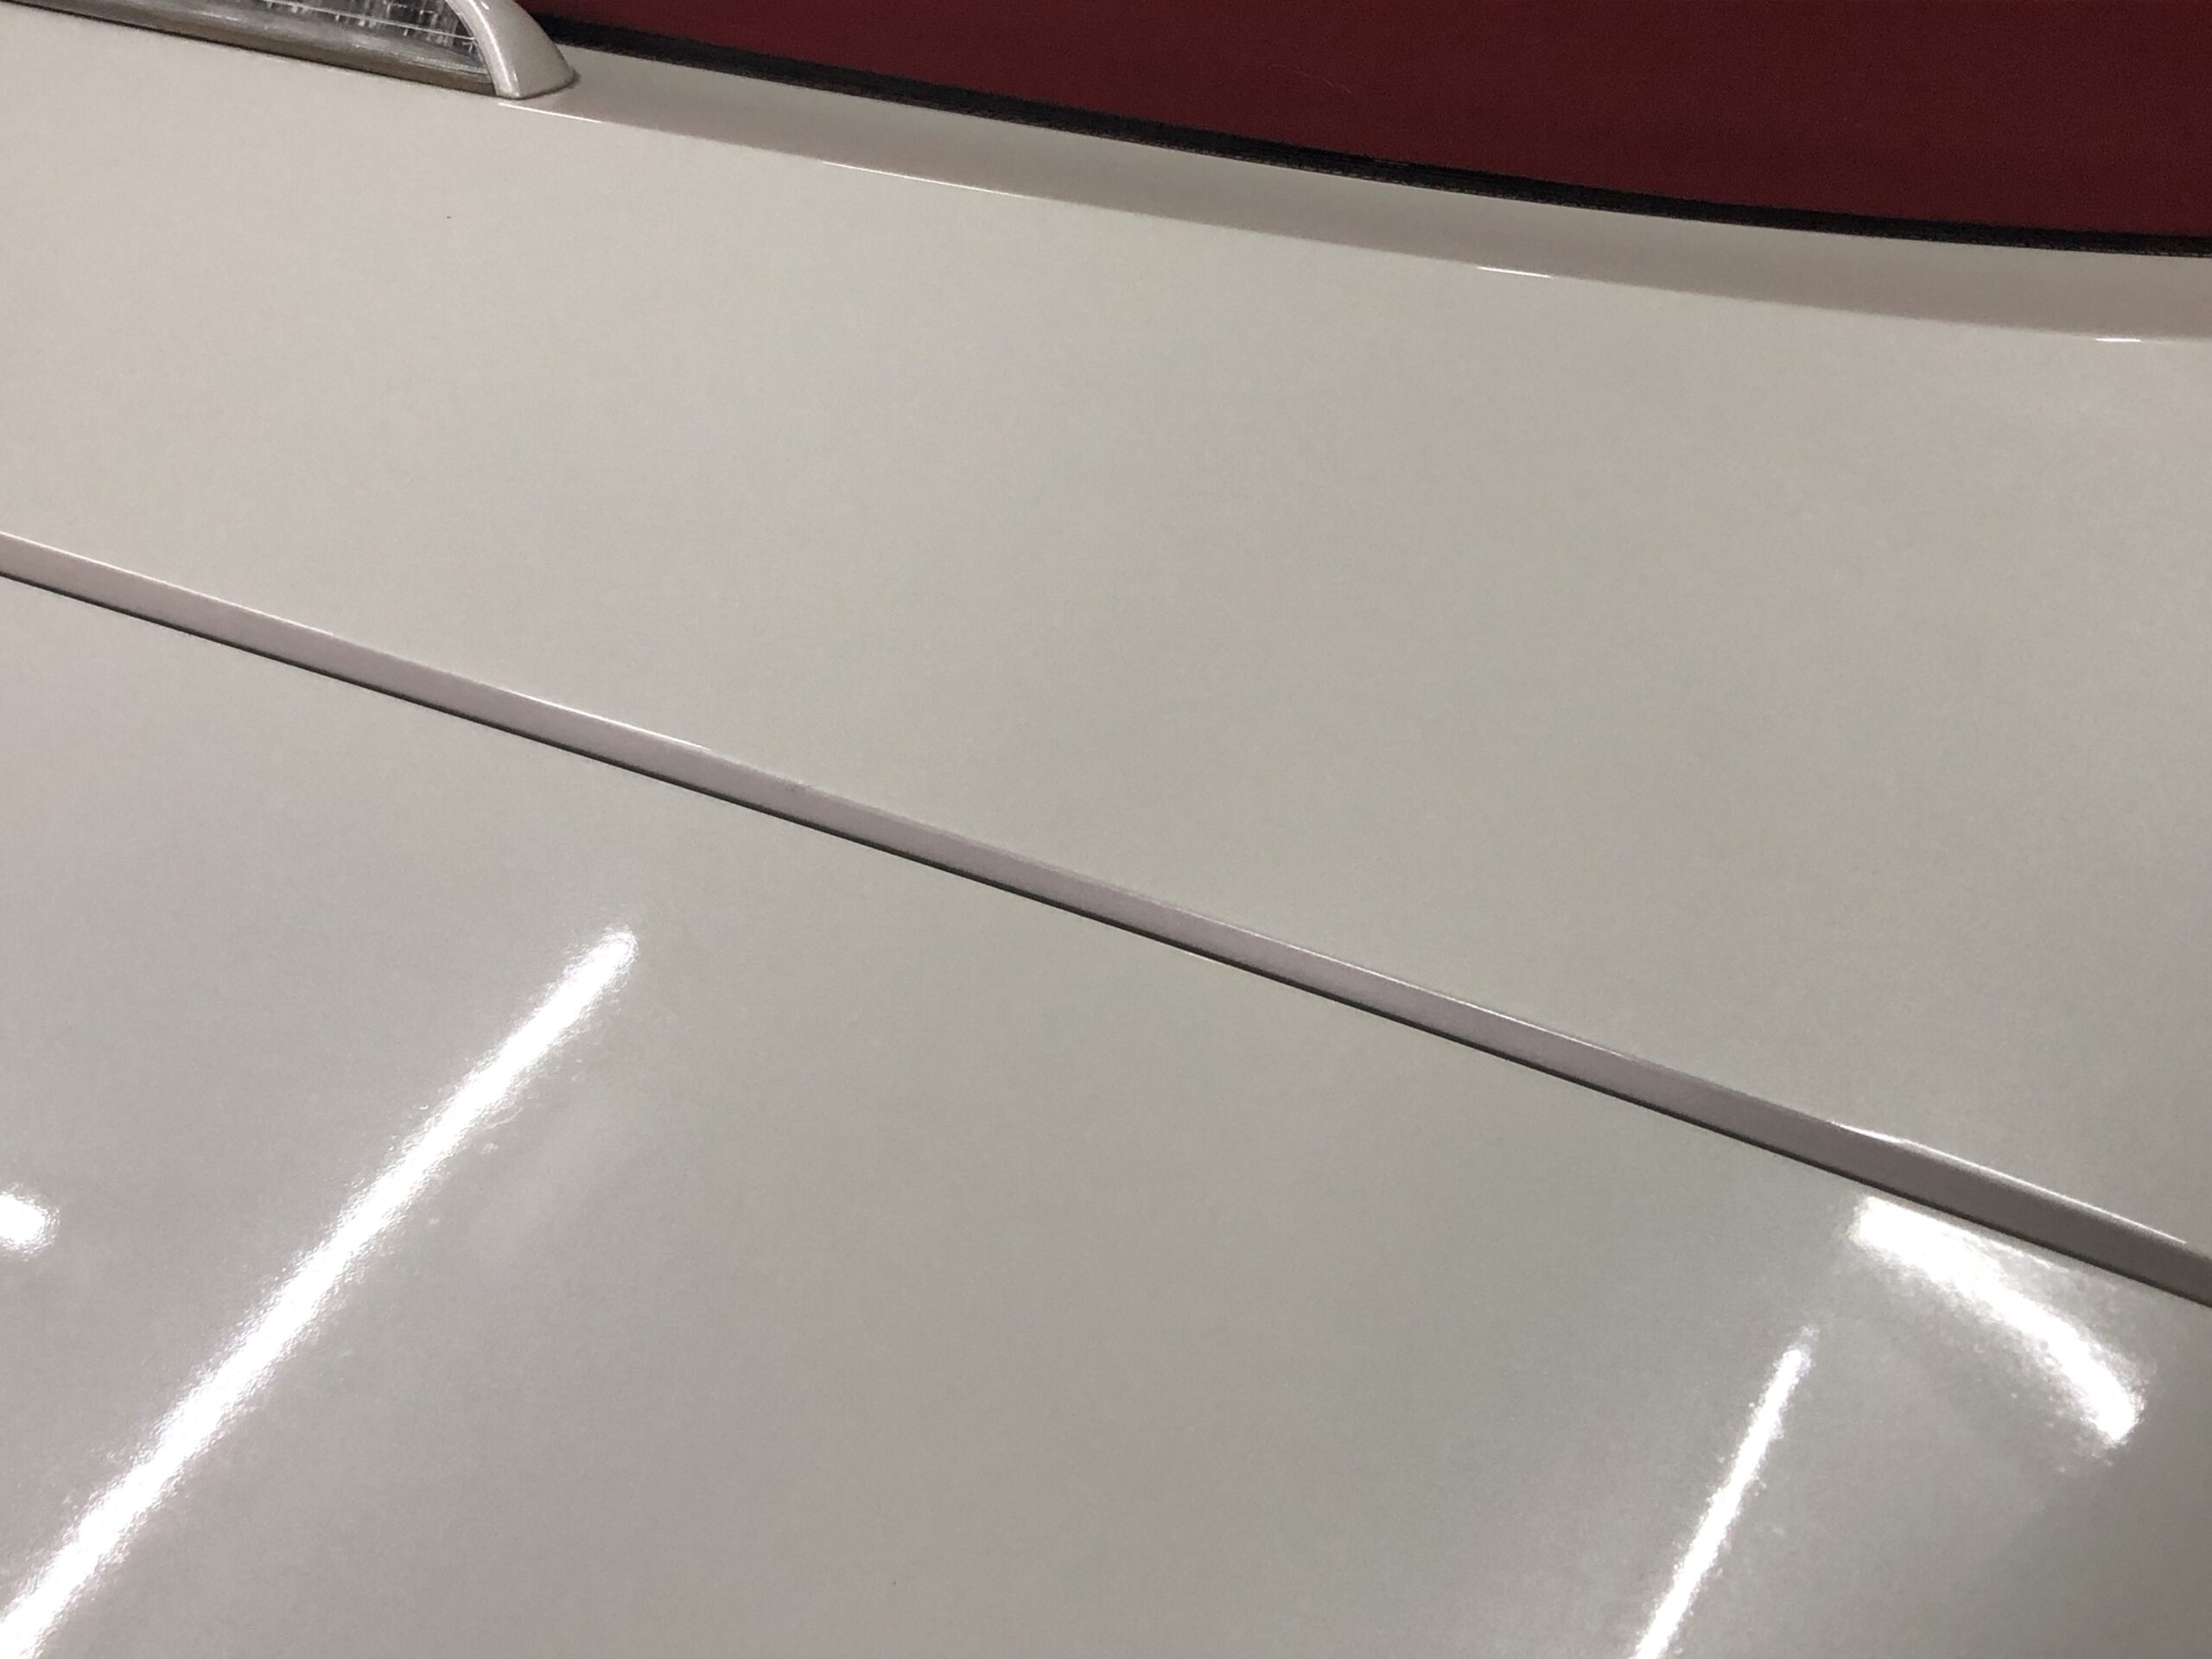
Adjust the amount of paint on the brush to avoid going beyond the scratch, rest your dominant hand’s wrist on your other wrist to prevent trembling, and carefully insert the brush. Thick application is strictly prohibited. Moving the brush back and forth repeatedly is also strictly prohibited. The basic approach is to complete it in a single stroke. The photo shows the finish after three coats, with a few minutes of drying time between each coat.
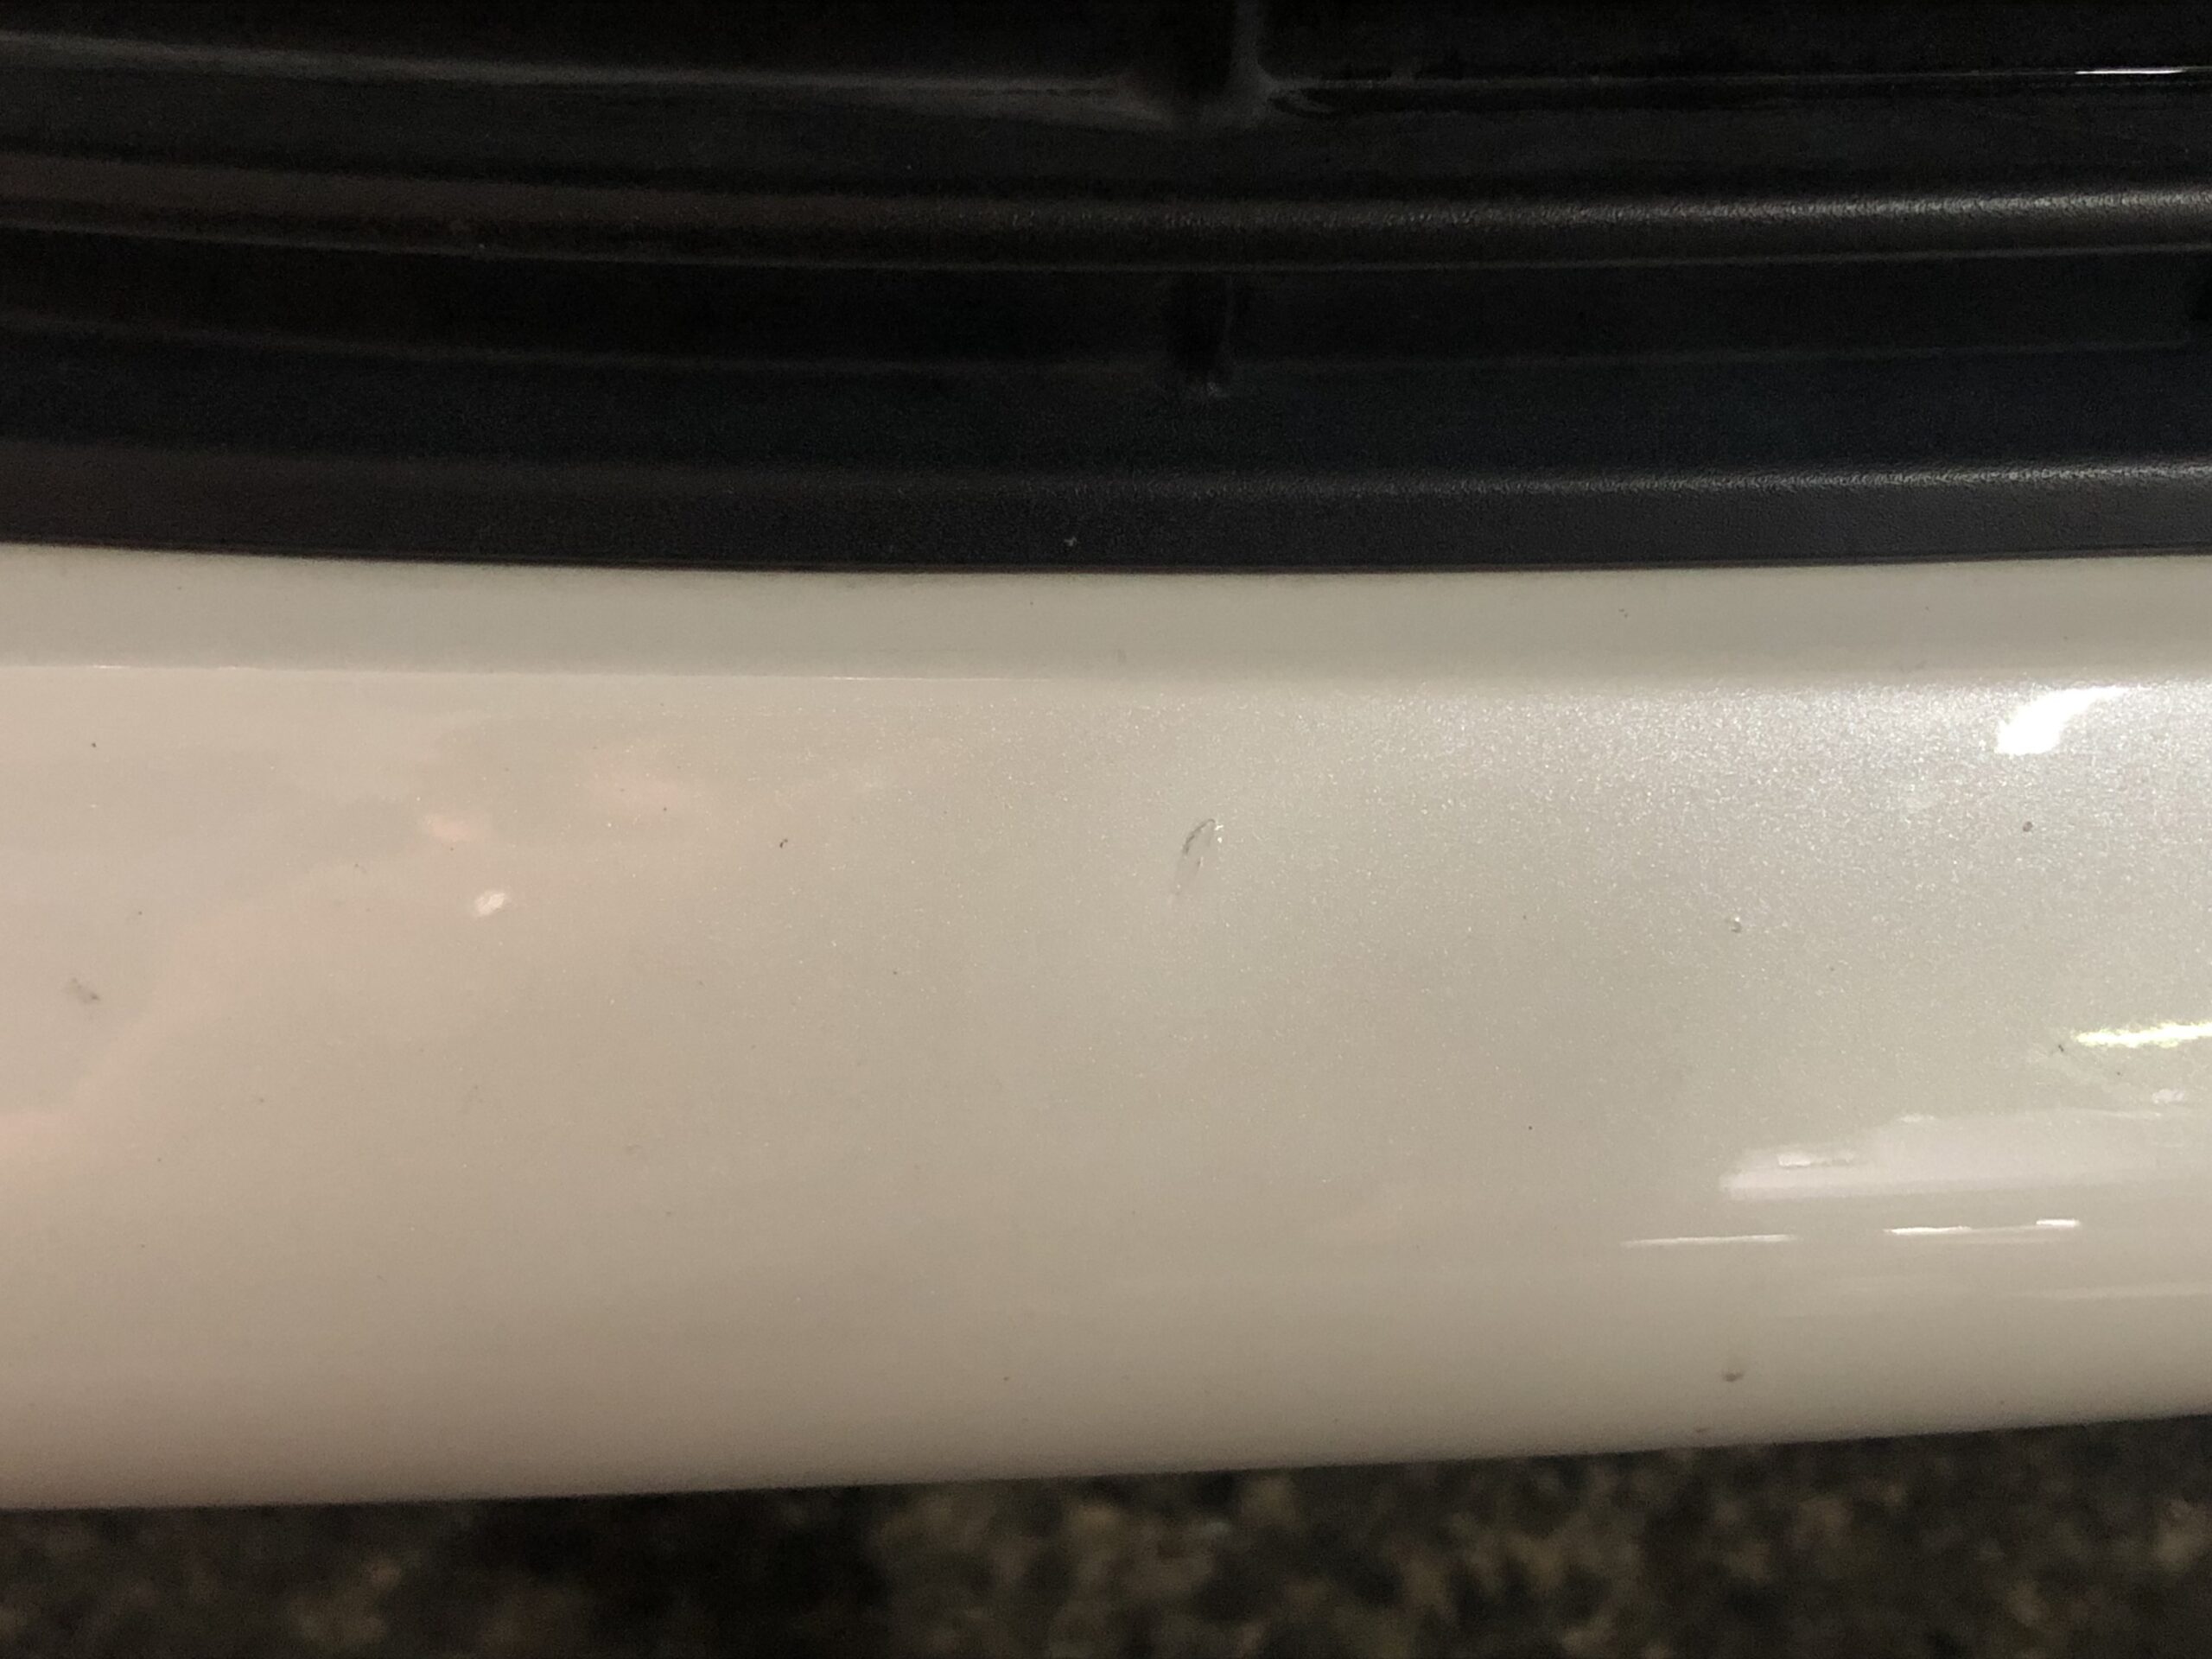
I think it’s now harder to notice from a distance.
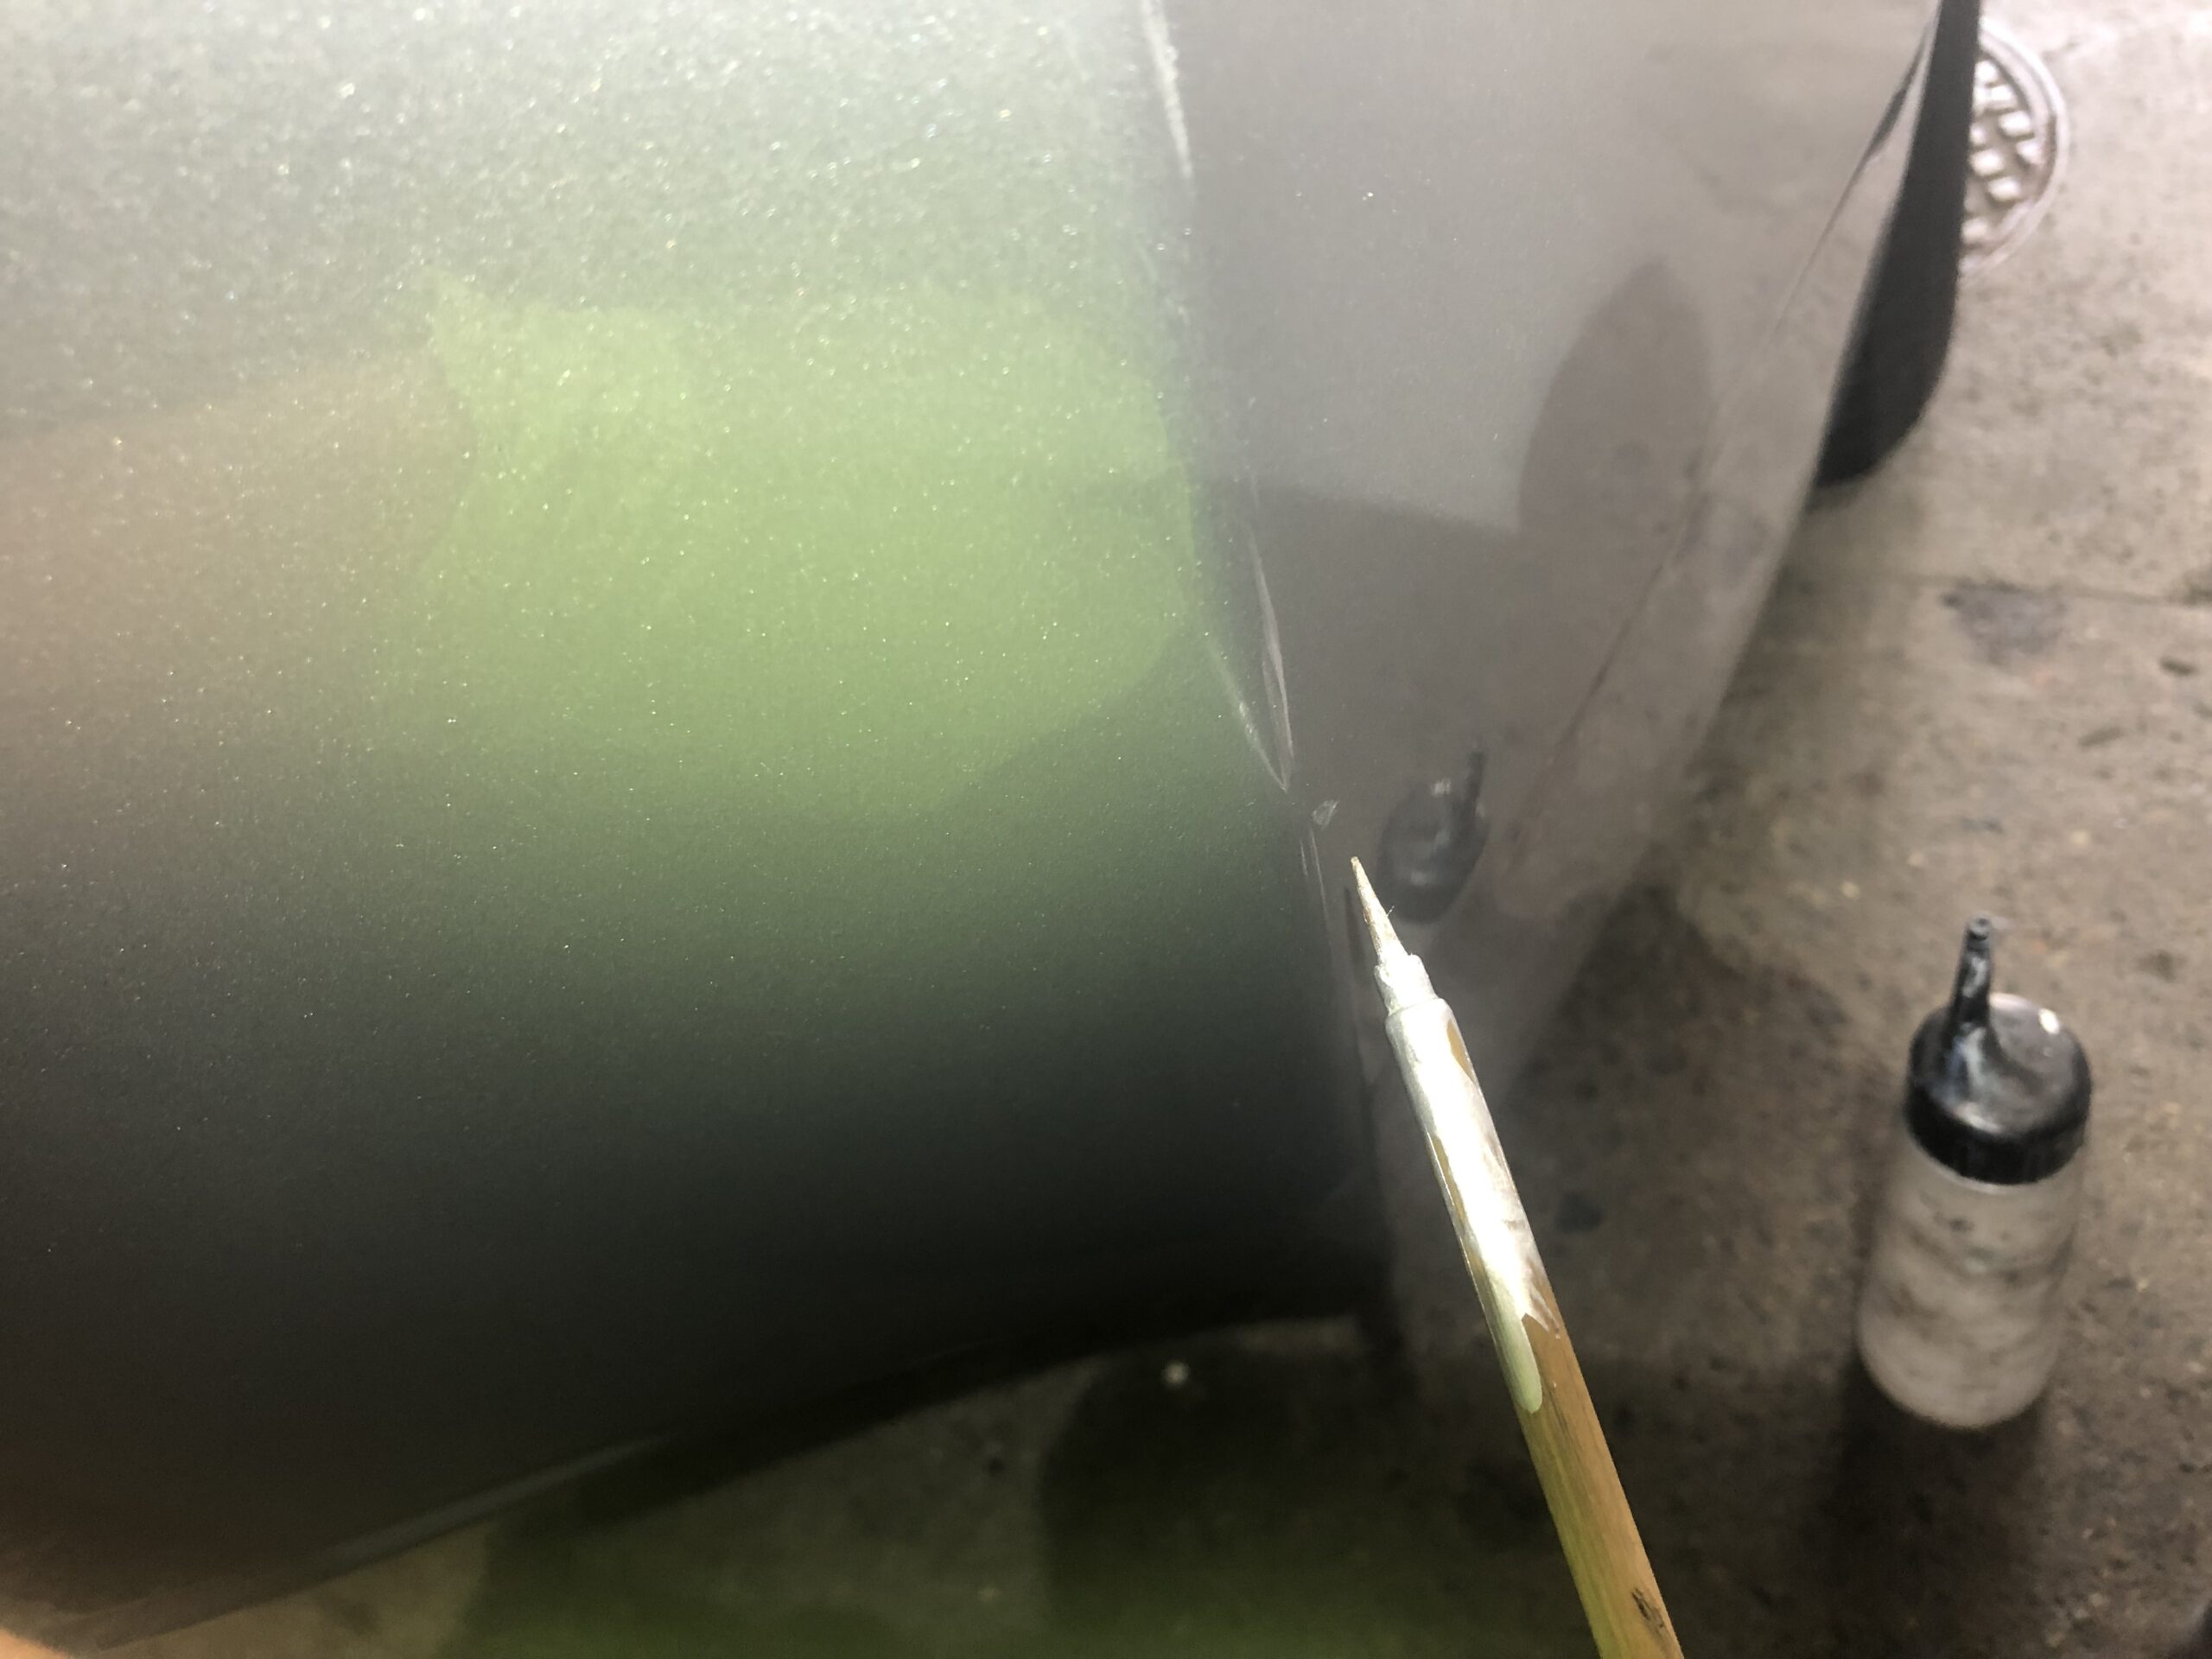
Next, I tried touching up white pearl on a different vehicle model.
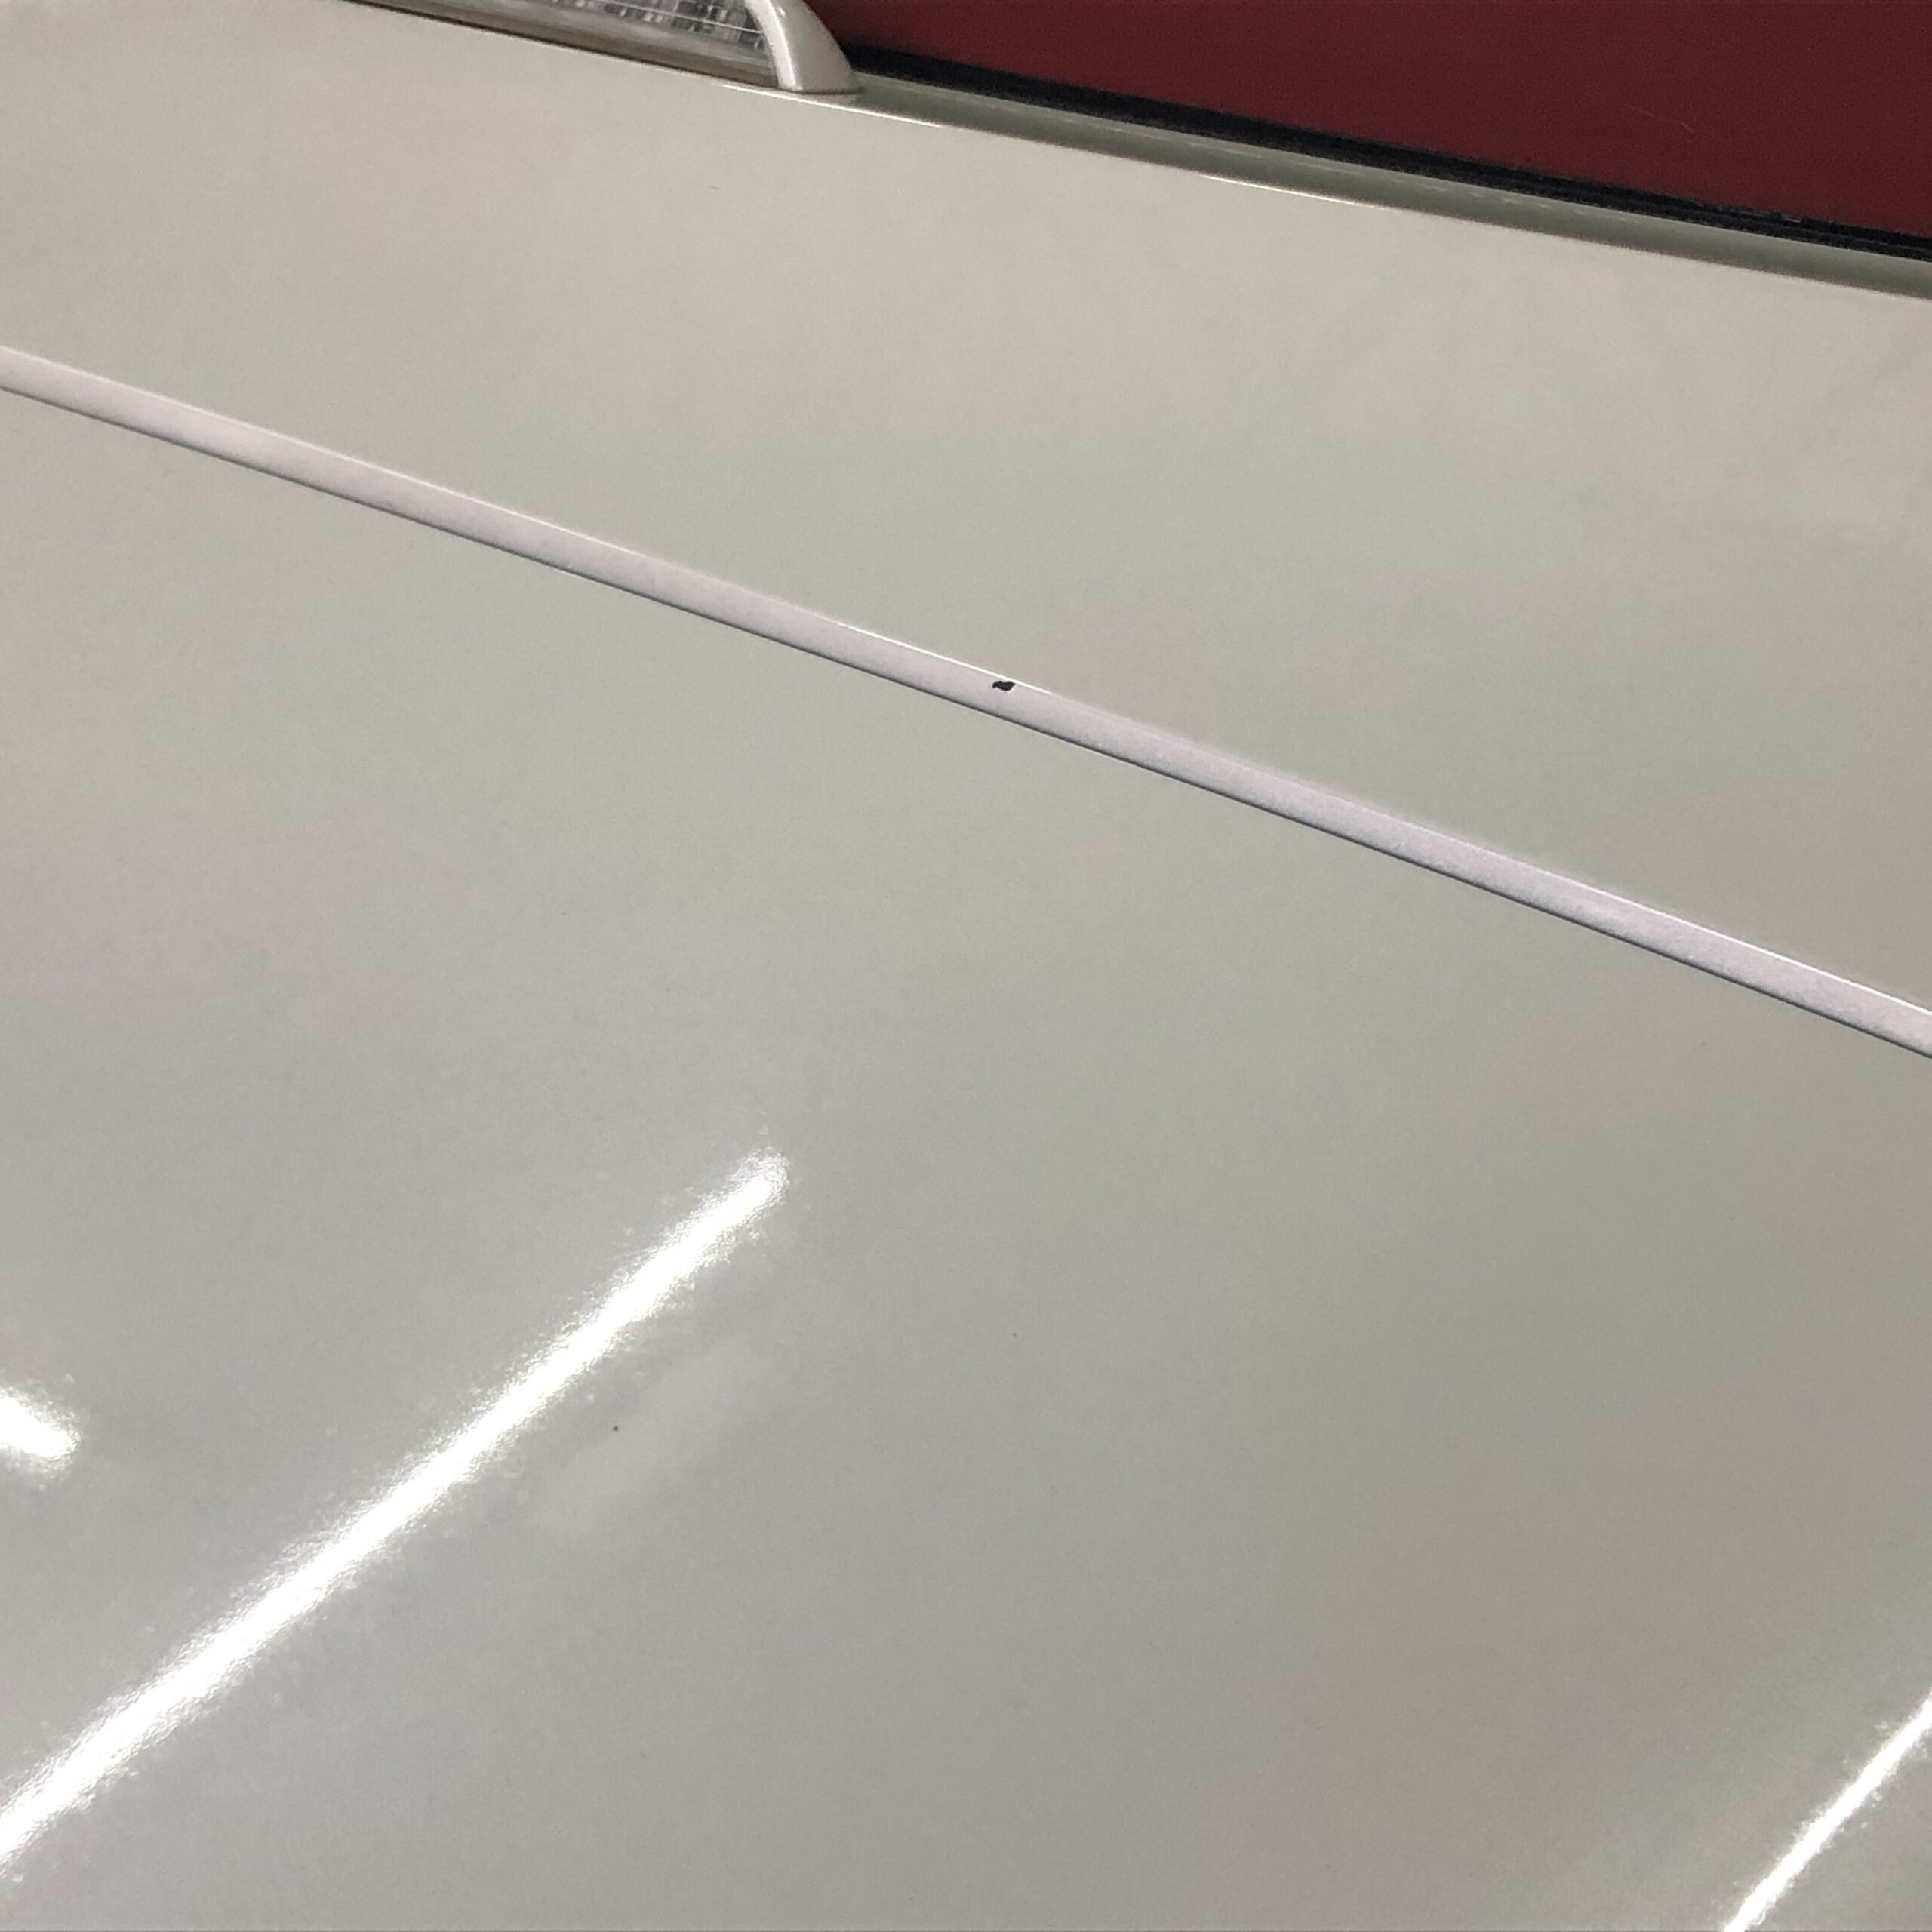
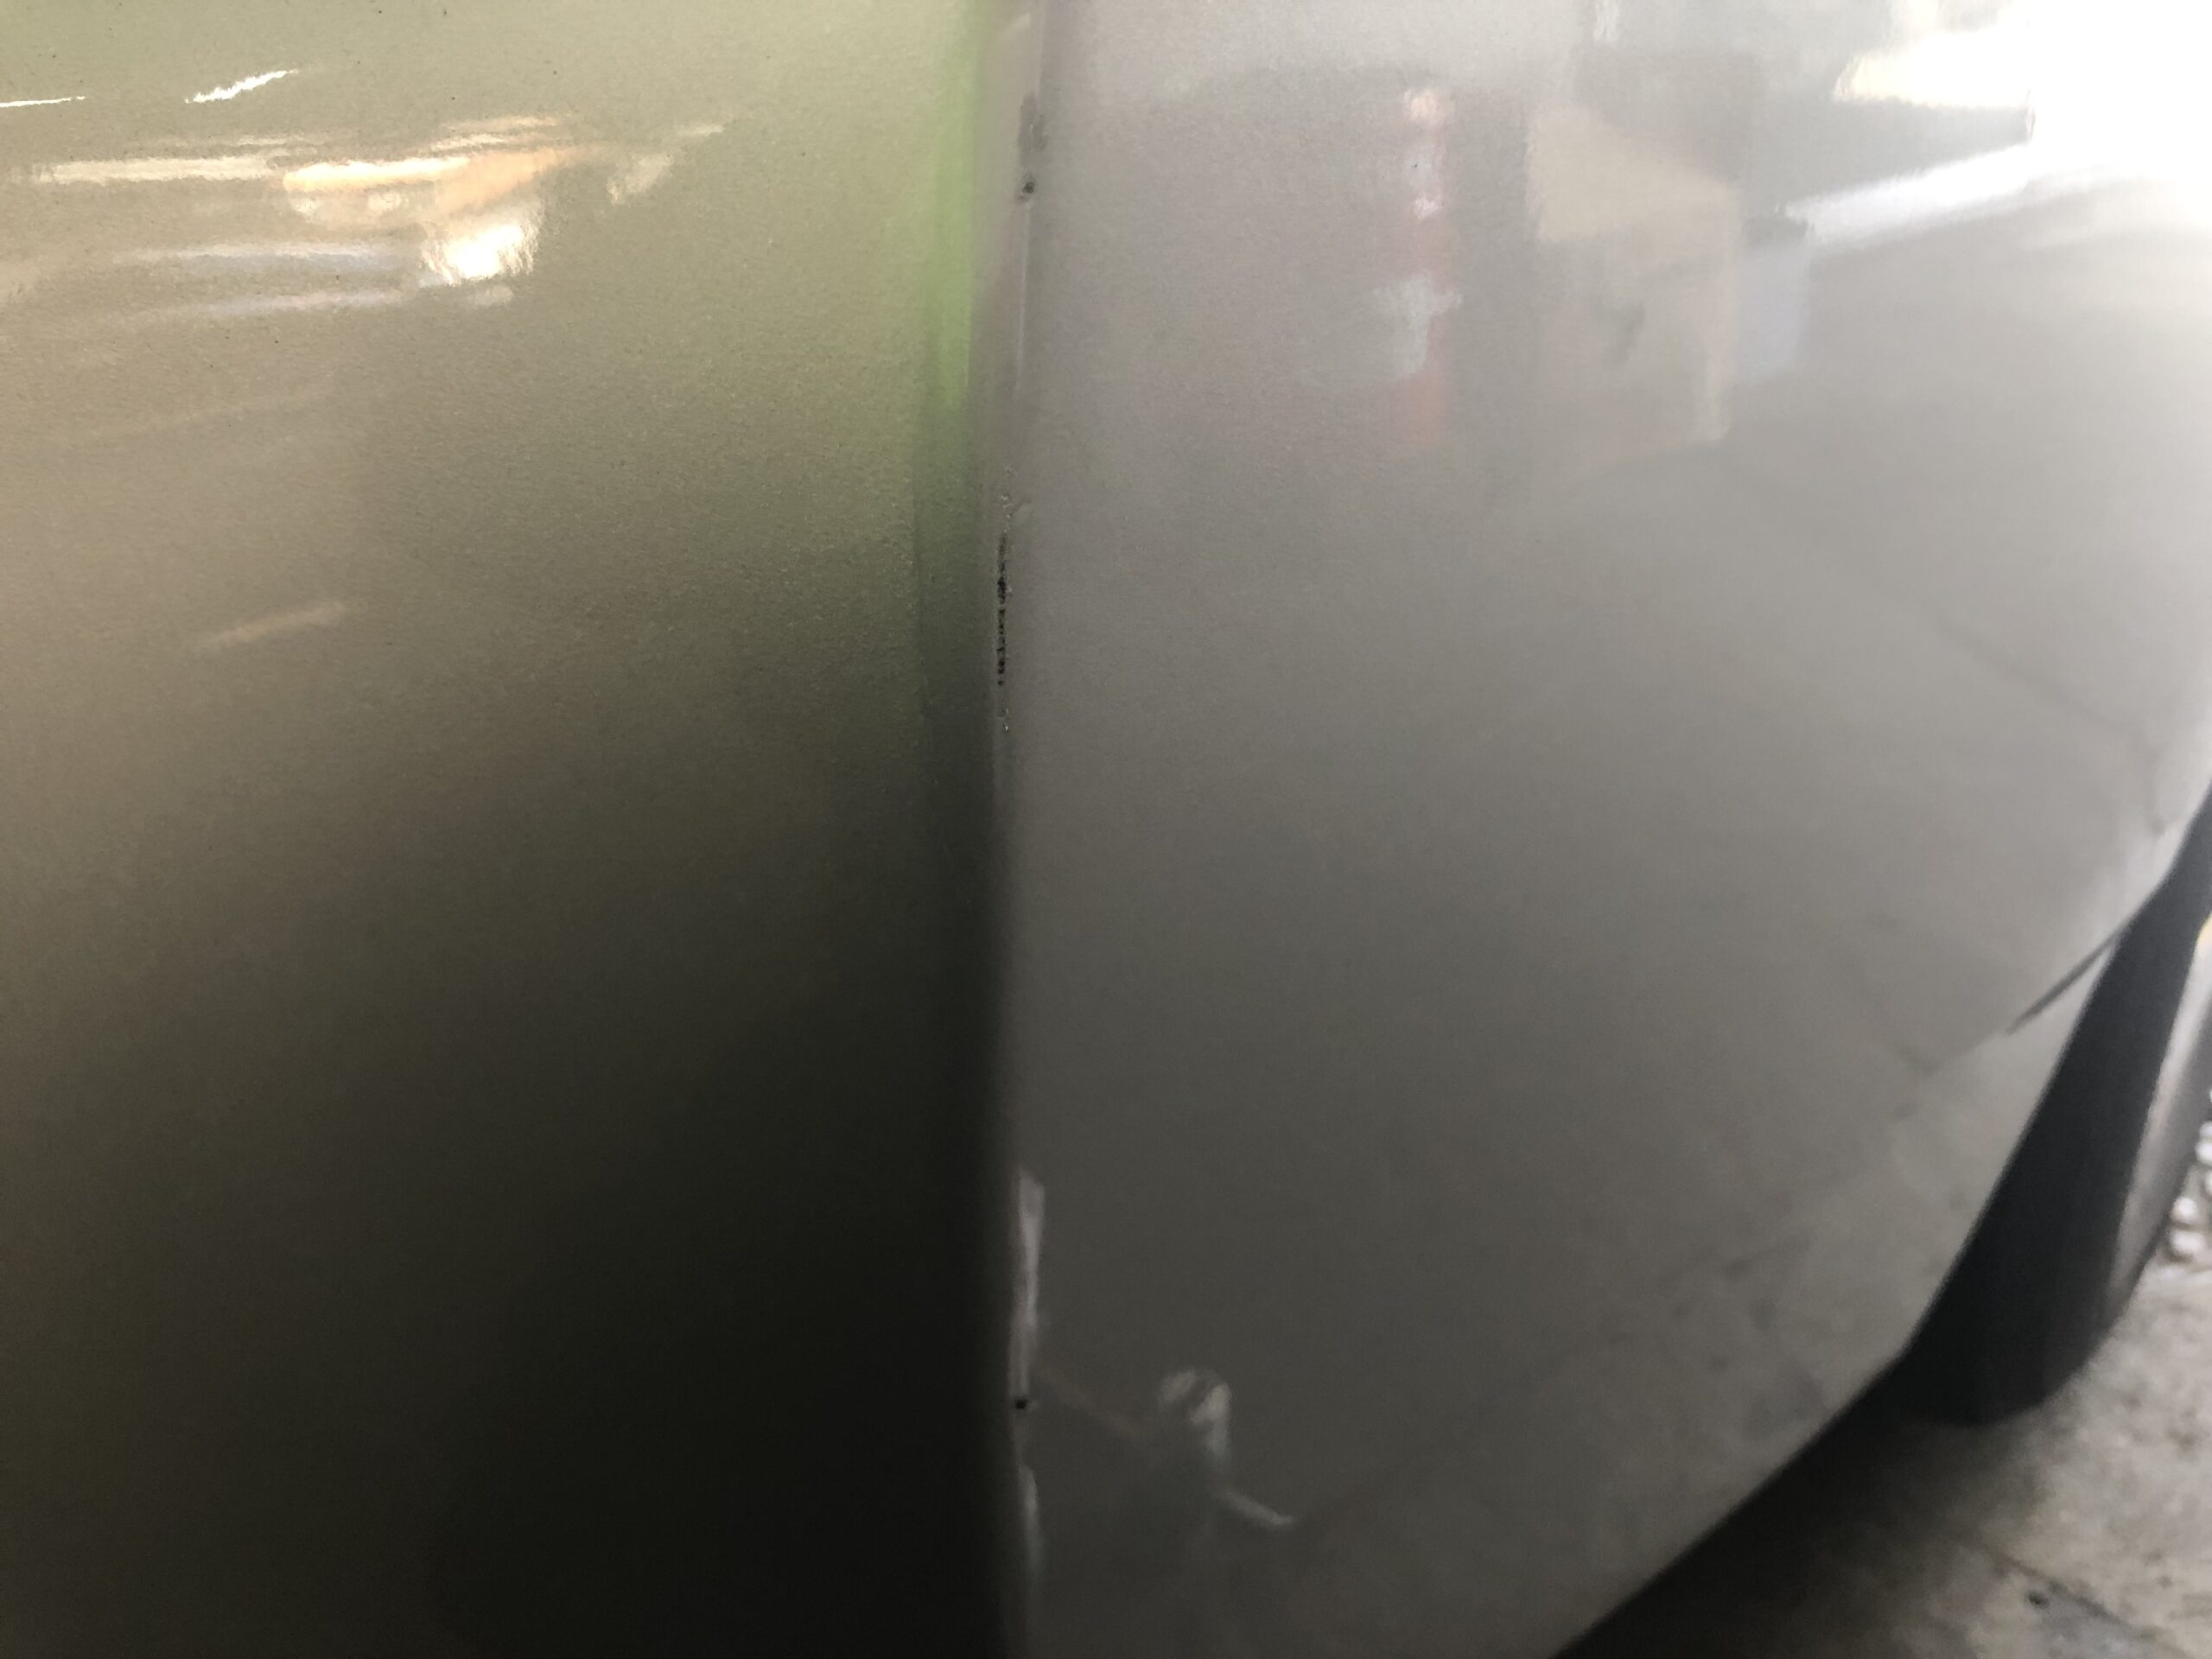
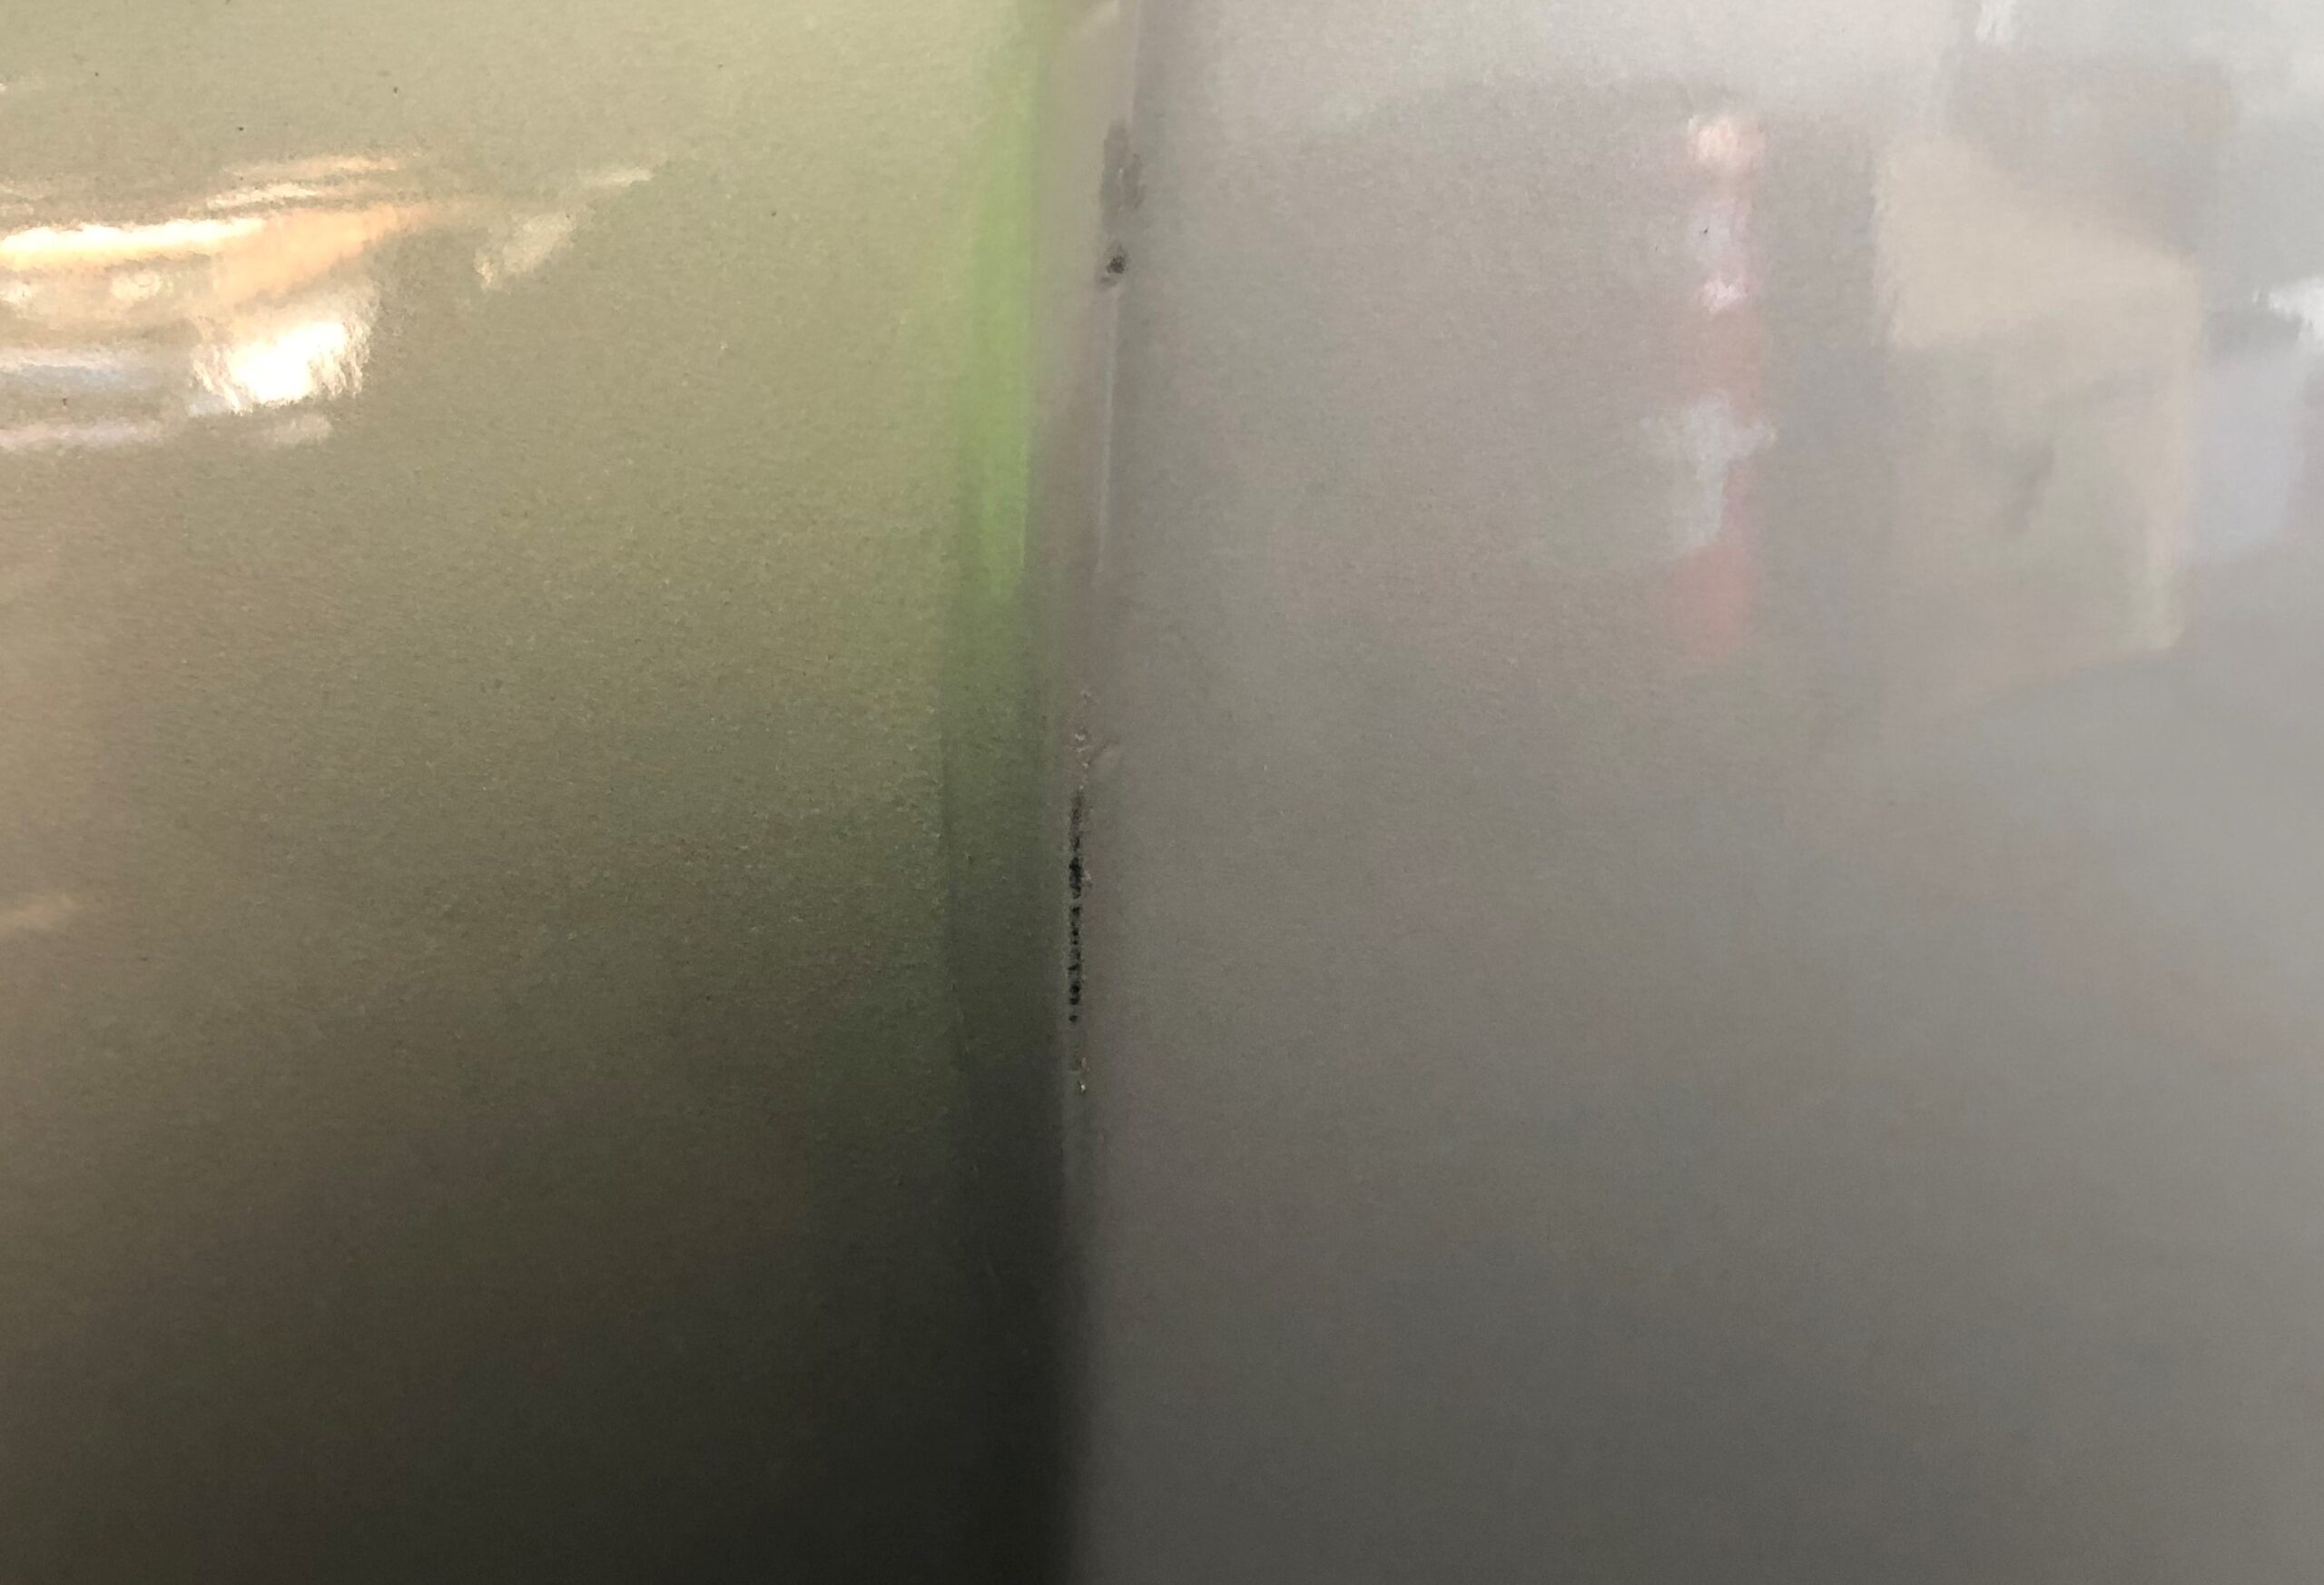
There is some paint peeling at the corner.
This white pearl is from Nissan, but Daihatsu’s solid white W19 was the closest match in tone.
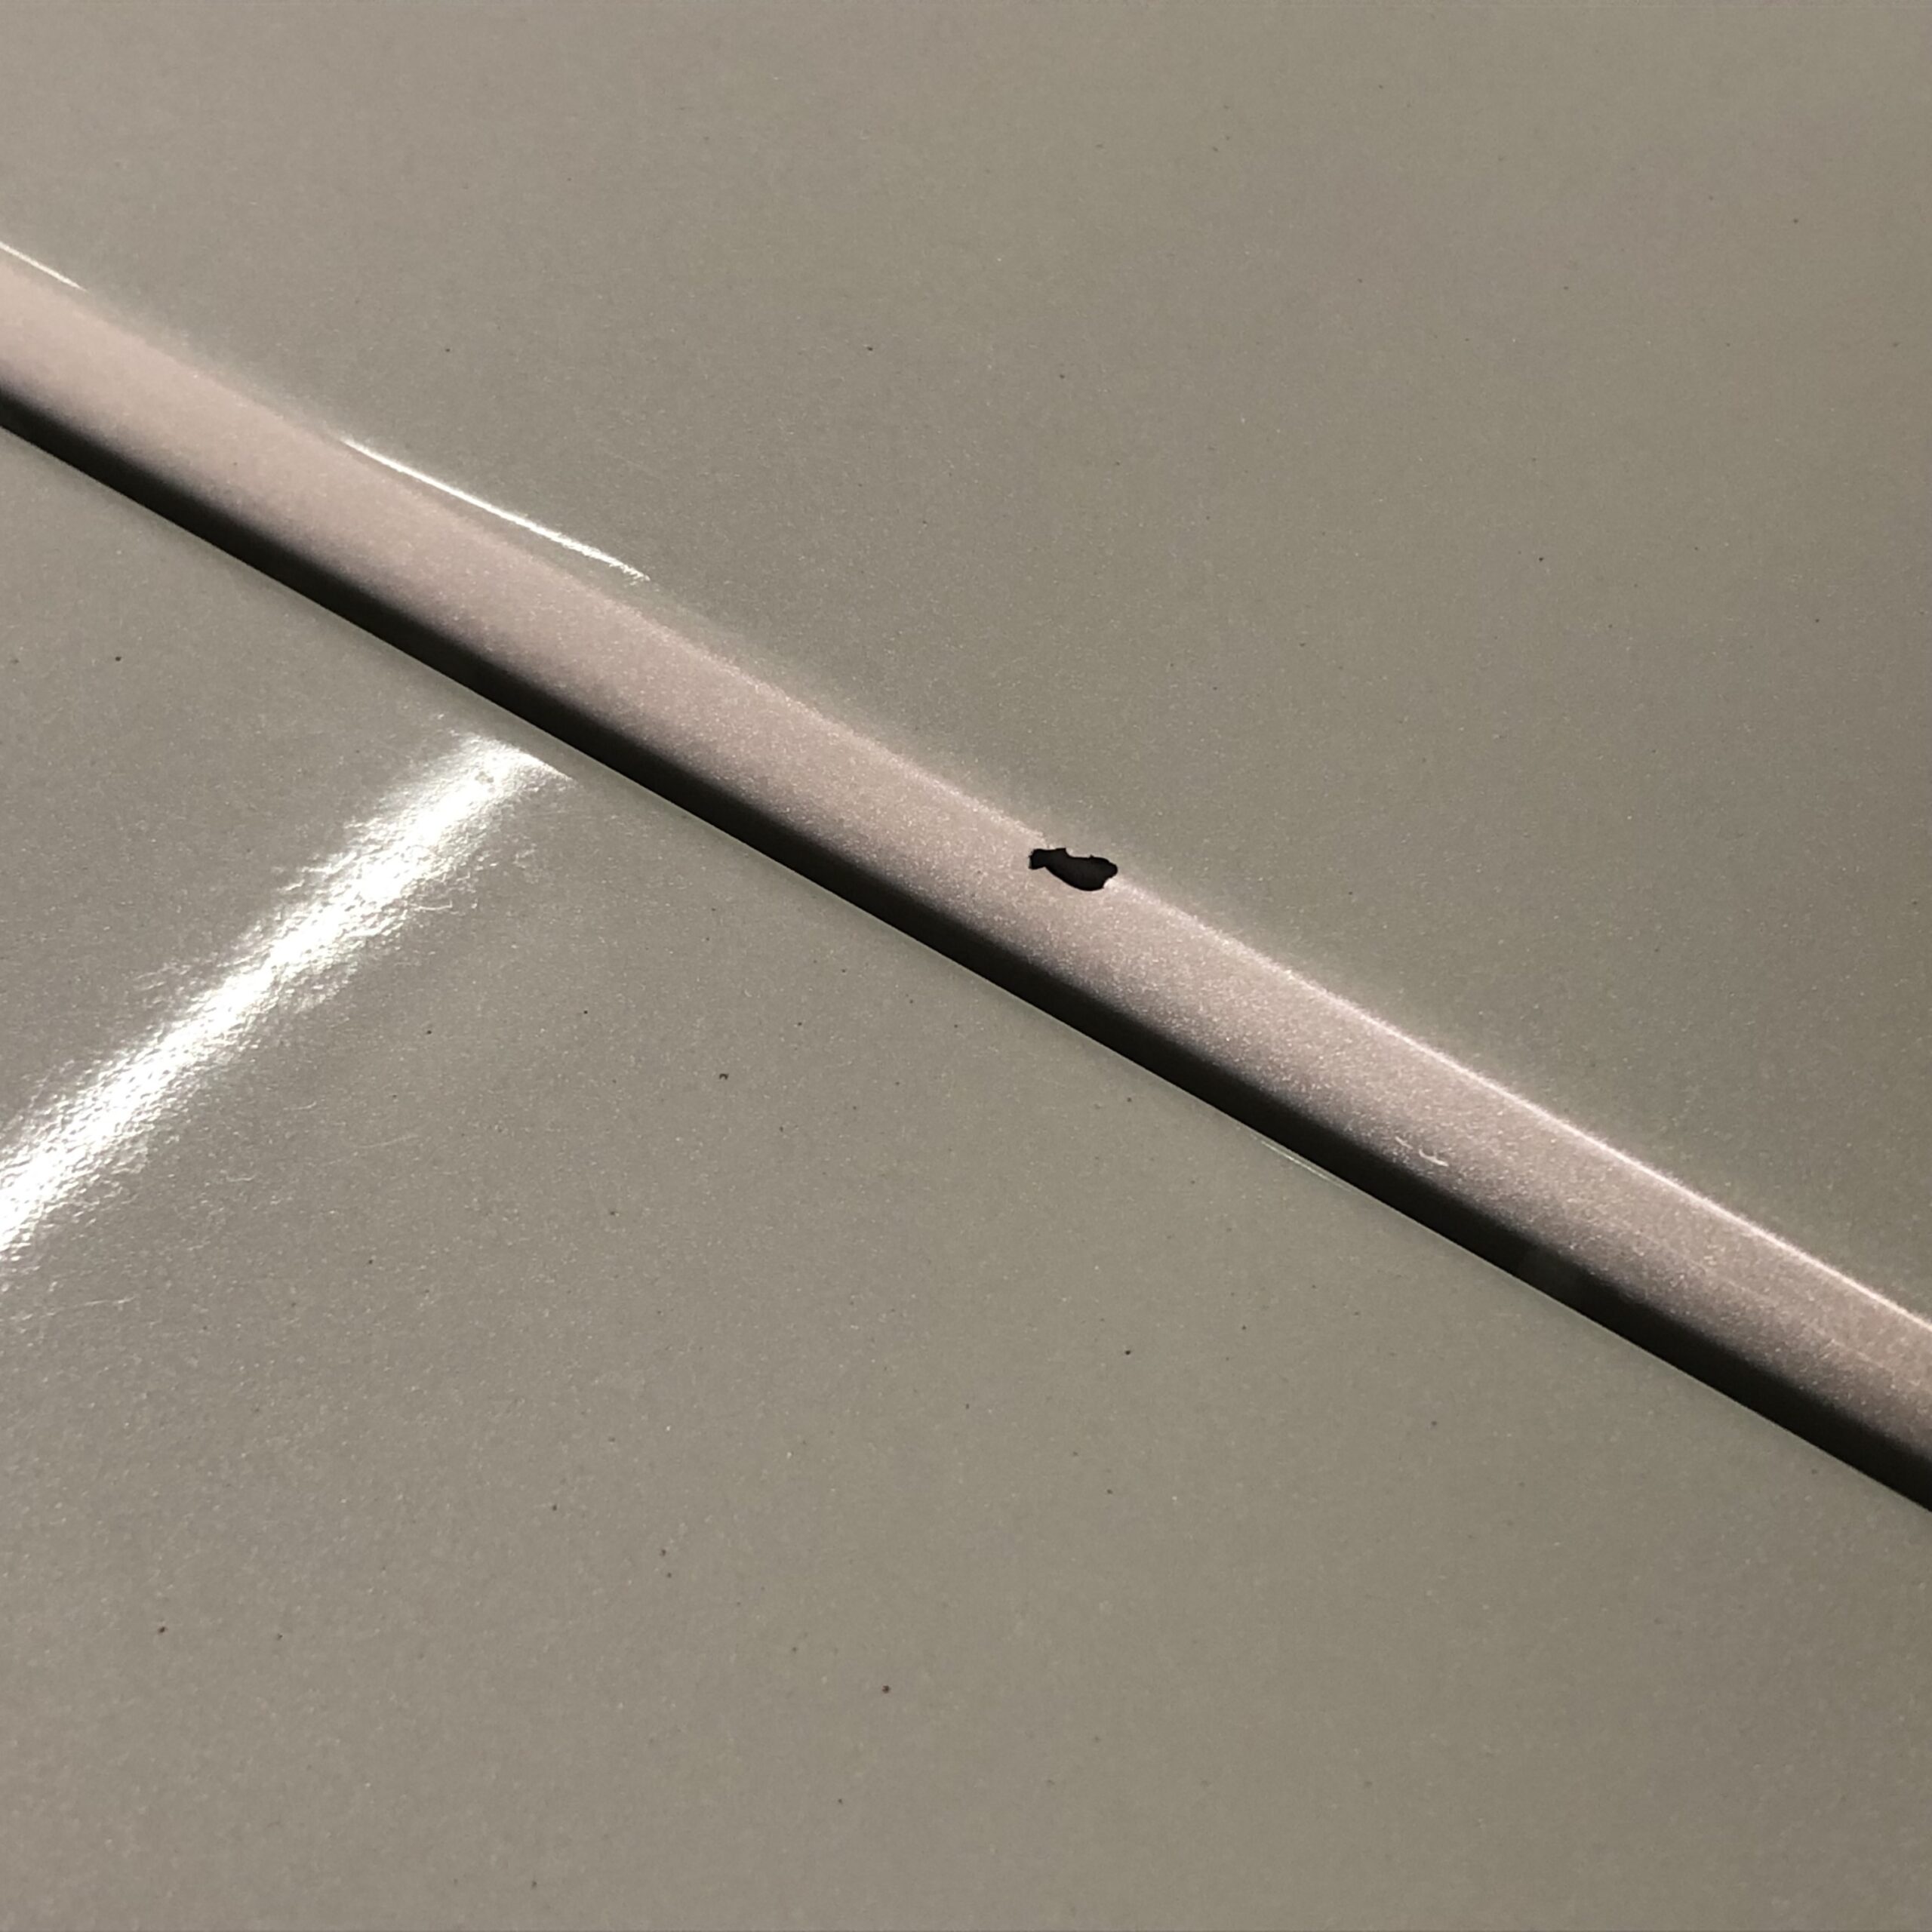
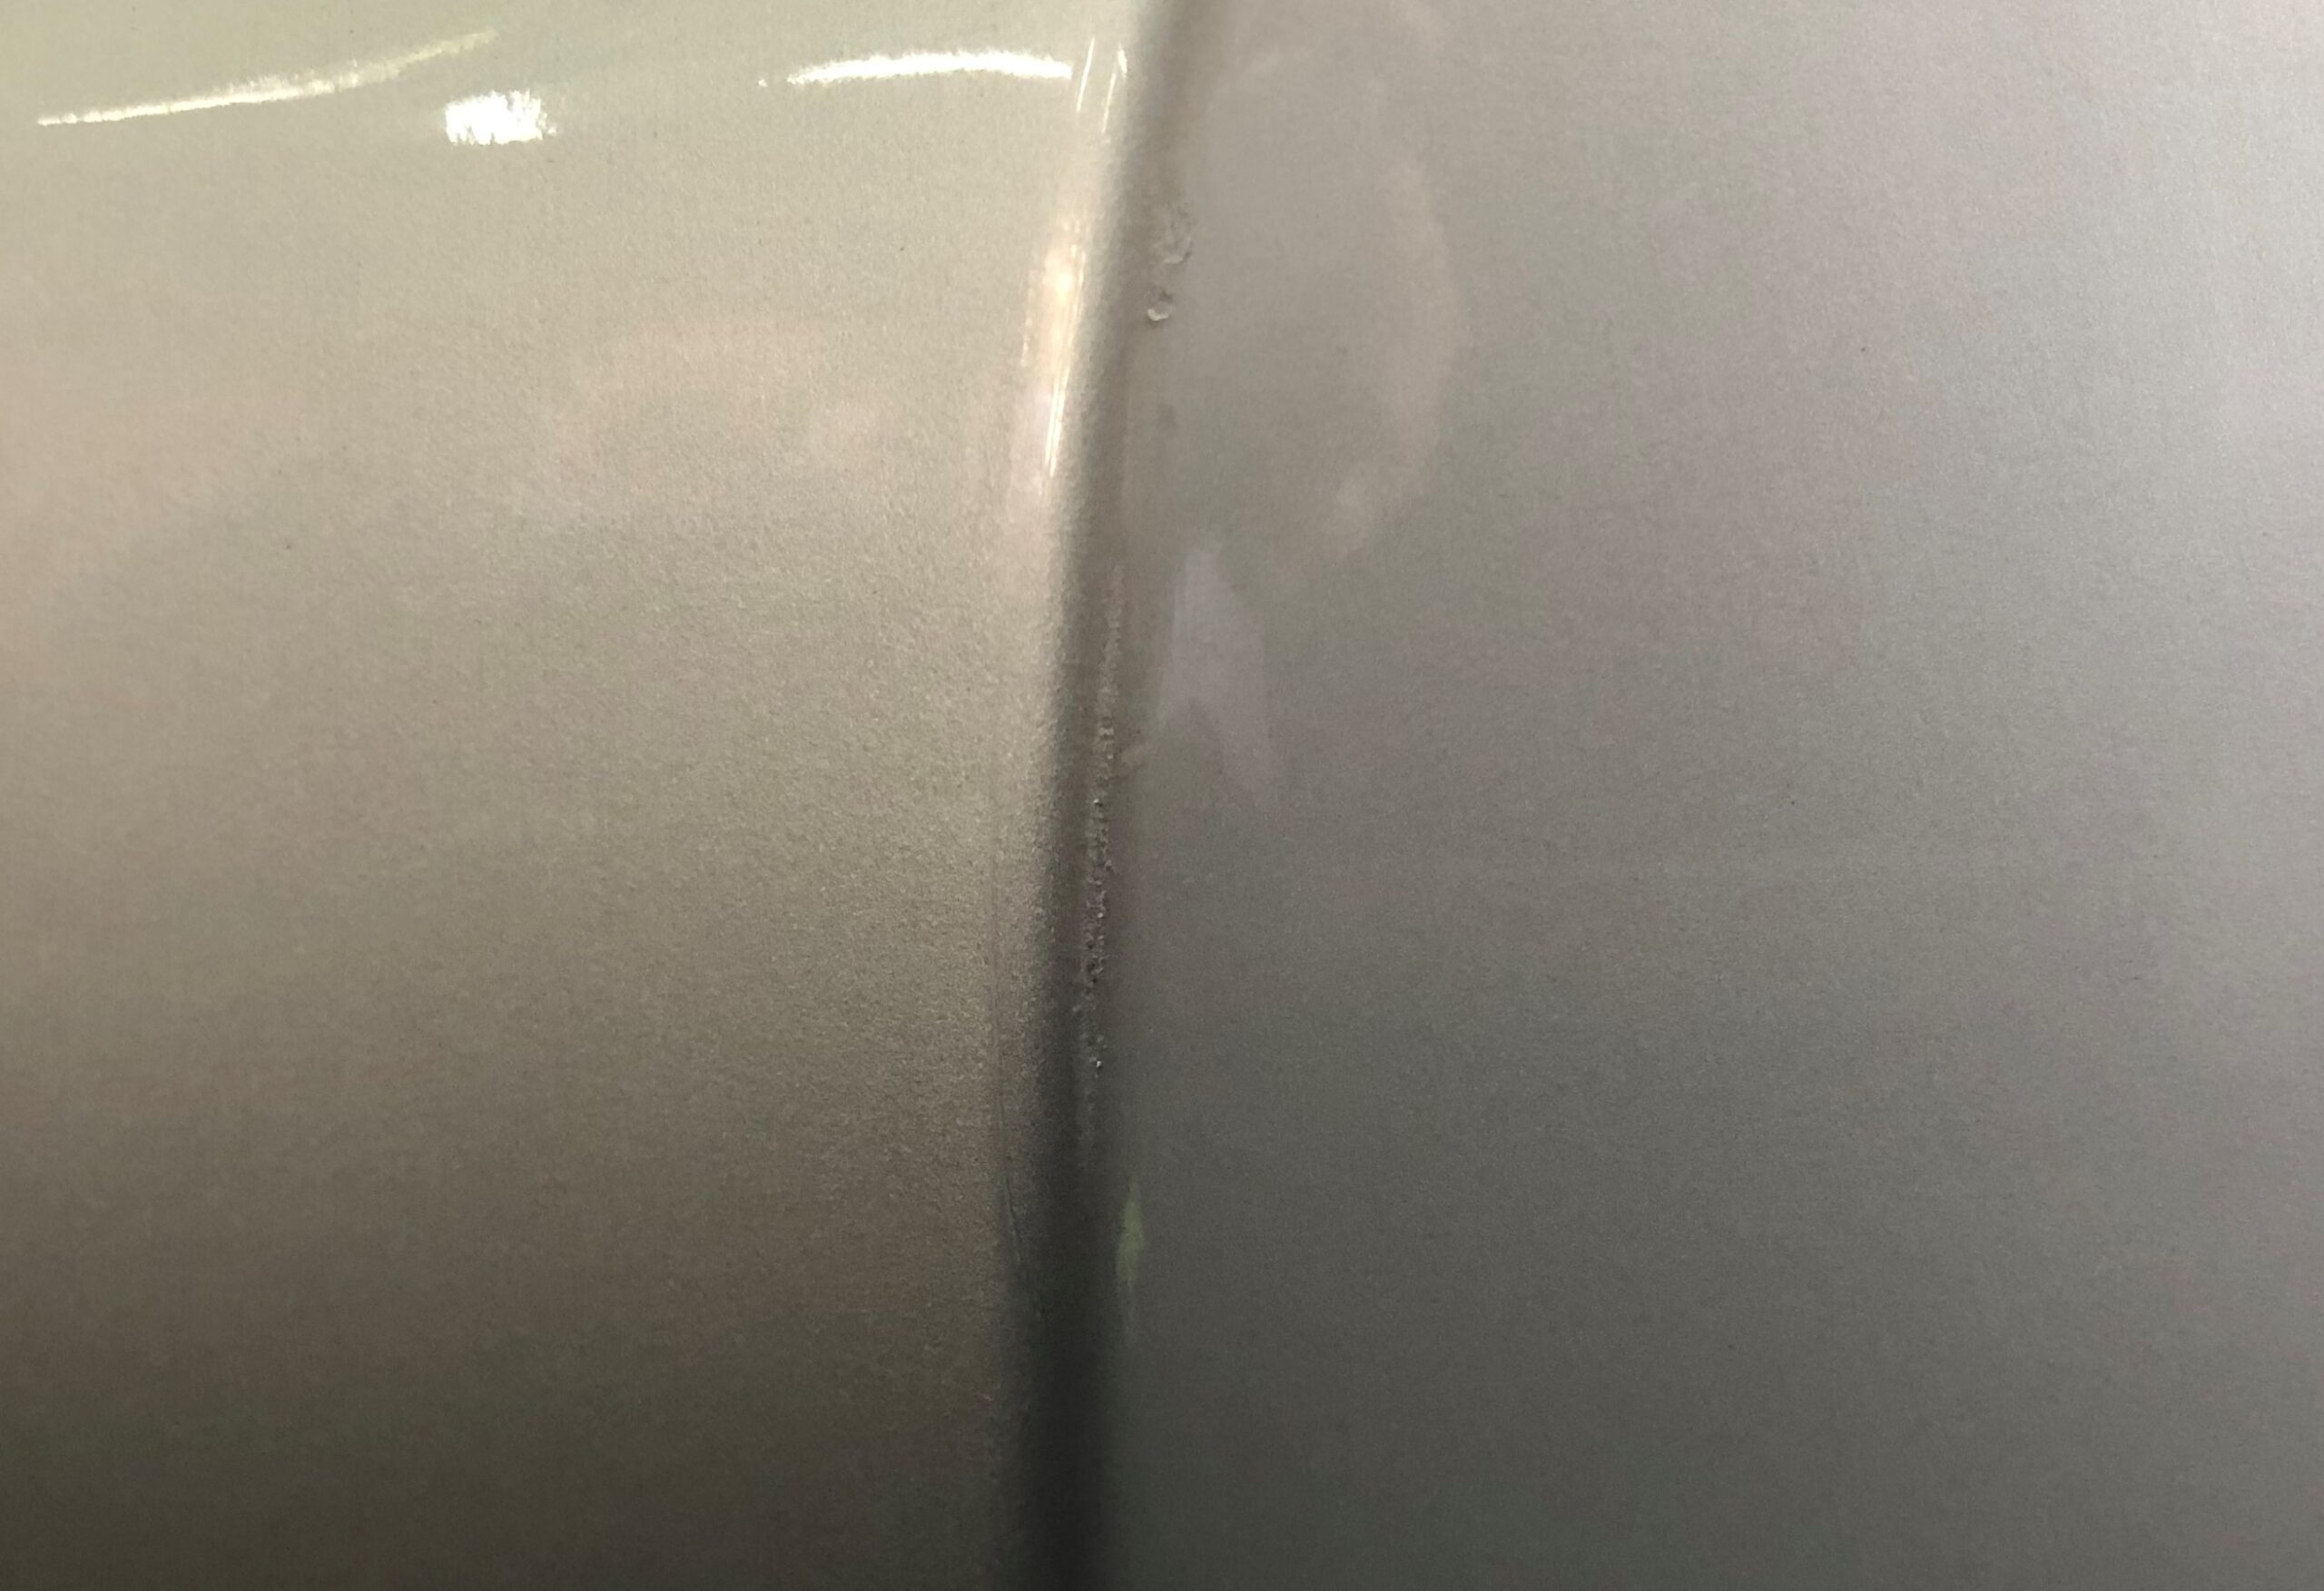
There was a similar stone chip scratch on the hood, but Suzuki’s Z7T base white was closer for this one. Due to aging of the paint film causing yellowing and fading, it’s important to carefully observe the paint color of the specific area you’re repairing, even on the same car.
Apply the brush using the same technique as before.
Next, I’ll explain how to touch up silver metallic paint, which is more difficult than white pearl.
As mentioned earlier, silver metallic pigments, like pearl pigments, have large particles. When these particles are exposed on the dry surface, they lose their gloss and create shadows, making brush-applied areas appear darker.
This is a light abrasion scratch, with paint peeling concentrated at the corner of the bumper.
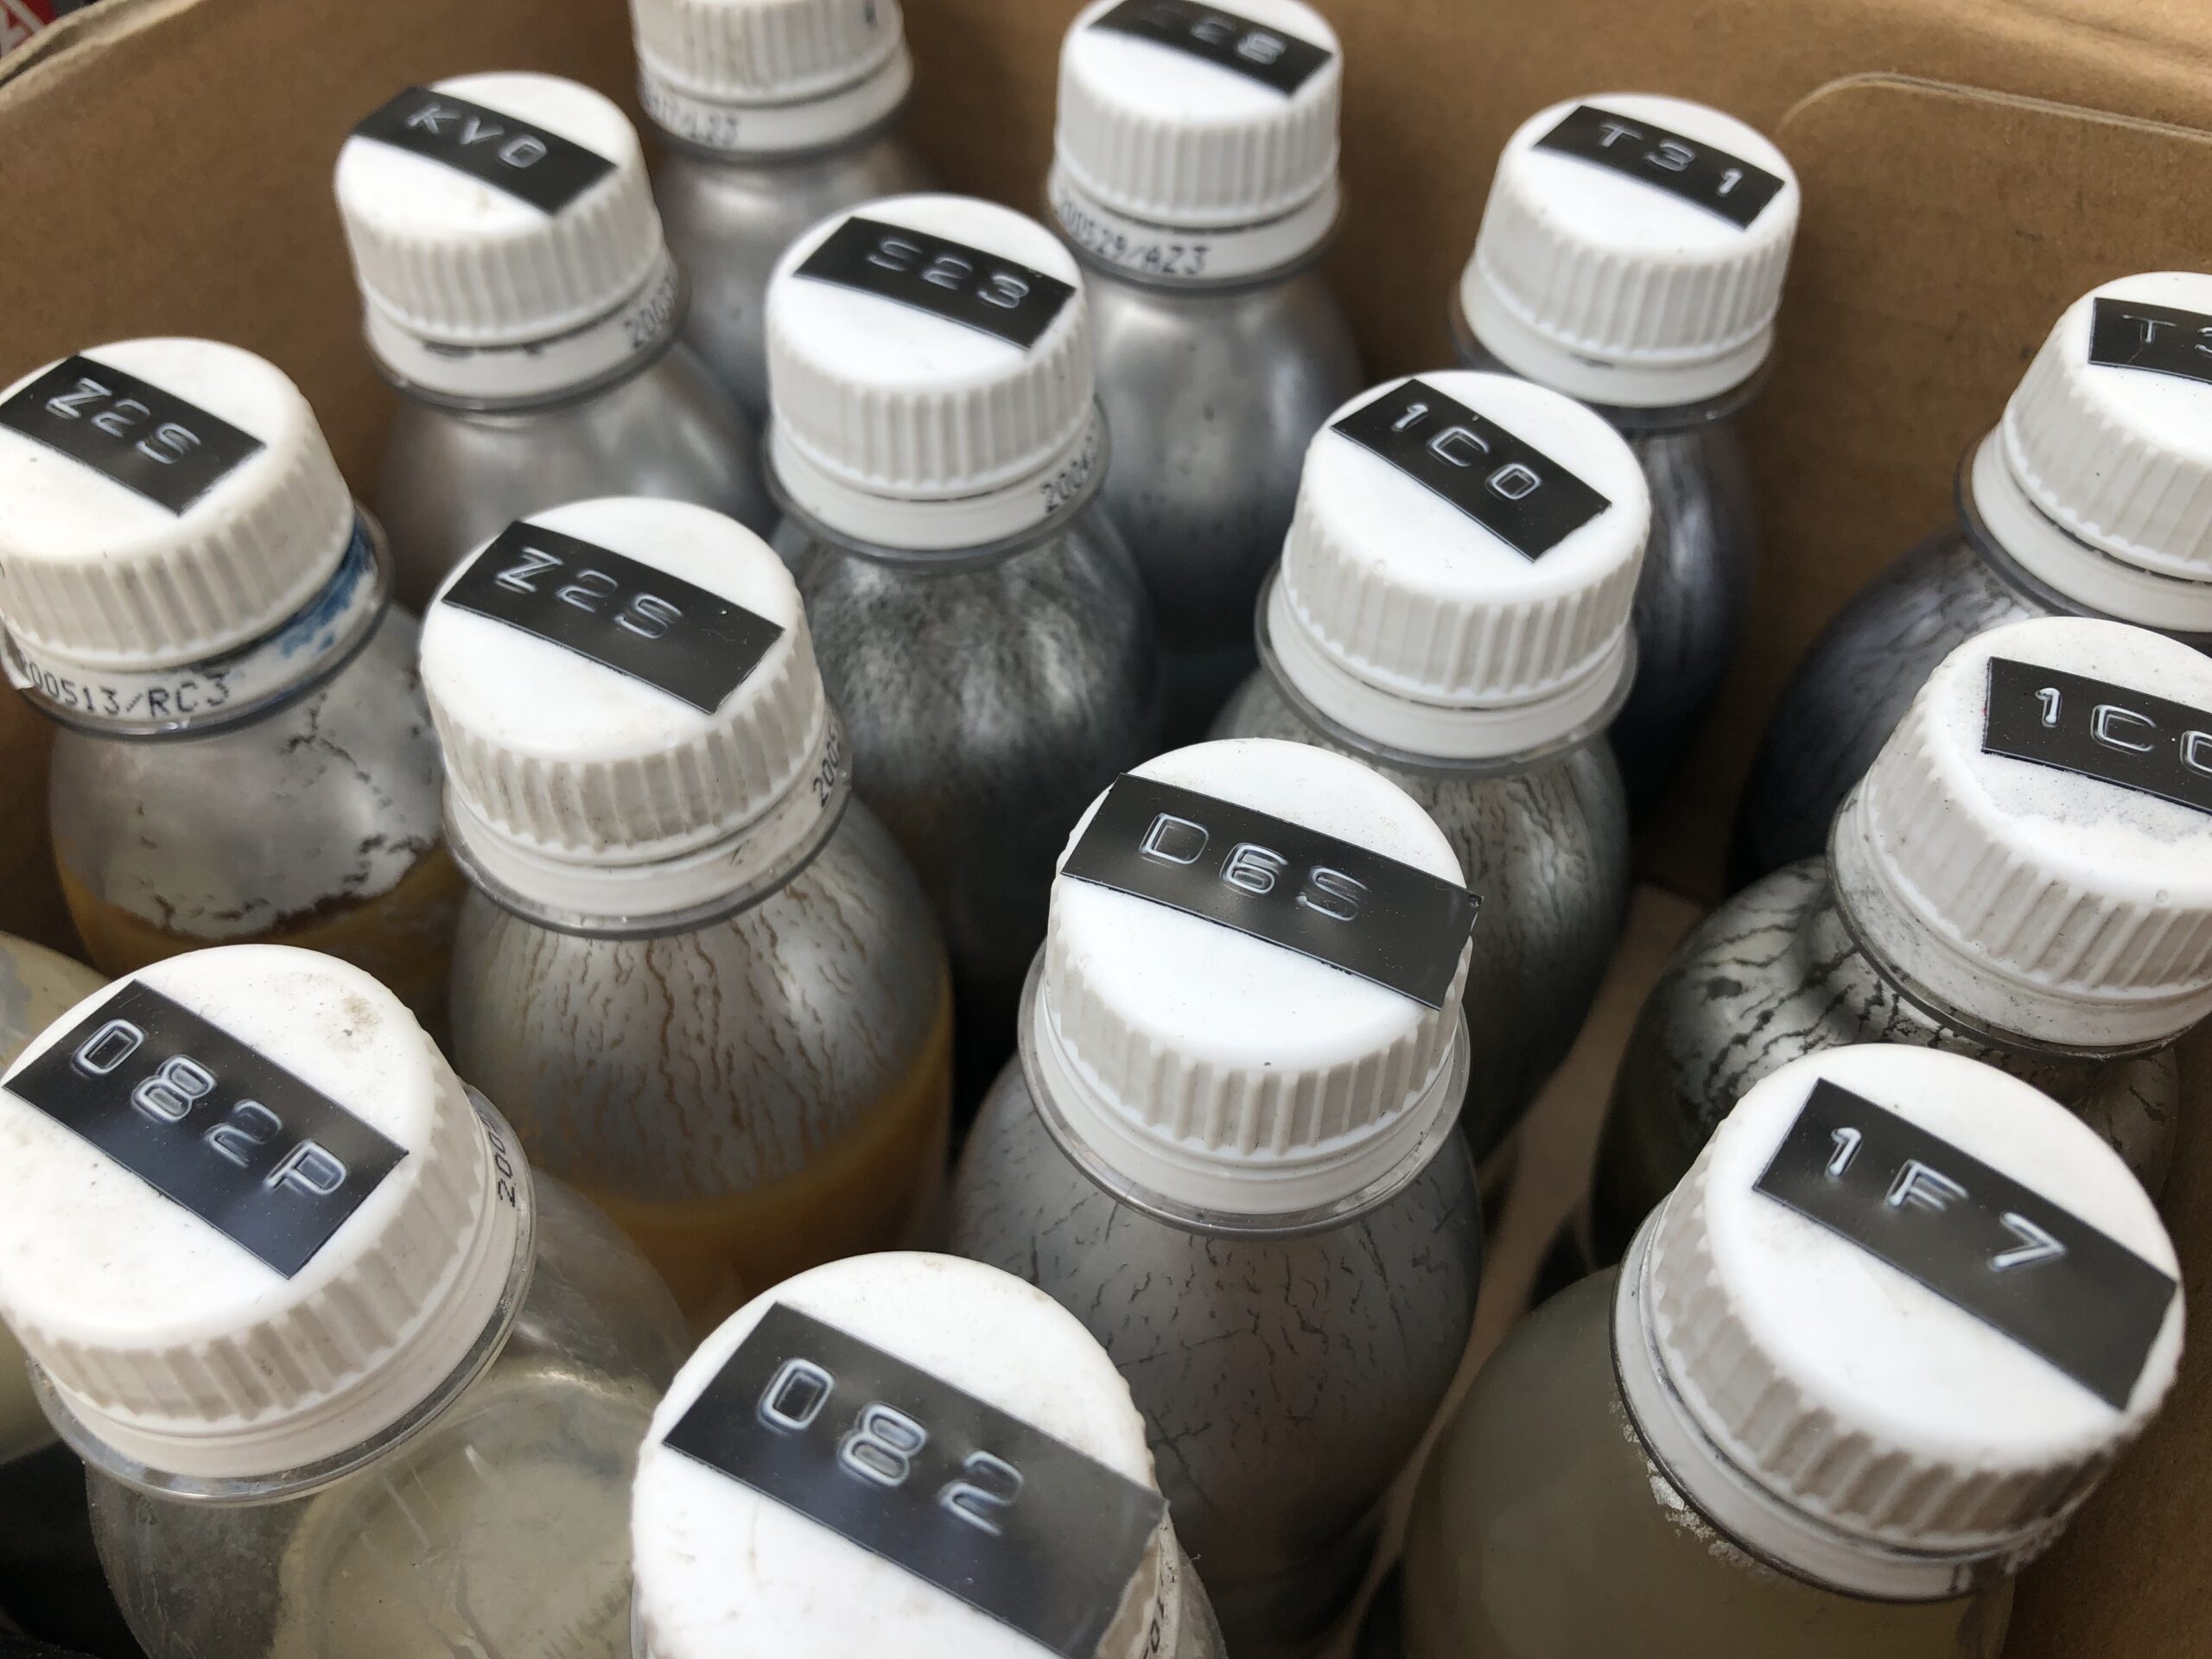
There are various types of silver metallic pigments, mainly differing in particle color and size. Generally, pigments with whiter and finer particles tend to have greater covering power over the substrate.
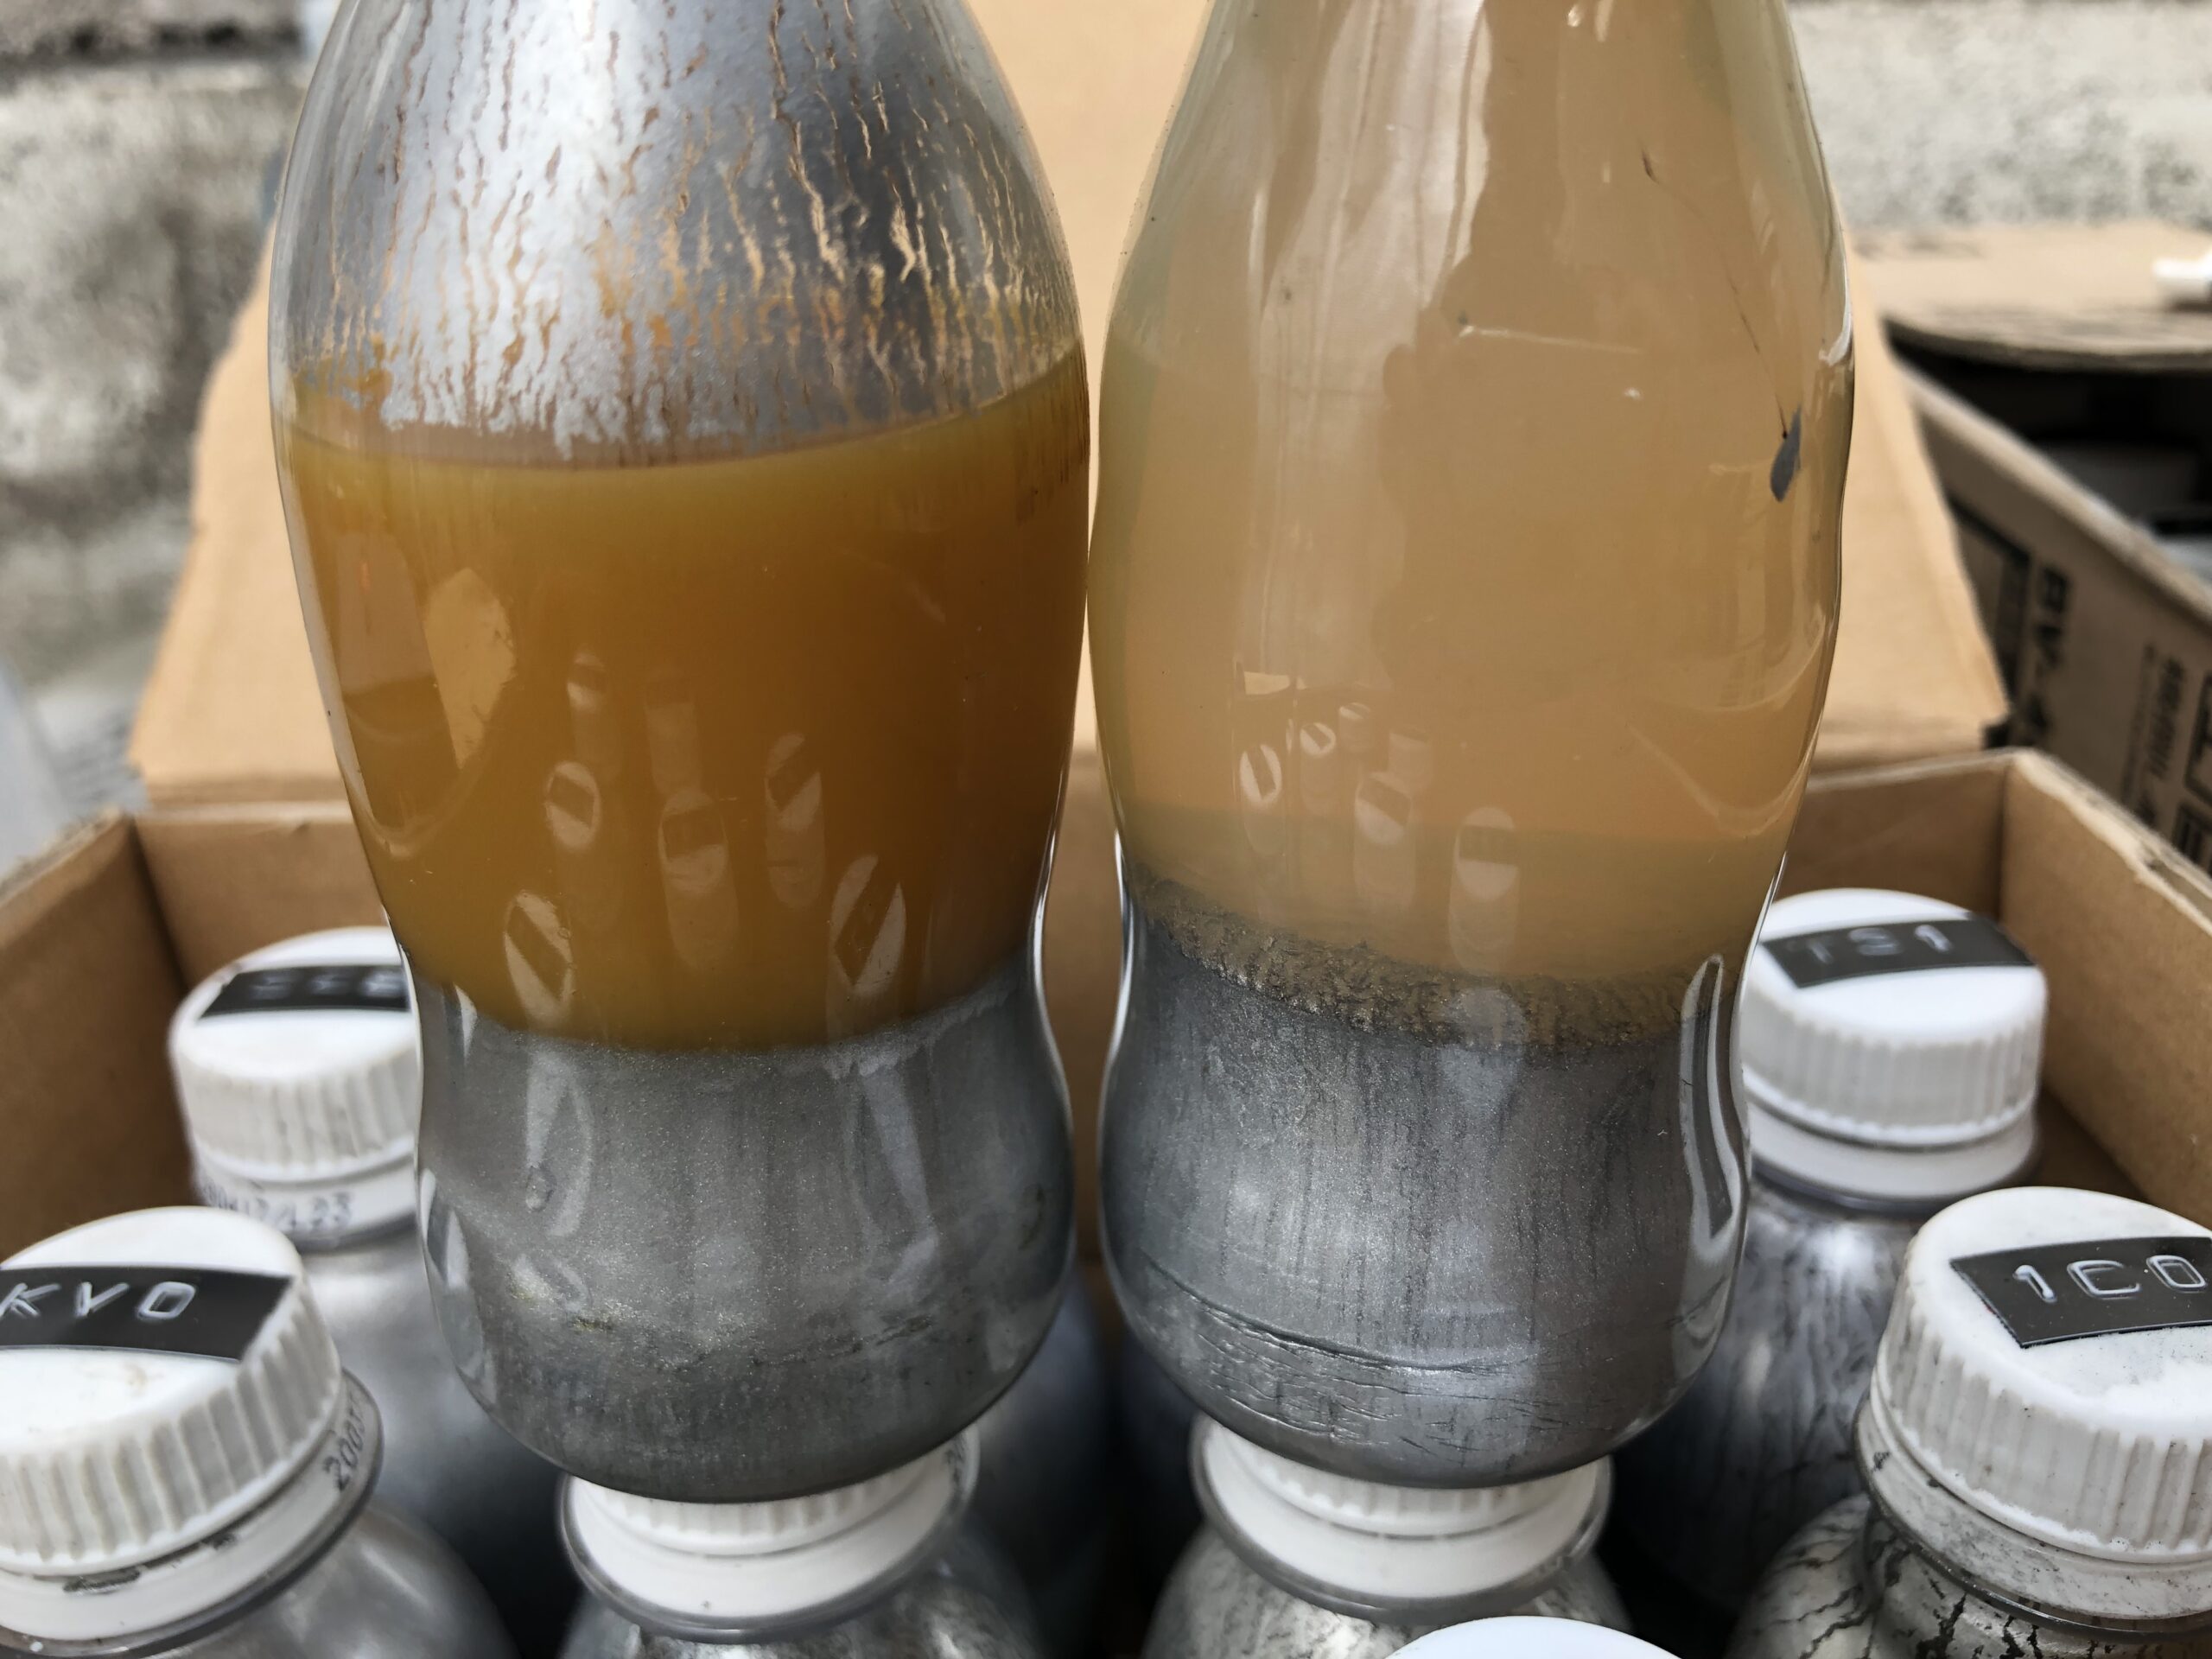
I chose these two types for this job. You can see the silver metallic pigments of heavy aluminum have settled at the bottom.
The one on the left is whiter and finer, used to cover the black substrate. The one on the right has coarser particles with less covering power, but is used to refine the final appearance.
The key is to select ones that won’t create discrepancies in brightness and tone when finished.
Silver metallic touch-up is done using a pointillism technique.
Don’t overload the brush with paint, and rhythmically tap the tip with a “tap-tap-tap” motion. The idea is to arrange metallic particles evenly and uniformly within the scratch area without spilling over. Be careful not to apply too thickly, as silver metallic particles will float unevenly in the wet paint film, creating blotches.
Fortunately, because the damage was at a corner, the result is less noticeable from a distance.
Tips for quick touch-up:
① Don’t try to make dents perfectly smooth (it’s excellent if it’s inconspicuous and prevents rust).
② Don’t use the brush that comes with the touch-up pen; use a detail brush, even an inexpensive one, and try to paint without going beyond the scratch area.
③ If you make a mistake, don’t sand it with sandpaper; wipe it off with thinner (new car paint and professional urethane paint can withstand brief thinner application. However, do NOT apply thinner to paint that has deteriorated from UV exposure).
There are various other techniques for hiding small scratches besides these examples. Custom color matching is also available, but requires having your vehicle present. Please feel free to contact us for consultation.
↓ Lacquer-based organic solvents are convenient for brush care.
Leave a Reply