A Suzuki Alto was brought in for shaken (the legally mandated periodic inspection in Japan).
This model of Alto has aged, and this particular vehicle was in for its 18th regular inspection.
It had reached a stage where a more thorough inspection was necessary.
Specifications: 2005 model, DBA-HA24S, K6A engine, 4AT, odometer reading 79,000 km
While listening to the engine sound at idle, I noticed an unpleasant hissing noise. At first, I thought it was coming from near the alternator, so I suspected it might be the alternator itself or belt friction. However, the belt was new with proper tension and showed no signs of wear.
I decided to postpone a detailed inspection and proceeded with other checks. During the brake booster air-tightness test, I noticed the hissing sound decreased when I pressed the brake pedal at idle.
Furthermore, when I turned the engine off while keeping the brake pedal depressed, the pedal pushed back with force.
At this point, I finally connected the hissing sound with the vacuum brake booster’s (a device that reduces the driver’s braking effort, also known as a master vac) air-tightness failure. The booster was drawing in secondary air.
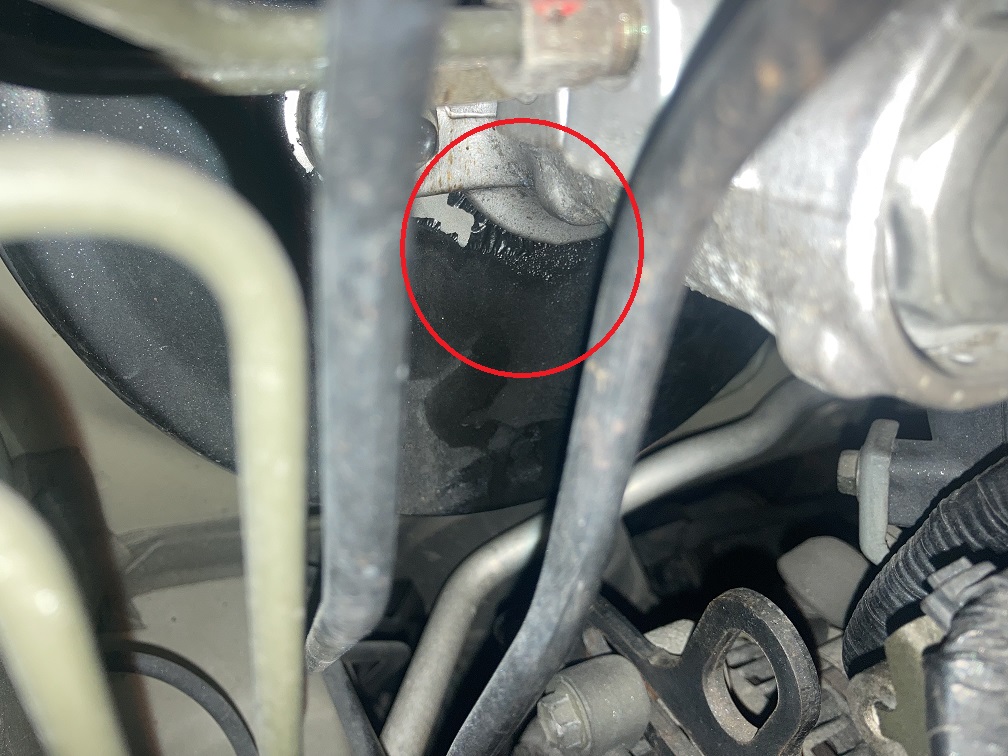
Visual inspection revealed brake fluid leakage from the master cylinder.
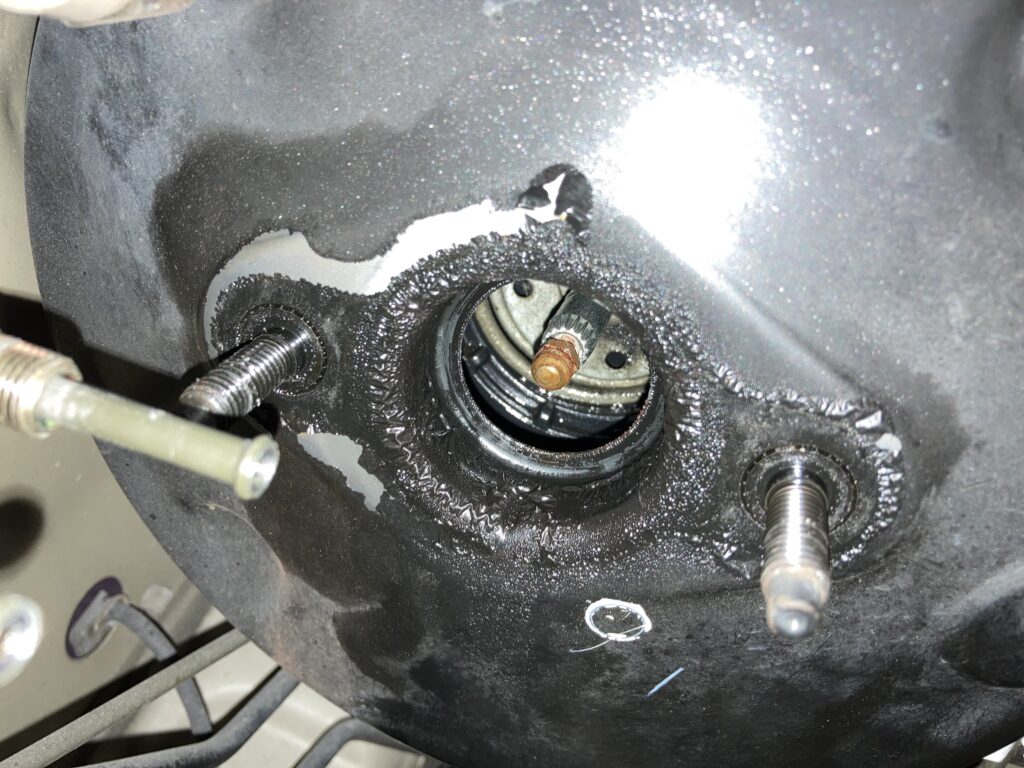
After detaching the master cylinder from the booster,
I found a large amount of brake fluid had permeated the booster’s interior. The brake fluid might have degraded the booster’s internal components.
In any case, both the master cylinder and brake booster needed replacement.
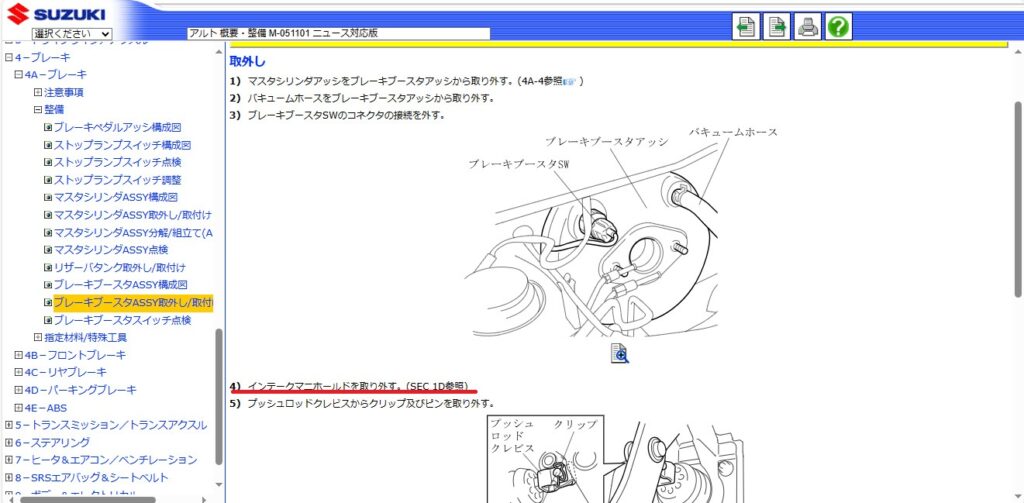
When I checked the engine bay layout to confirm the work procedure, I found there wasn’t enough space to remove these components easily.
The service manual casually instructed to remove the intake manifold.
While removing the intake manifold can seem daunting, the gaskets of recent plastic manifolds are molded rubber (the orange gasket in the photo below) that doesn’t stick, making cleaning of the mounting surface, which used to be time-consuming, extremely quick. Also, this K6A’s manifold can be moved significantly with the injectors and fuel hoses still attached, so there’s no need to feel reluctant about it.
With the manifold gone, it becomes easy to access the alternator and starter motor behind it.
While some Suzuki light FF vehicles seem difficult to remove the alternator from, removing the intake manifold like this might make it unexpectedly easy.
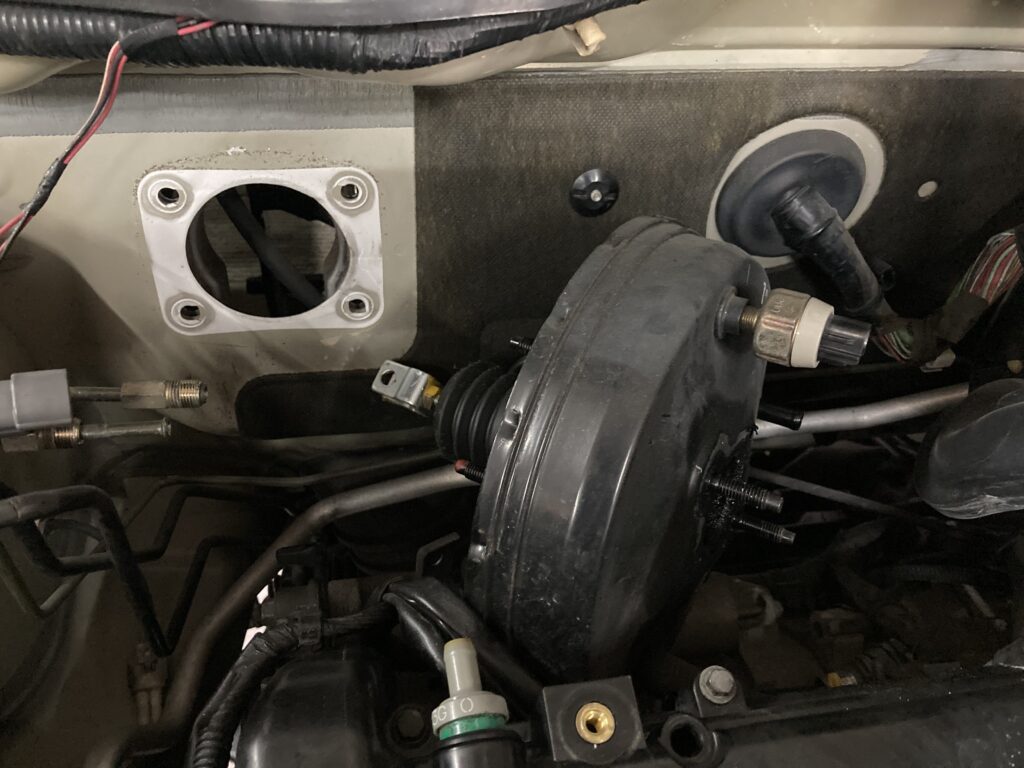
Then, I was able to roll out the brake booster into the space vacated by the intake manifold.
Due to cost considerations, we used recycled parts this time. For this vehicle, there are no inner parts available for the master cylinder, so in case of malfunction, the entire assembly needs to be replaced.
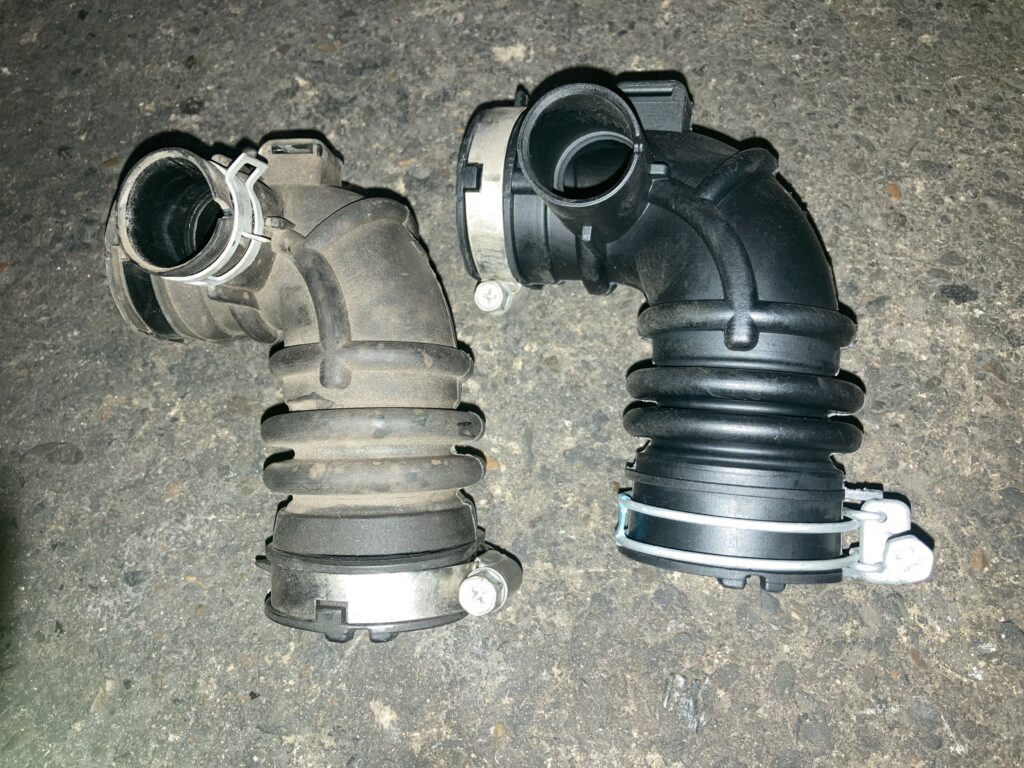
Additionally, during disassembly, I discovered a crack in the air intake duct.
The shape of the band seems to have changed in the replacement part.
Needless to say, the engine’s condition improved significantly.
Few people have experienced brakes without booster assistance, but when it completely fails, it becomes so difficult to generate braking force manually that it feels like the car won’t stop at all. Of course, the engine’s performance also deteriorates due to the large influx of secondary air.
This case of malfunction made me keenly aware of the importance of regular inspections for aging vehicles.




Leave a Reply